Introduction
The copy resource action by CloudFiles enables you to create copies of your files, which can be placed in folders on any cloud storages. E.g. you can create a copy of a file within SharePoint or even in a different cloud storage such as Google Drive. The action also also allows you to rename the file while copying it.
To make sure this action works with your Cloud Storage, you need to understand What is an 'Automation User' and how does it work?
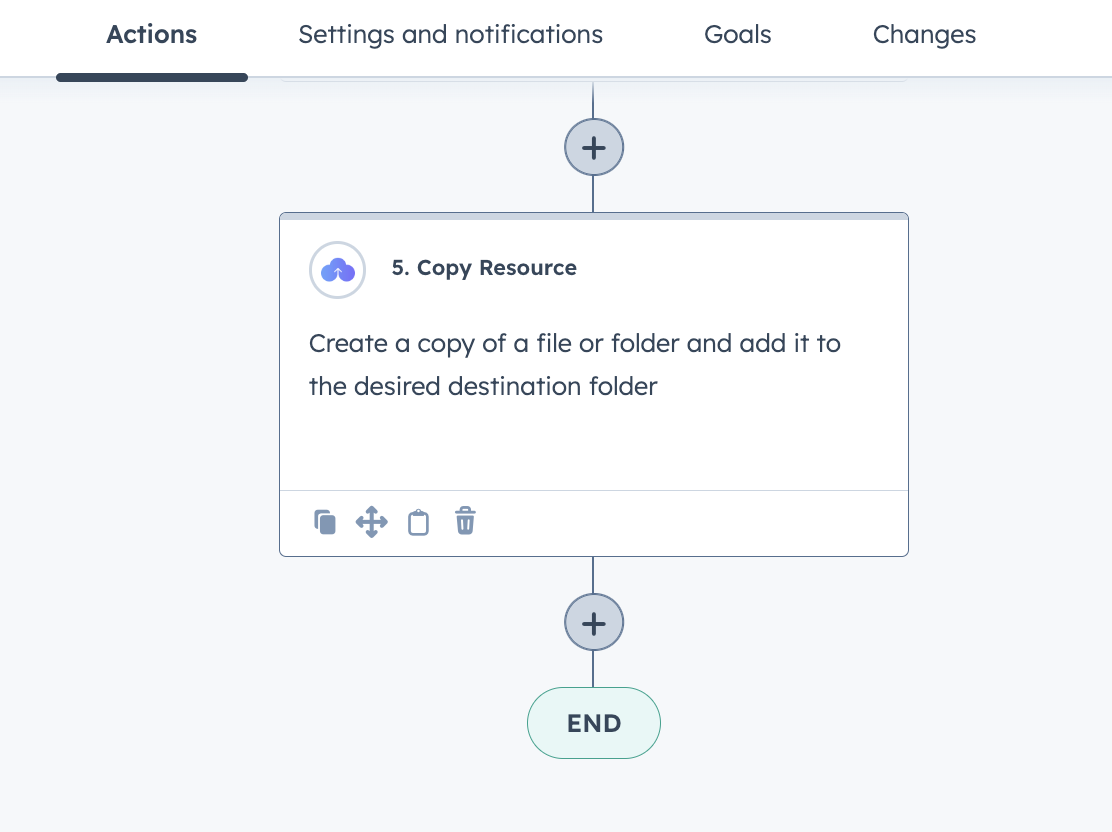
The "Copy Resource" action takes in various parameters to specify the source & destination of the file. The parameters can change based on the library selected.
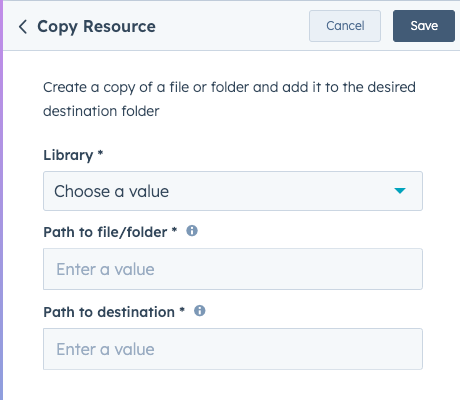
1. Library: The desired library where the file must be copied from (e.g. SharePoint, Google Drive etc...)
2. Path to File: The exact path to the file, including the file name and extension. There may be more than one parameters required to specify this path based on library selection.
3. Path to destination: The exact path to destination where the file must be copied. There may be more than one parameters required to specify this path based on library selection.
4. Return Values: Various values returned by this action after execution.
These parameters have been detailed in the sections below.
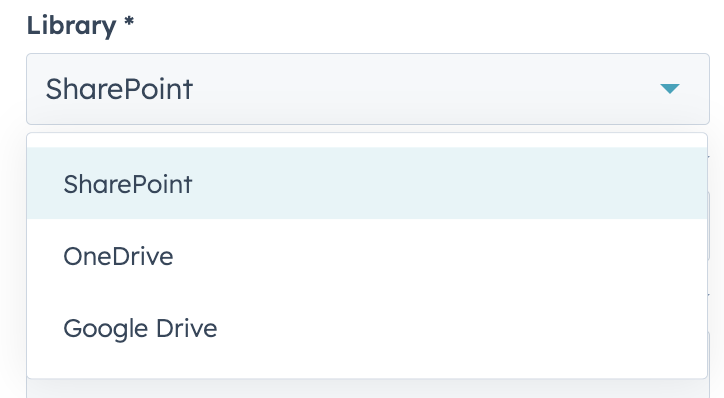
1 - Library
The cloud storage from where the file is to be copied from. Anything between CloudFiles, OneDrive, SharePoint, Box or Dropbox can be selected. Based on your choice, new parameters would become visible in the action. These are discussed in the sections below.
2 - Path to file
This specifies the source from which the files must be picked.
Note that this parameter must include the file name along with the extension. You can specify the full path using a simple '/' separated string with the file name at the end.
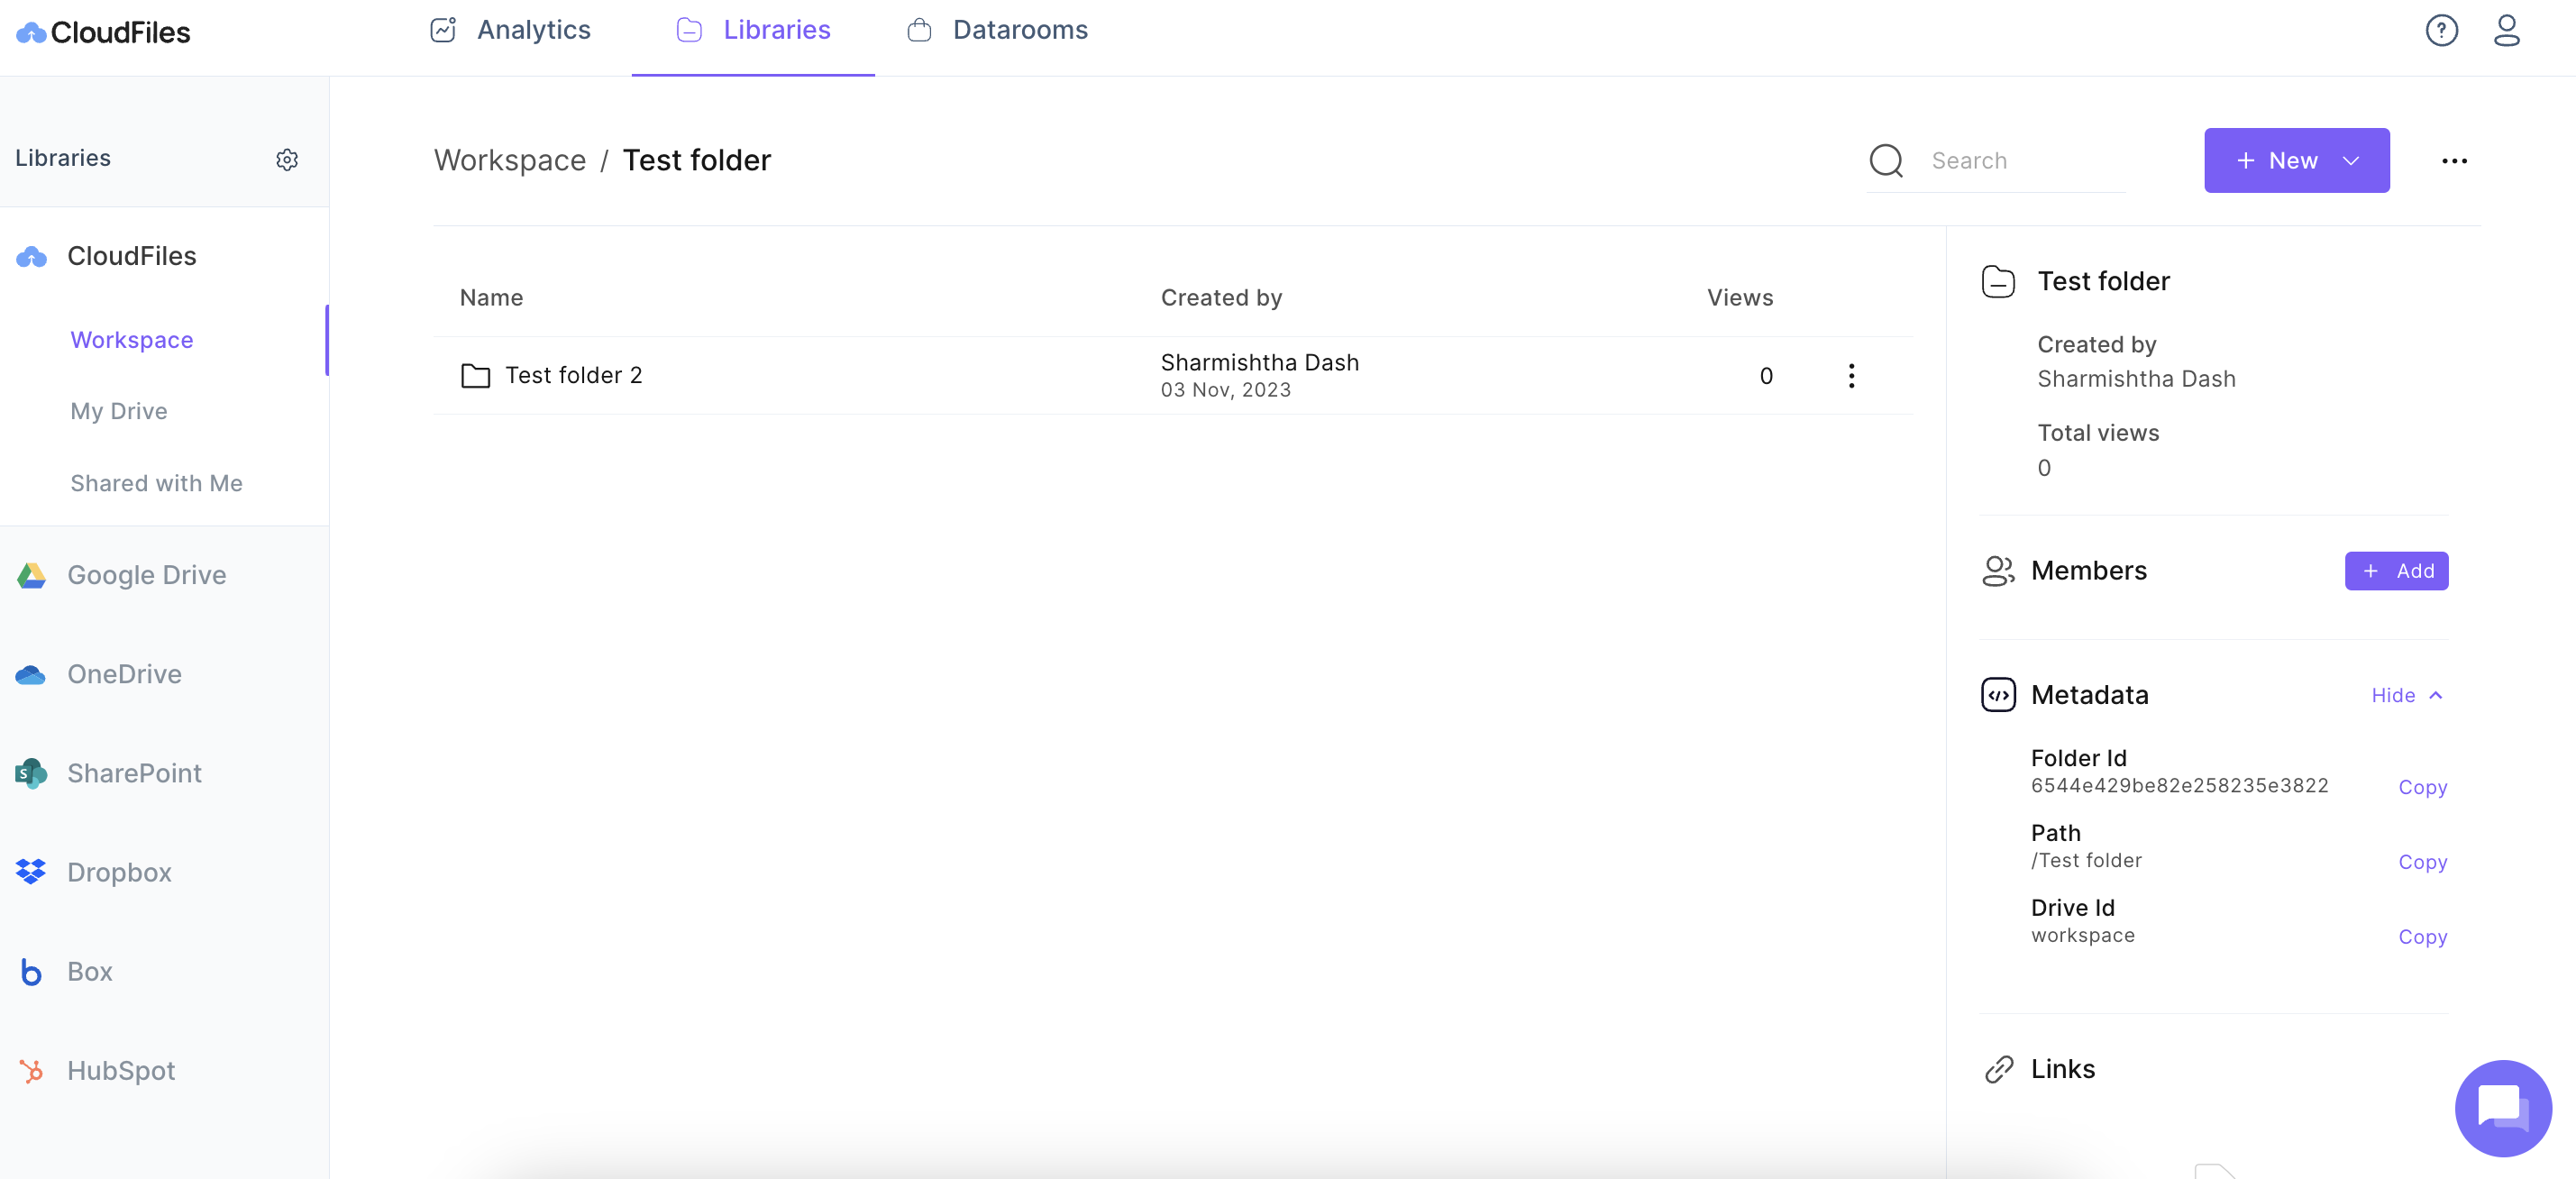
The path to the folder can be copied from the metadata on the CloudFiles dashboard and then personalised using the record tokens. Follow the simple steps below -
1. Find the CloudFiles widget from any HubSpot record, and click on CloudFiles. It will redirect you to app.cloudfiles.io
2. Under the libraries tab, navigate to the file or folder that you are trying to add.
3. Copy the parameter from the meta data on the right side of the screen.
These meta deta example is shown below -
3 - Path to destination
This specifies the destination where the files must be copied to. Note that this parameter must include the file name along with the extension. Thus you can specify a different file name and rename the file through this action. You can specify the full path using a simple '/' separated string with the file name at the end.
The path to the folder can be copied from the metadata on the CloudFiles dashboard and then personalized using the record tokens. To copy the full folder path from metadata, follow the steps in the Path to File section above.
4 - Shared Drive ID / Drive
This is important for Google Drive & SharePoint library selection. Both these cloud storage have multiple drives where files can be stored. E.g. Google Drive has My Drive & Shared Drive while SharePoint can have multiple drives inside multiple sites. This parameter helps CloudFiles identify which drive to pick / push the file.
The drive ID can be copied using the meta data in CloudFiles dashboard as shown in the steps in the Path to file section above.
5 - Return Values
The Copy Resource action returns the following values. These can be used in later actions to chain together actions and create complex automations.
1. Action Status - This is a success or failure message based on whether the action executed correctly.
Need help? Book time with our team of experts.