To make sure this action works with your Cloud Storage, you need to understand What is an 'Automation User' and how does it work?
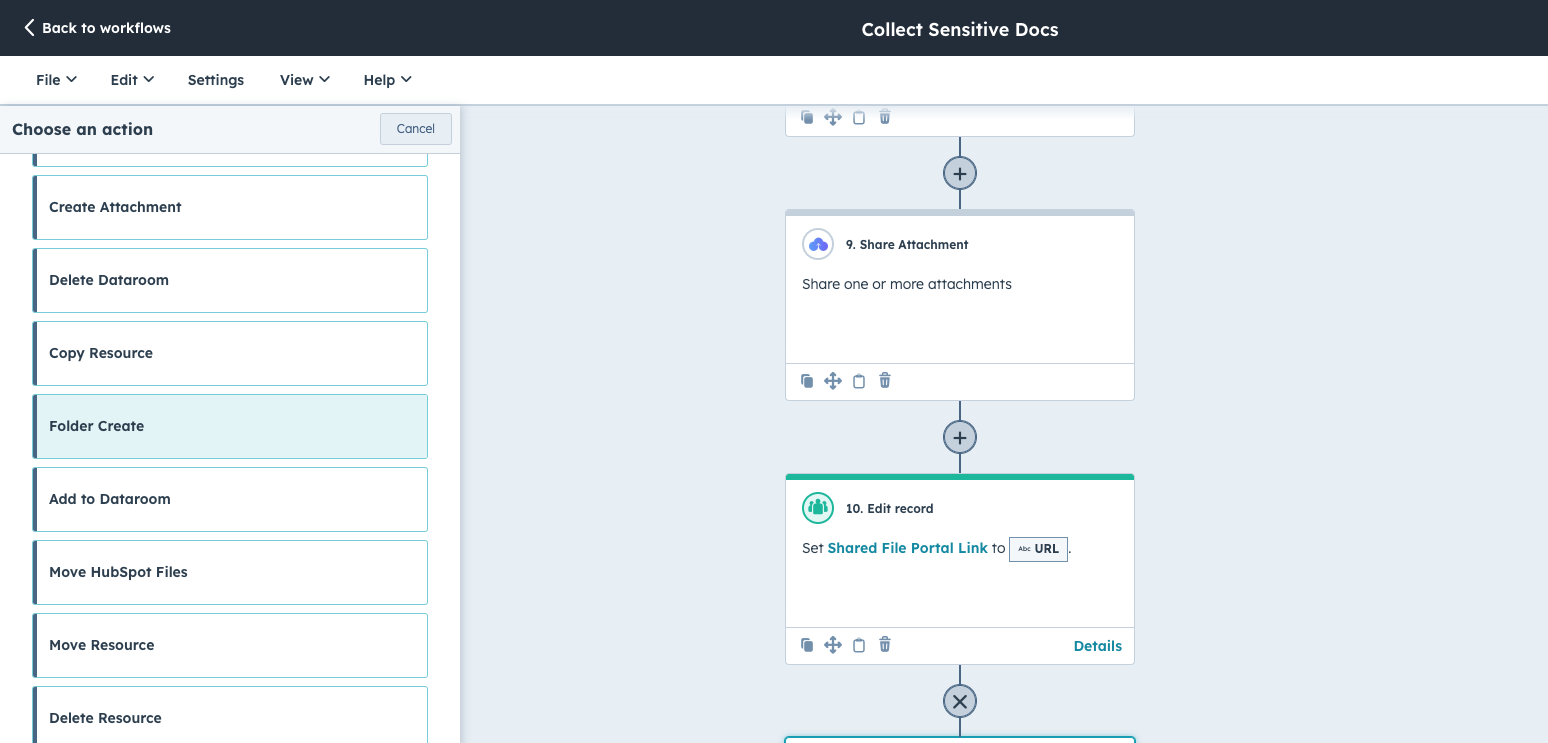
The Create folder action will require the following parameters:
- Library - The desired library where the folder must go (e.g. SharePoint, Google Drive etc...)
- Destination parameters- Various parameters that specify where the folder will be created. These parameters can change after you select the library
- Folder name- Final name of the folder that would be created through this action.
In the sections below, we detail out each of the parameters that you can see in this action.
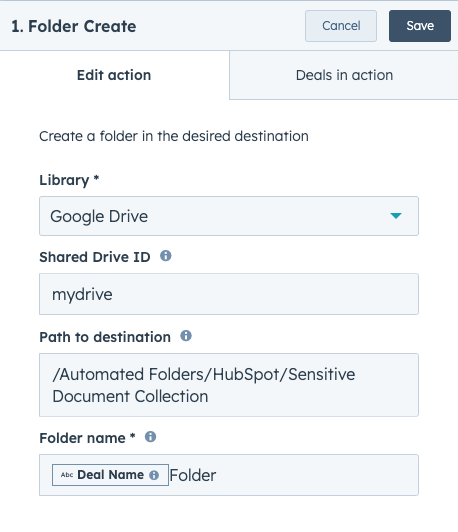
1 - Library
Library is the desired Cloud storage from where you want to create the folder. For files and folders, anything between CloudFiles, OneDrive, SharePoint, Box or Dropbox can be selected.

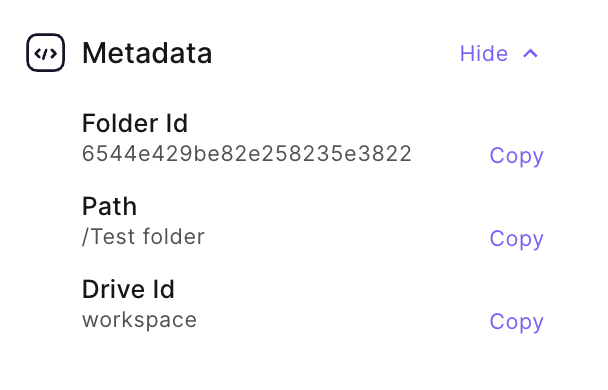
2 - Shared Drive ID / Drive
This is important for Google Drive & SharePoint library selection. Both these cloud storage have multiple drives where files can be stored. E.g. Google Drive has My Drive & Shared Drive while SharePoint can have multiple drives inside multiple sites. This parameter helps CloudFiles identify which drive to pick the file or folder from.
In order to retrieve this Drive ID, follow the simple steps below -
- Find the CloudFiles widget from any HubSpot record, and click on CloudFiles. It will redirect you to your CloudFiles storage.
- Under the libraries tab, navigate to the file or folder that you are trying to attach.
- Copy the parameter from the meta data on the right side of the screen.
Parameters preview is shown in the image below -
3 - Path to destination
This specifies the destination folder in which this new folder will be created. You can specify this using a simple '/' separated path. The path to the folder can be simply copied from the meta data info in the CloudFiles Library using the same steps as specified in the shared drive ID section above.
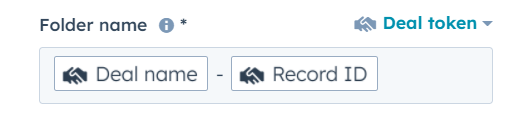
4 - Folder name
This is the name you wish to give your newly created folder. Usually it's a good practice to use personalization tokens such as deal name or ID to create the folder name. This can help avoid duplicity. As shown below, we use the Deal Name & ID to create our final folder name.
5 - Root Folder ID (Optional)
If your folders are deeply nested, this optional parameter can help speed things up. Instead of searching through all the folders every time, which can slow things down, you can enter a specific Folder ID here to make the process faster.
You don’t need to fill in the Drive ID or Path to Destination, as they’re not required because the folders will be created inside the root folder by default.
Even if you want to add the folder inside a specific subfolder, you can do so by adding a slash ( / ) followed by the subfolder name in the Path to Destination field. The purpose of the Root Folder parameter is to simplify the process, so you don’t have to enter the full path manually in such cases.
If you need a Folder ID, you can find it in the CloudFiles Library metadata.
6 - Return Values
The Create Folder action returns the following values. These can be used in later actions to chain together actions and create complex automations.
- Action Status- This is a success or failure message based on whether the action executed correctly.
Need help? Book time with our team of experts.