Widget Configuration
Once you select the Internal Record Widget type, you'll be guided to further settings to customize the widget according to your requirements. The image below shows how this setting looks like.
Key Configuration Fields
- Widget Config Name- Assign a unique name to identify this widget configuration easily.
- Widget Config Description- Provide details about the specific application or purpose of this widget.
- Widget Title- Enter the title text that will be displayed within the widget.
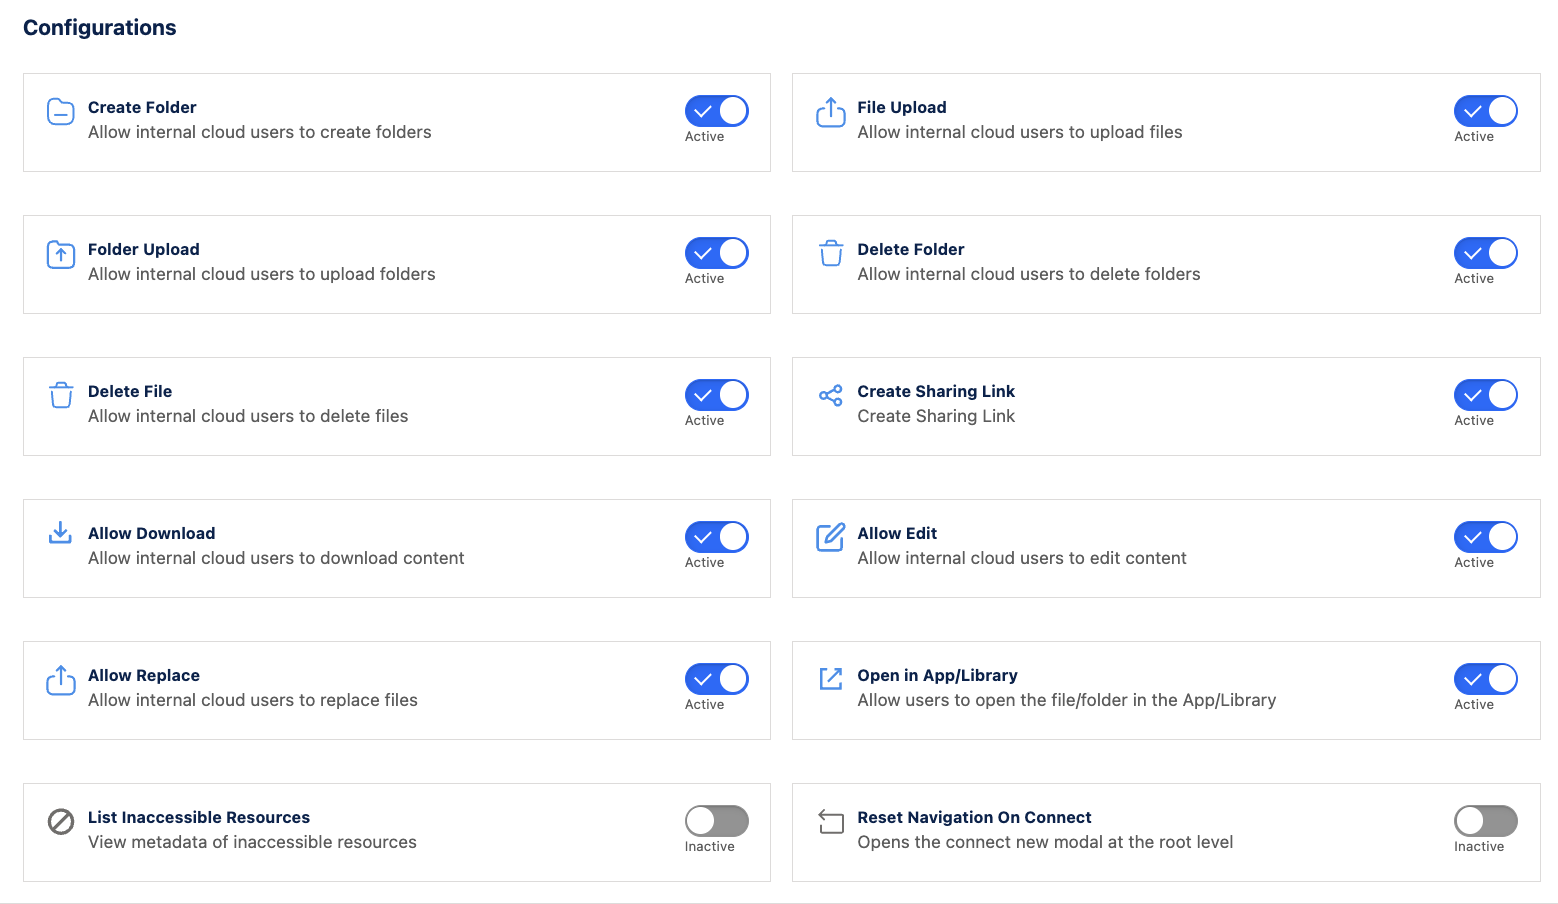
- Configurations- Includes features like Create Folder, File Upload, Folder Upload, Delete Folder, Delete Files, Create Sharing Link, Allow Download, Allow Edit, Allow Replace, Open in App/Library, List Inaccessible Resources and Reset Navigation On Connect which can be enabled or disabled based on your needs.
- Widget Columns- Configure the columns to display in the widget. Allows users to configure the data fields (e.g., Name, Created By, Created On, Modified On) displayed in the widget. Click "Add Columns" to customize the view.
- Mandatory Widget Columns- Define required columns that must be filled when uploading a file.
- Preview in Salesforce – Opens the file preview within Salesforce.
- Open within library in a new tab – Opens the document in a separate tab within the document library.
- None – Disables file click actions, requiring users to manually download files.
- File Click Behavior - This setting determines what happens when a user clicks on a file within the widget. Users can choose from the following options:
- Preview in Salesforce – Opens the file preview within Salesforce.
- Open within library in a new tab – Opens the document in a separate tab within the document library.
- None – Disables file click actions, requiring users to manually download files.
- Widget Base Path - Sets the default document location, ensuring organized content and restricted access.
- File Upload Restriction- Limits the allowed file types for internal users.
- List View Controls - Controls how long text is displayed in the list view
- Clip - Truncates long text.
- Wrap- Displays text across multiple lines.
- Resource Actions - Define custom actions in the widget at the resource level.
- List Actions - Define custom actions in the widget at the list level - applicable for multiple resources selected together.
To read about these configuration fields in detail and understand how to implement them within your organization, please refer to the Internal Record Widget Guide.
Core Features of Internal Record Widget
Following are the core features of Internal Record Widget and its configurations steps -
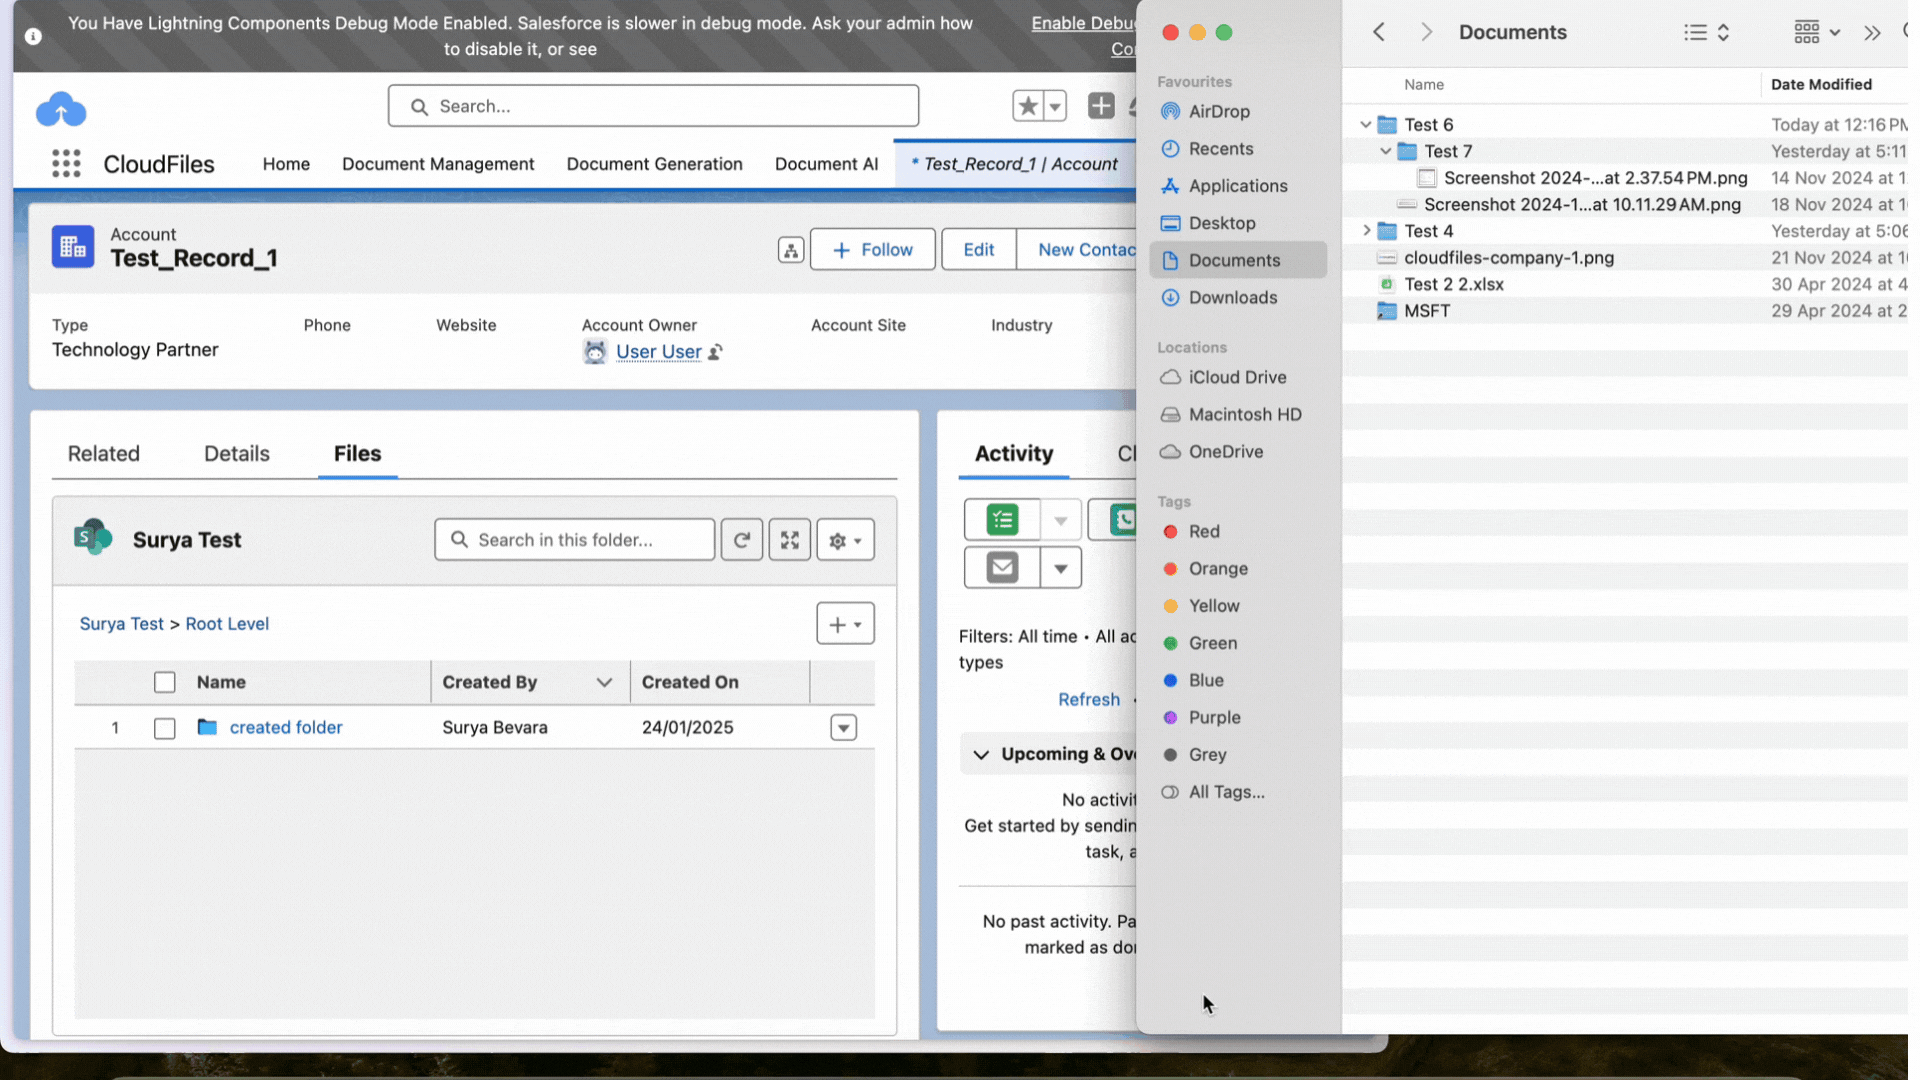
1 - Create Folder
This configuration allows internal cloud users to create folders directly in the external folder attached to the Salesforce record.
Follow the steps mentioned below:
- Open CloudFiles Widget – Navigate to the widget in your record.
- Click "New Folder" – Locate and select the New Folder button.
- Enter Folder Name – Type the folder name in the popup.
- Confirm – Click Save/Create to add the folder.
Refer to the GIF below for a visual understanding-

2 - File and Folder Upload
This configuration allows internal cloud users to upload files and folder to the connected external storage. There are two seperate toggles for file and folder upload to ensure that if CloudFiles user does not want to allow folder upload to the internal widget, they can do so.
Uploading a File in the Widget
Follow the steps listed below to upload a file -
- Go to the Widget - Open the CloudFiles widget under the relevant account, opportunity, or record.
- Click "Upload Files" - Locate the Upload Files button at the top. Click it to open the file selection window.
- Select a File - Choose the file(s) from your system and confirm.
- Confirmation The selected file(s) will be uploaded and listed in the widget.
Refer to the GIF below for a visual understanding-
Uploading a Folder in the Widget
You can upload entire folders for better file organization by following these steps -
- Go to the Widget - Open the CloudFiles widget under the relevant account, opportunity, or record.
- Click "Upload Files" - Click the dropdown arrow next to Upload Files.
- Select Folder - Choose Folder from the dropdown menu.
- Choose a Folder - Select the folder from your system and confirm.
- Confirmation - The folder and its contents will be uploaded and listed in the widget.
Refer to the GIF below for a visual understanding-
How to Use Drag and Drop for Folder Upload?
The widget supports a drag-and-drop feature, making it easy to upload entire folders directly from your system. Follow these simple steps to use this feature:
- Navigate to the Widget - Navigate to the CloudFiles widget under the relevant record (Account, Opportunity, or other record).
- Locate Your Folder - Open your system’s File Explorer (Windows) or Finder (Mac) and locate the folder you want to upload.
- Drag the Folder to the Upload Area - Click and hold the folder. Drag it into the widget’s file section where the existing files and folders are displayed.
- Drop the Folder to Initiate Upload - Once you see the upload area highlight, release the folder. The system will automatically start uploading all the contents within the folder.
Refer to the GIF below for a visual understanding-
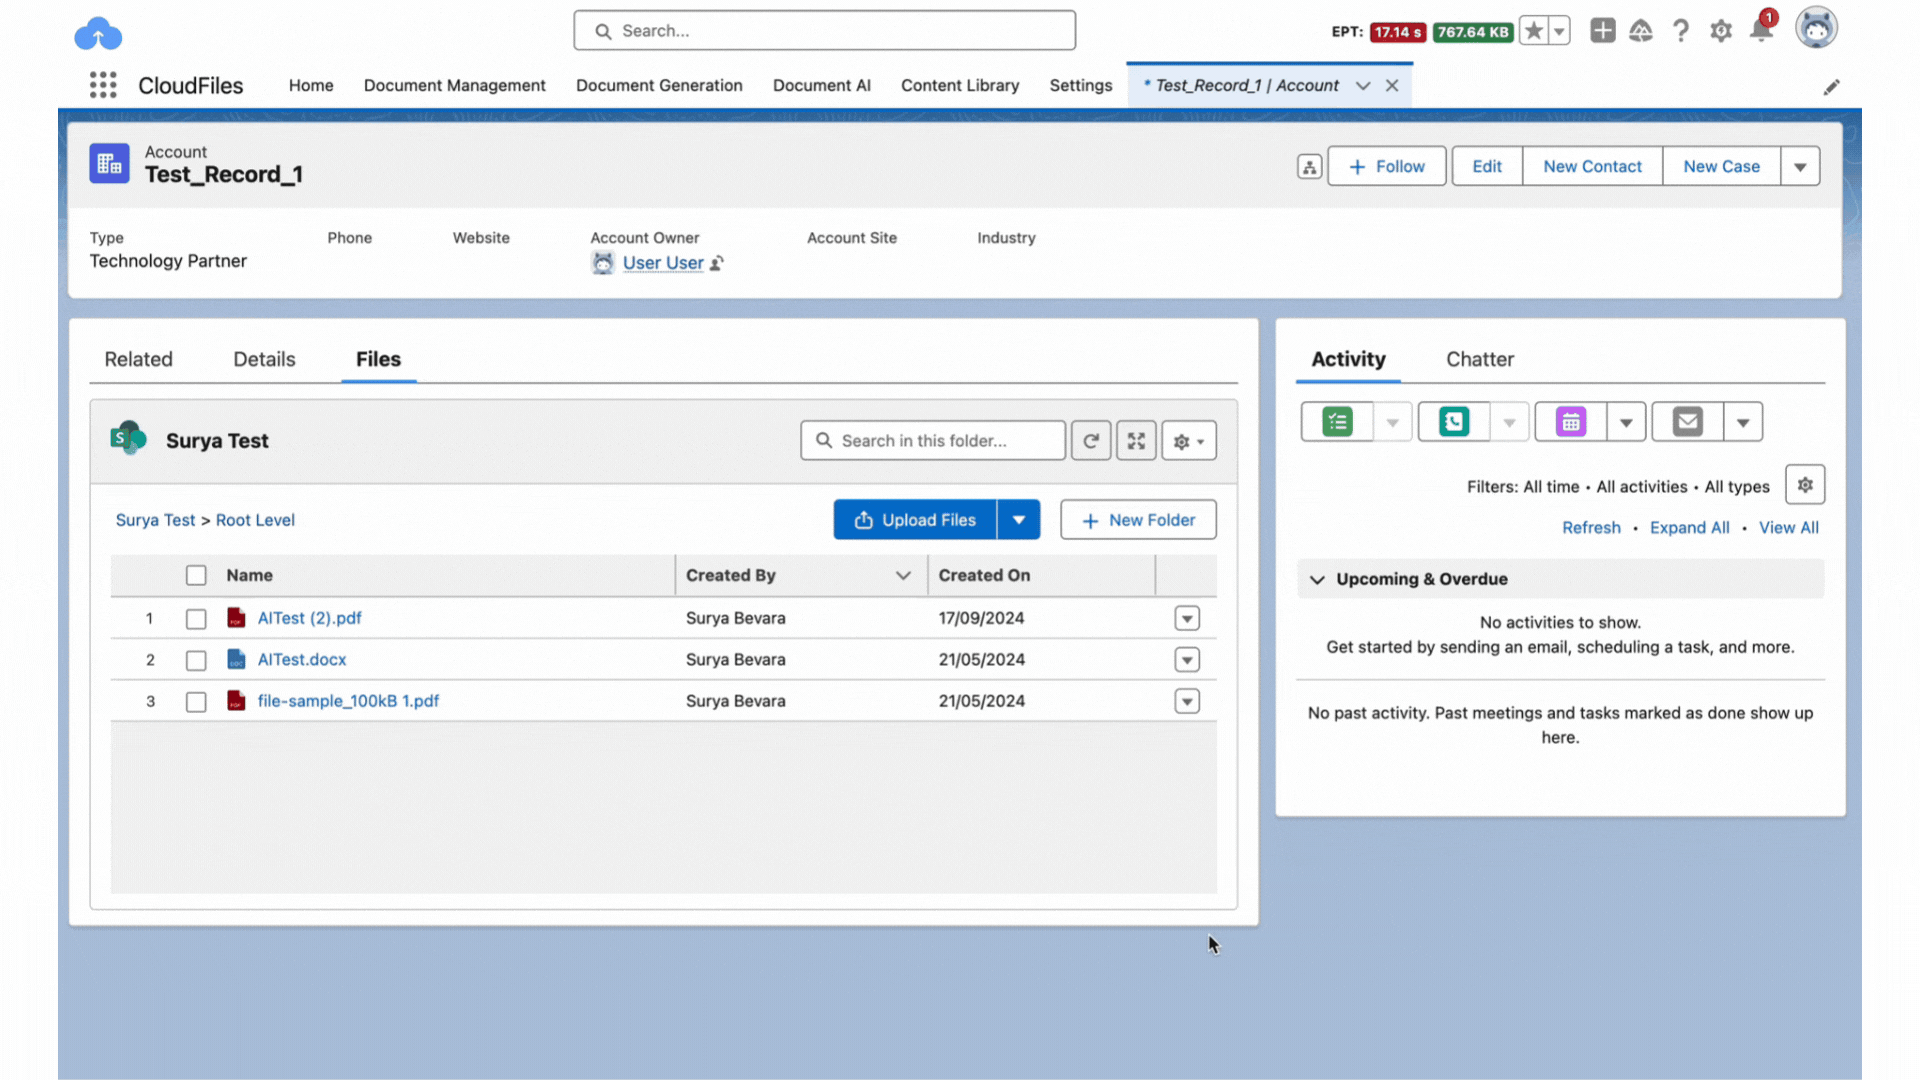
3 - File and Folder Options
The widget supports both single-item actions and bulk actions. Use single-item actions when working with one file or folder at a time. Use bulk actions when you need to act on multiple items simultaneously.
Single-Item Actions
Single-item actions let you open, rename, move, share, preview, download, and delete a file or folder directly from a record page, without leaving Salesforce.
Use this approach when you need to act on one file or one folder at a time.
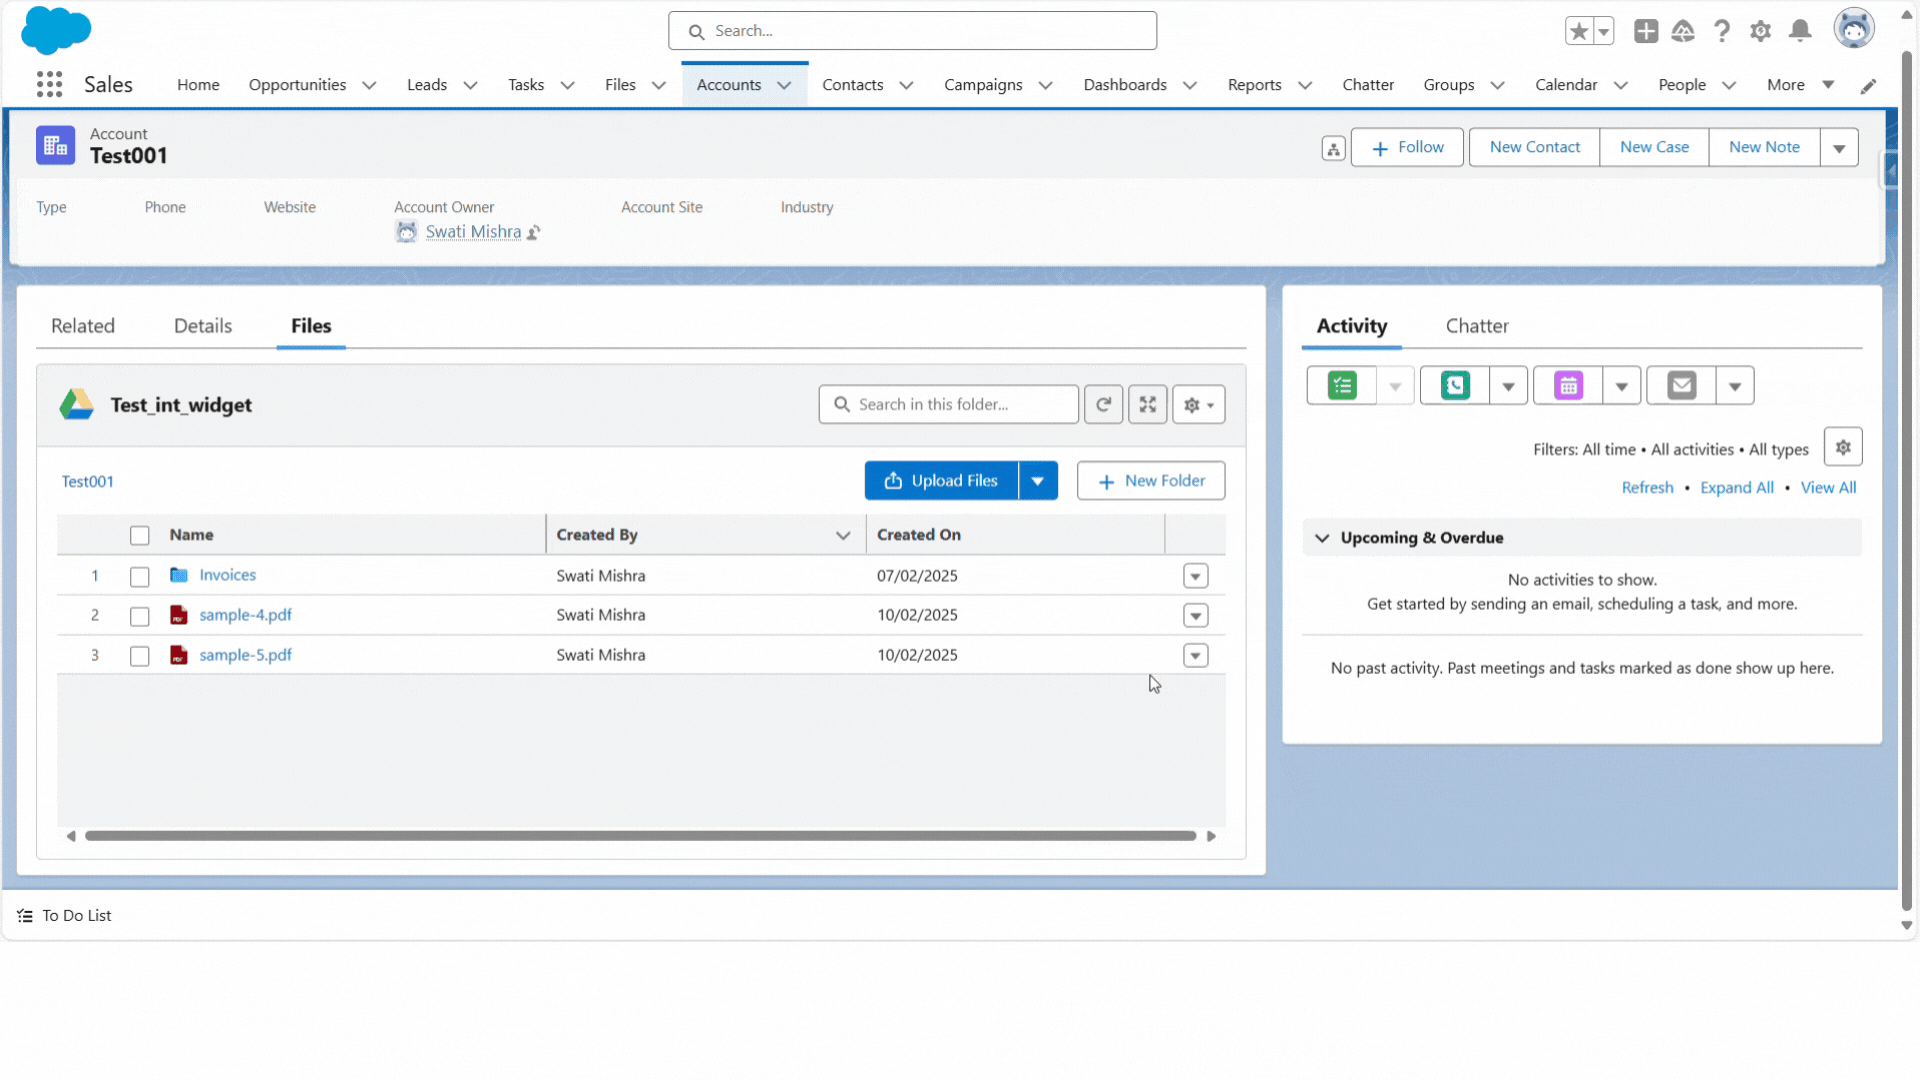
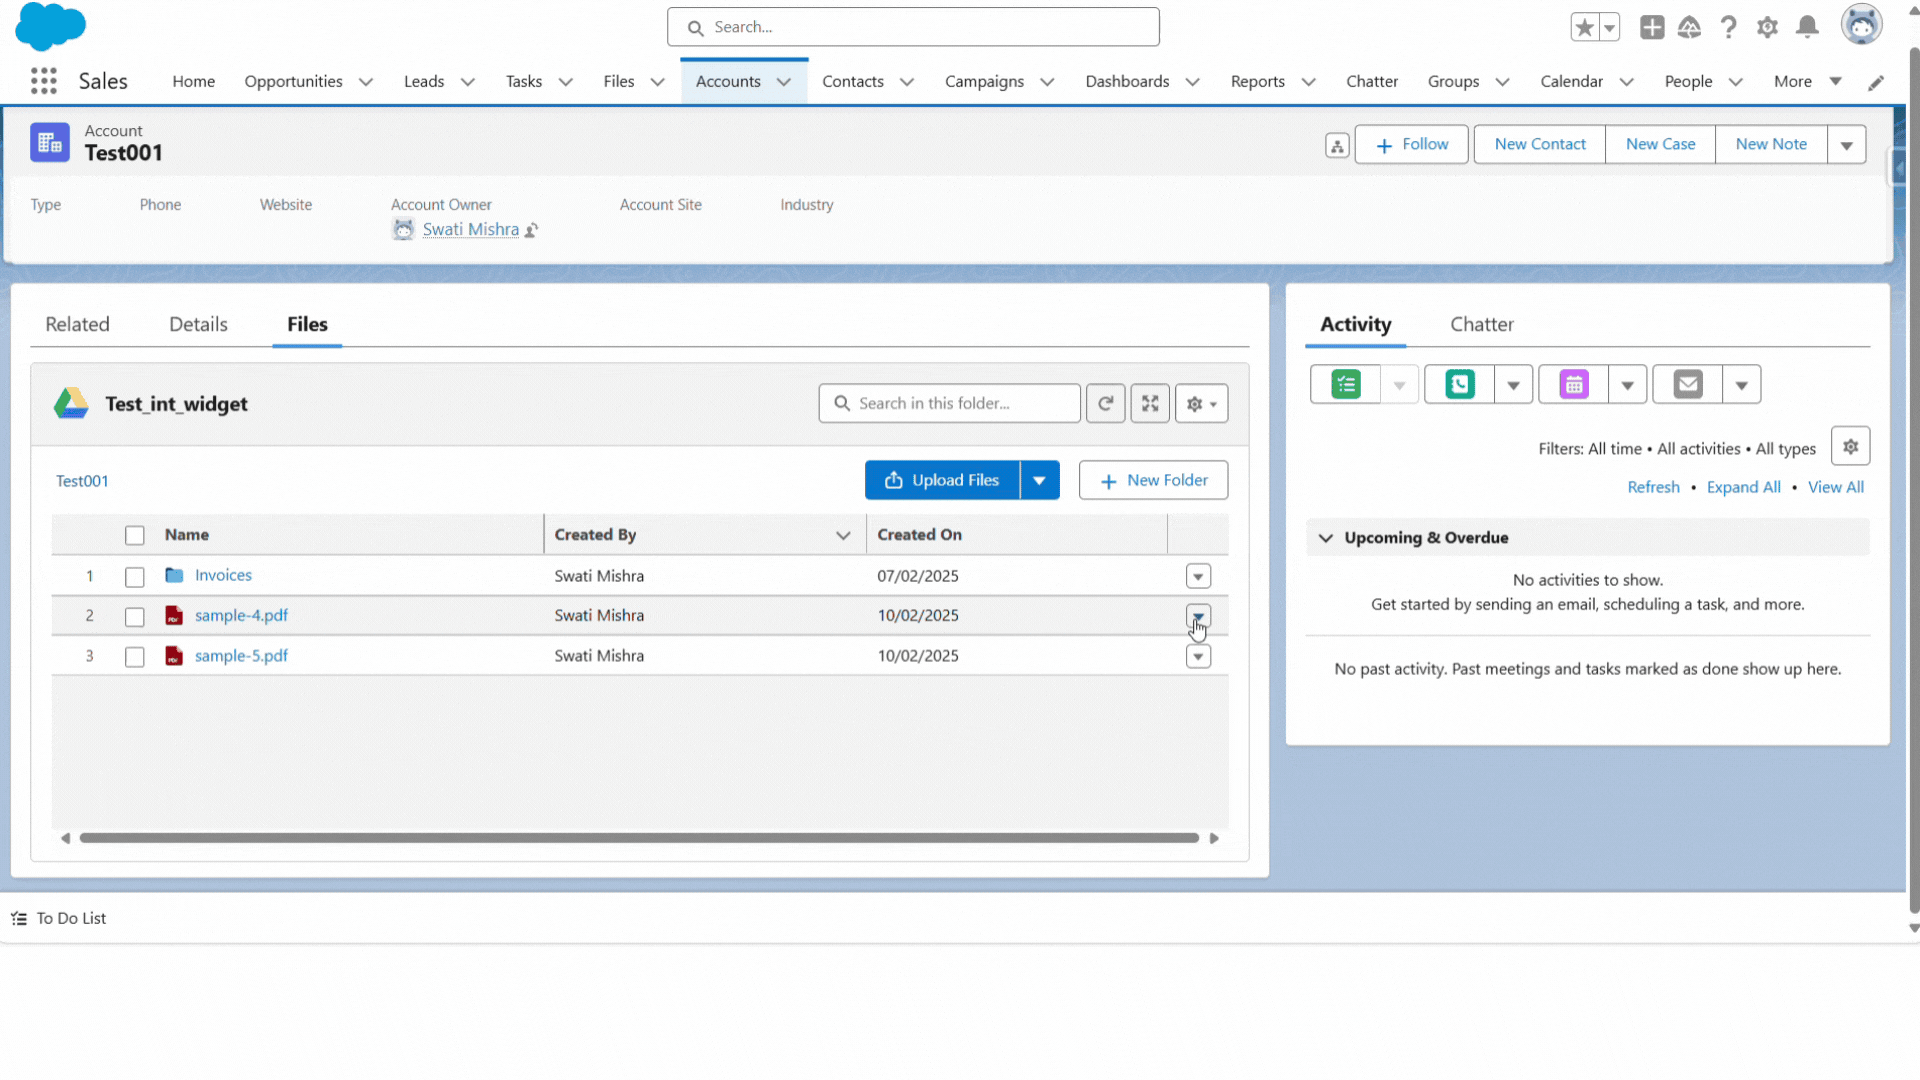
Open the actions menu for a file or folder
- Navigate to a Salesforce record (for example, an Account).
- Click the CloudFiles Widget tab in the record's tab bar.
- Locate the file or folder you want to act on.
- Click the dropdown arrow (⌄) on the right side of the row.
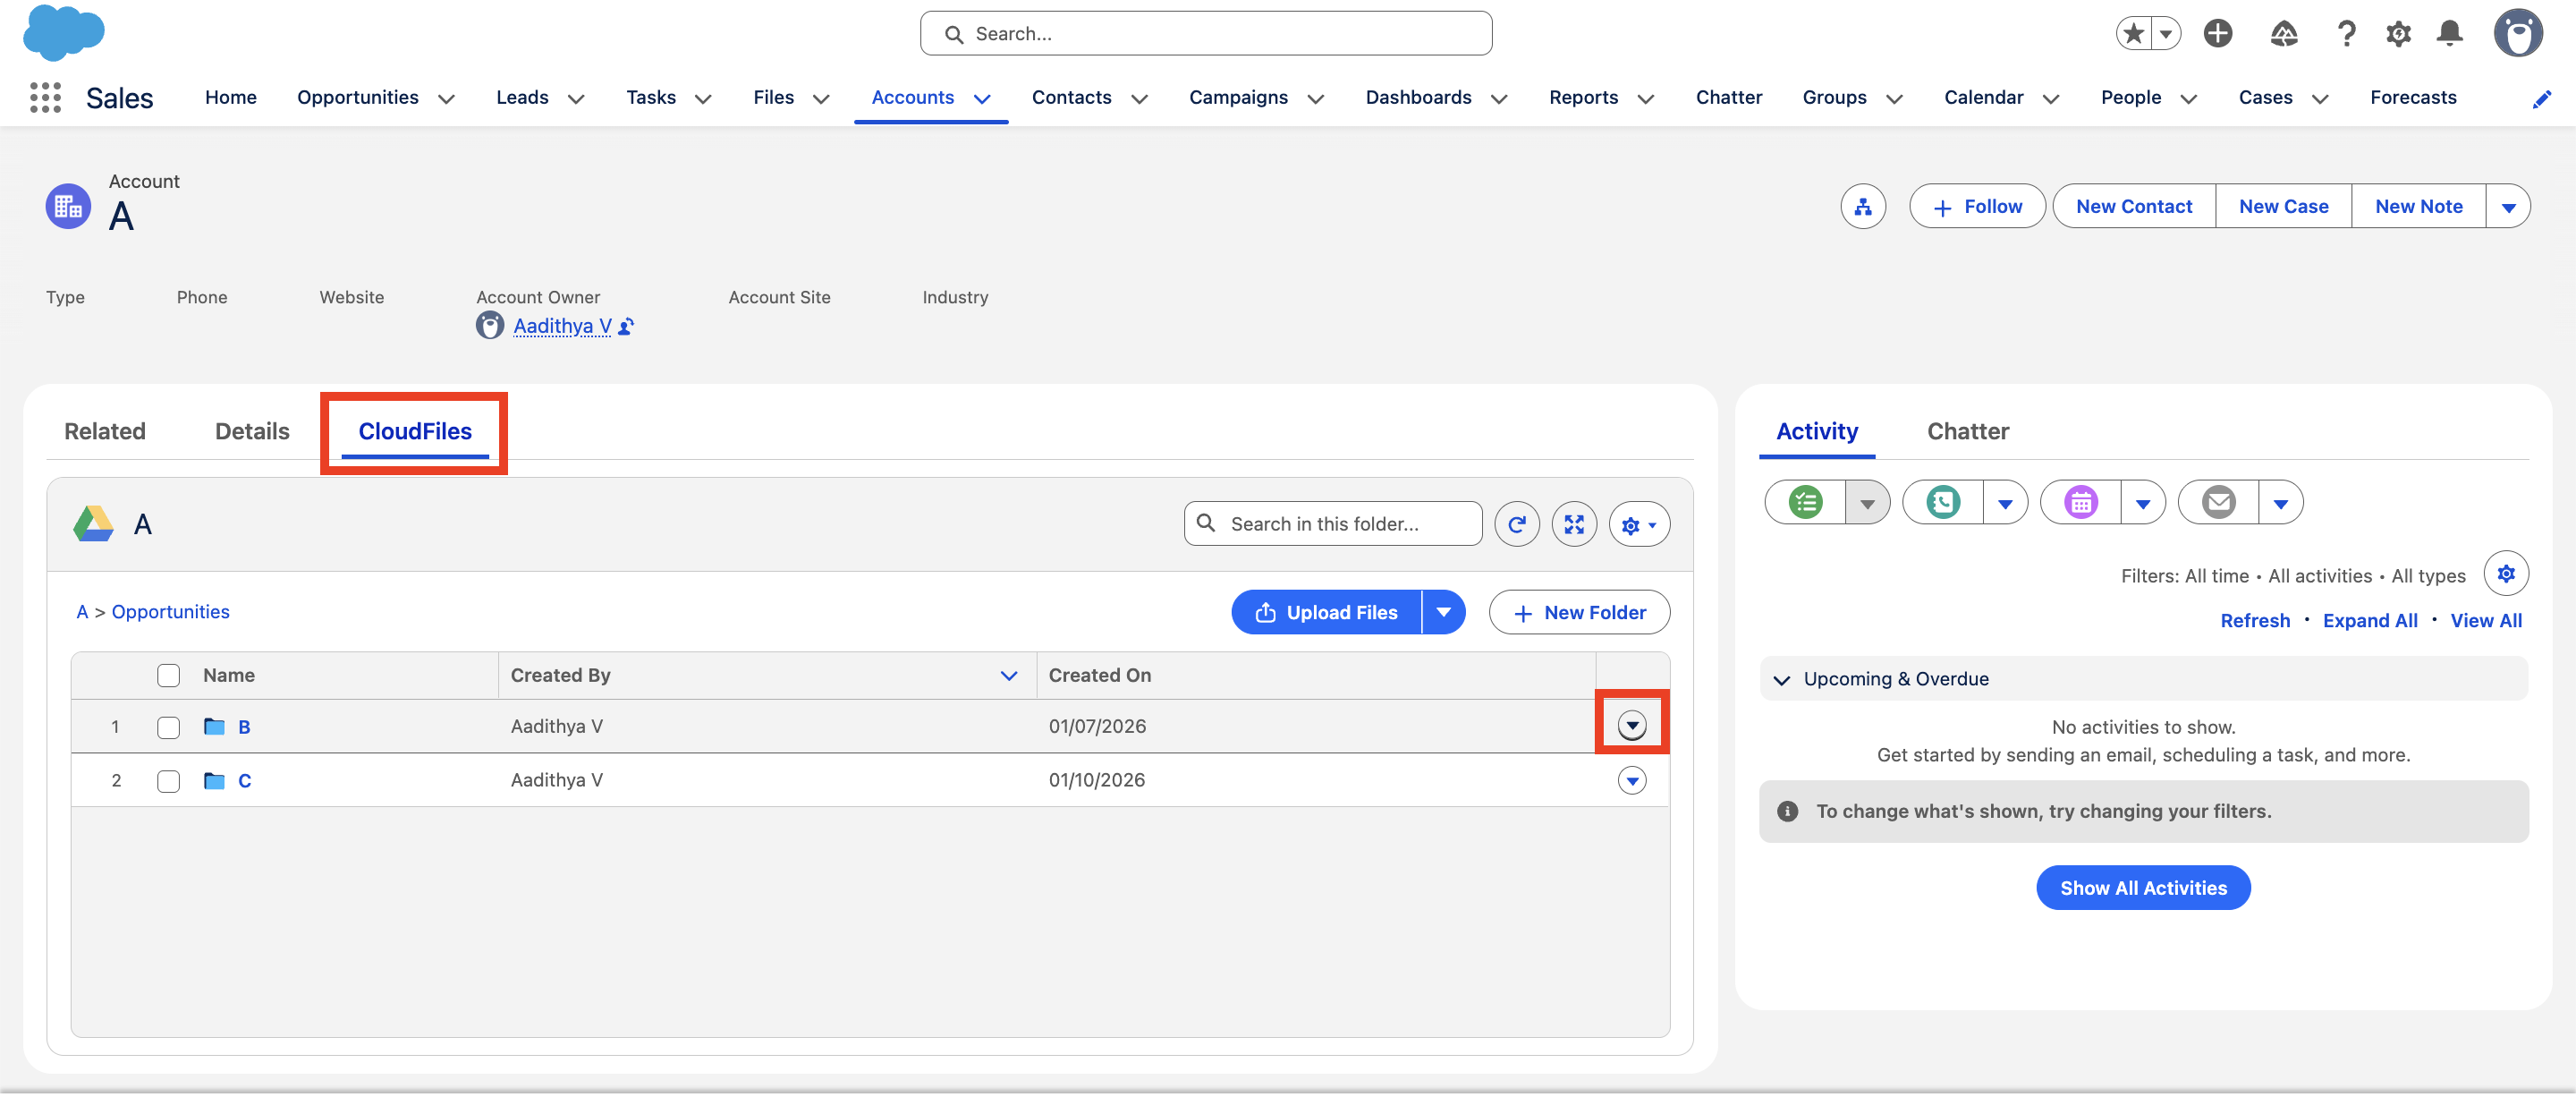
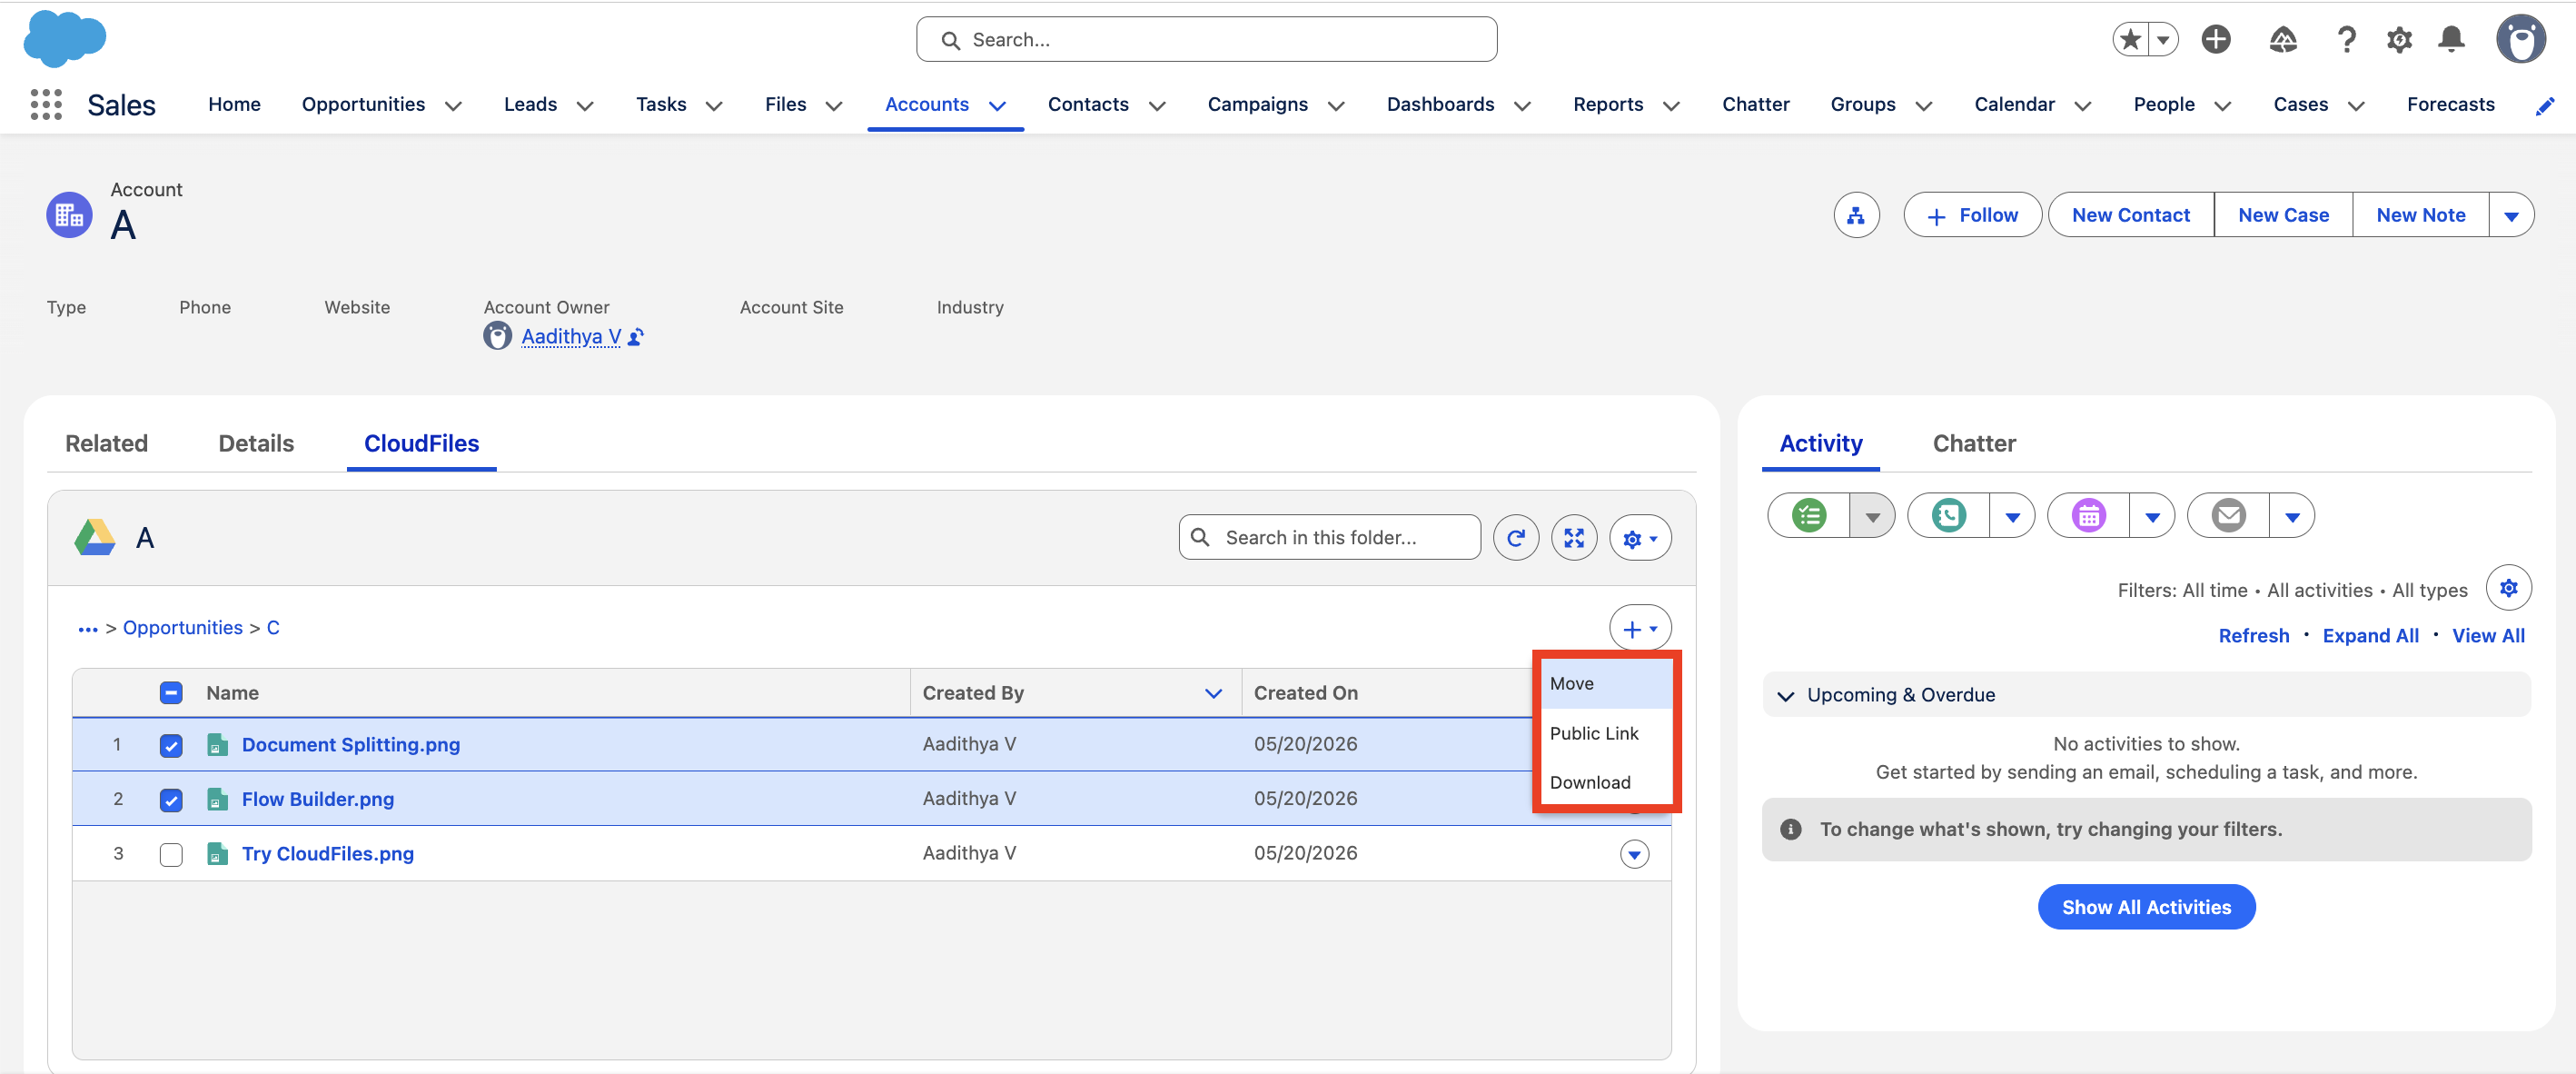
Folder Actions
The following options appear as shown in the image below:

- Open in External Storage - Opens the folder in connected external storage in a new tab.
- Download - Downloads the file to your local machine.
- Rename - Renames the folder.
- Move - Moves the folder to a different location within the connected storage.
- Public Link - Generates a shareable public link for the folder.
- Community Sharing - Shares the folder with Experience Cloud community users.
- Delete - Permanently deletes the folder and its contents.
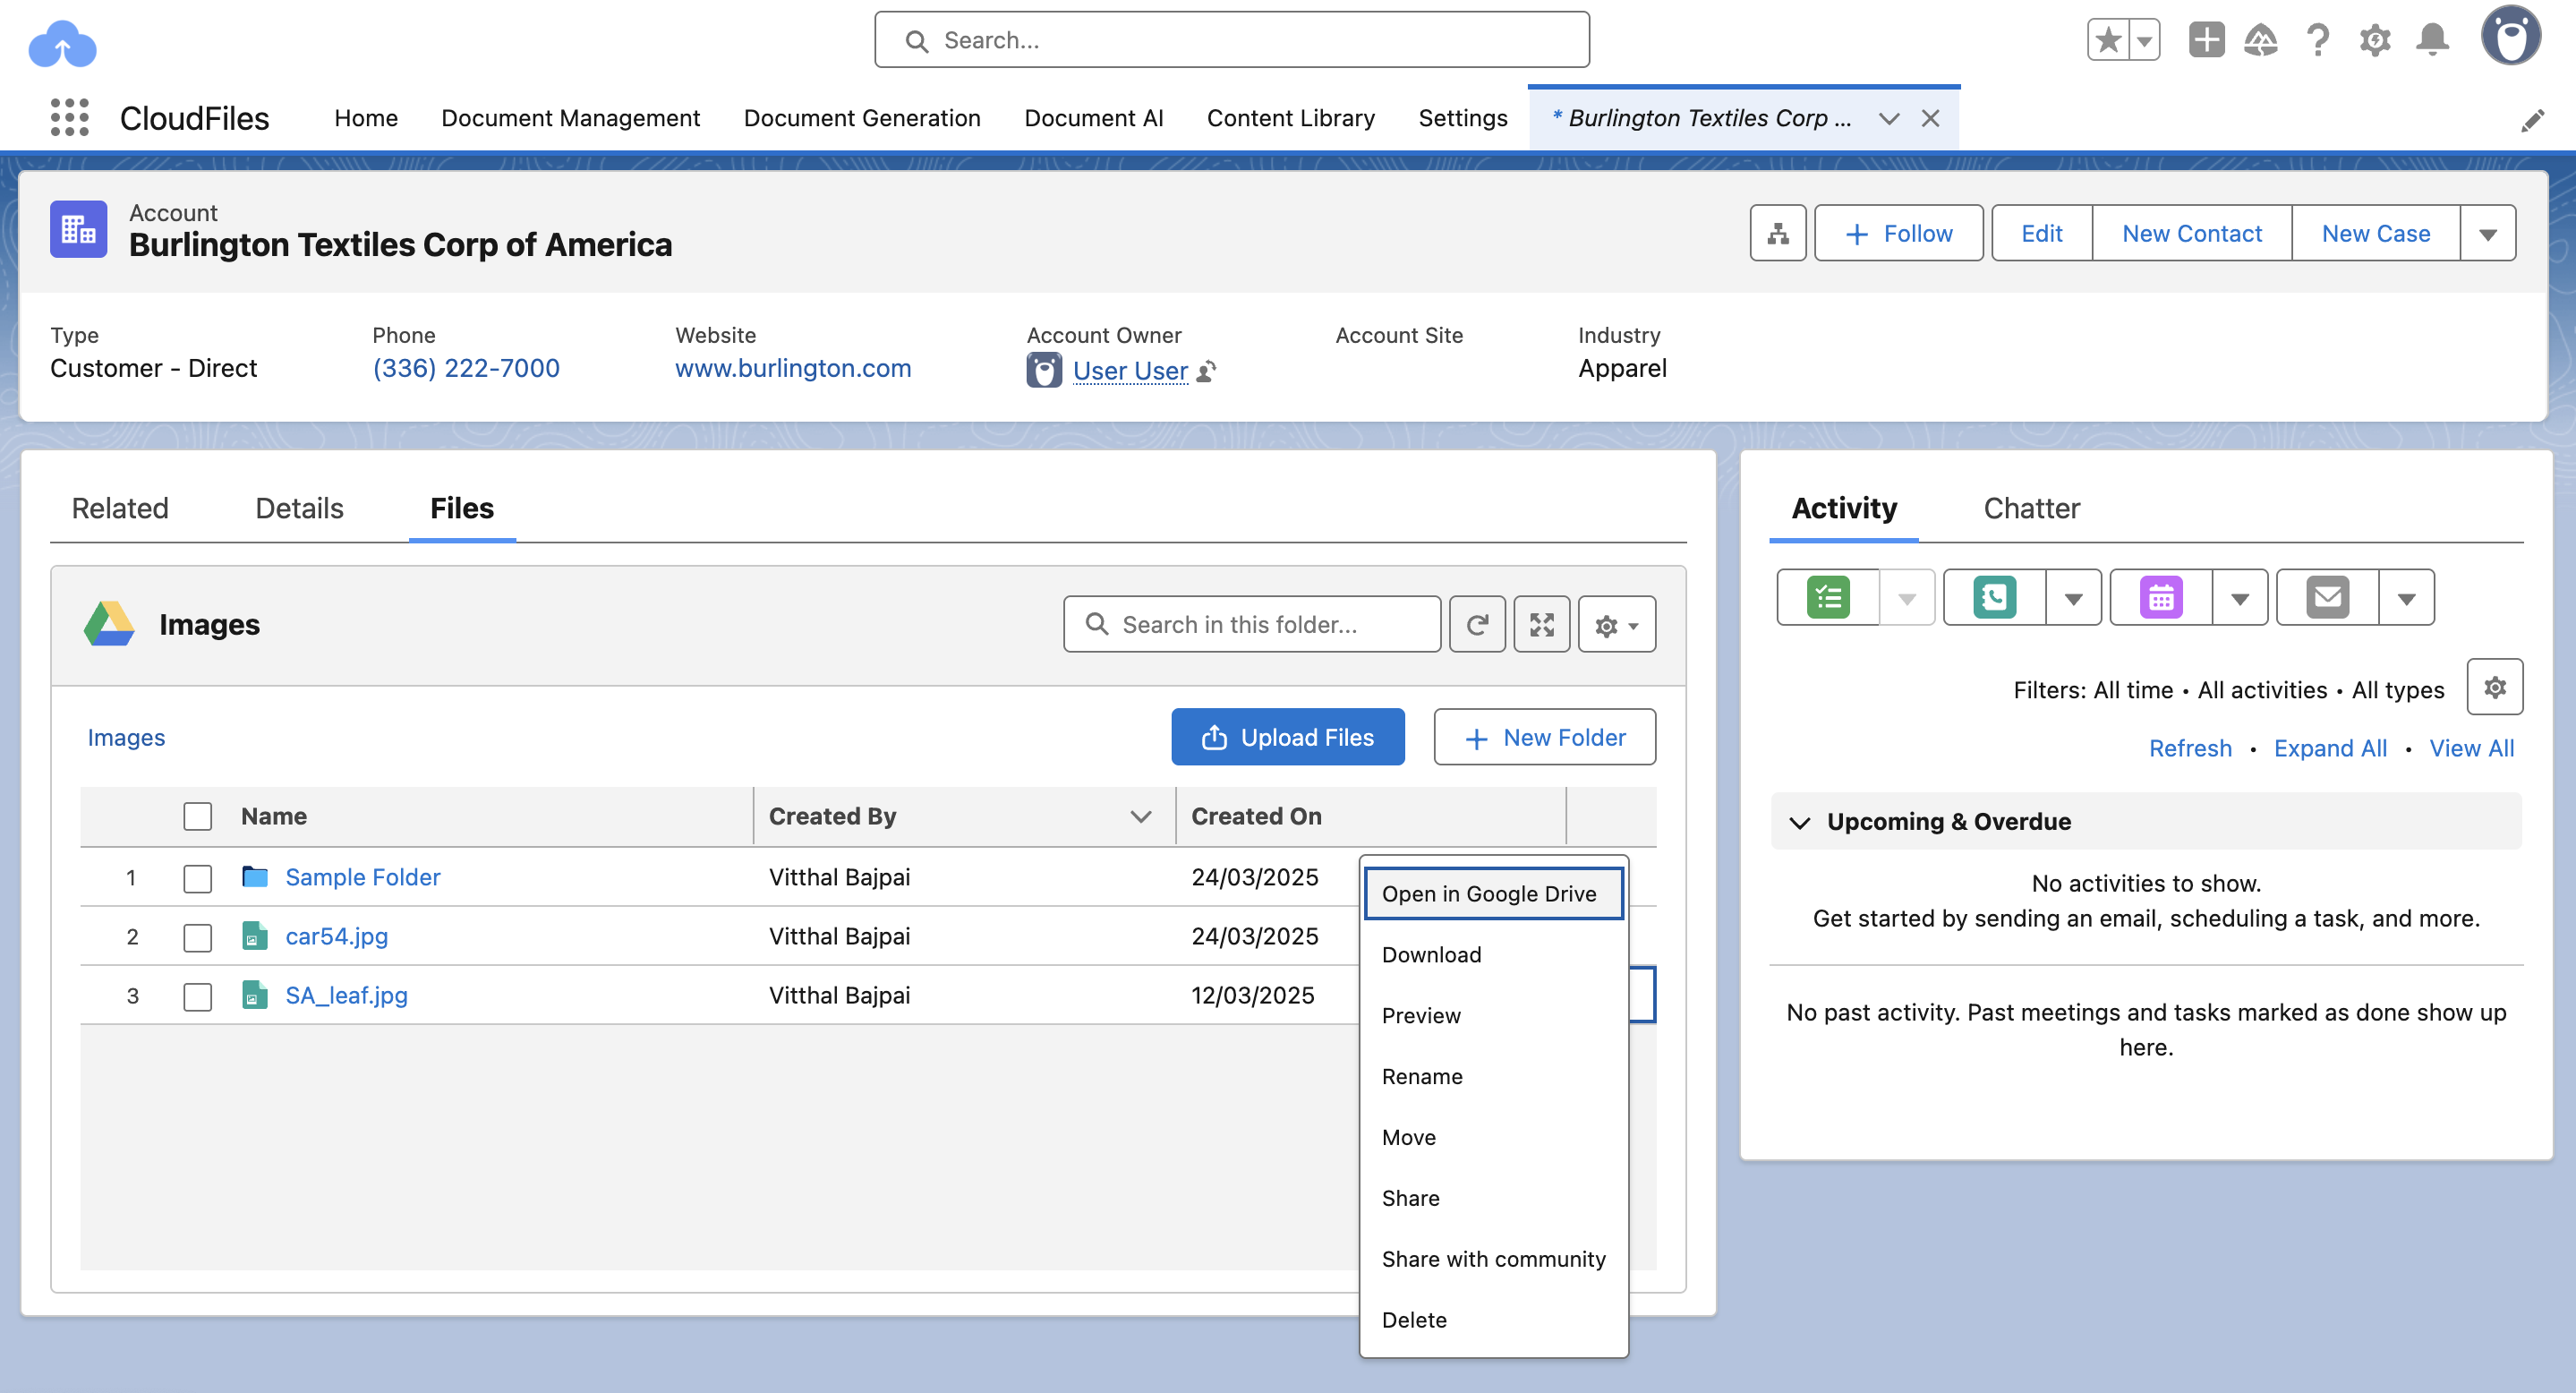
File Actions
The following options appear as shown in the image below:
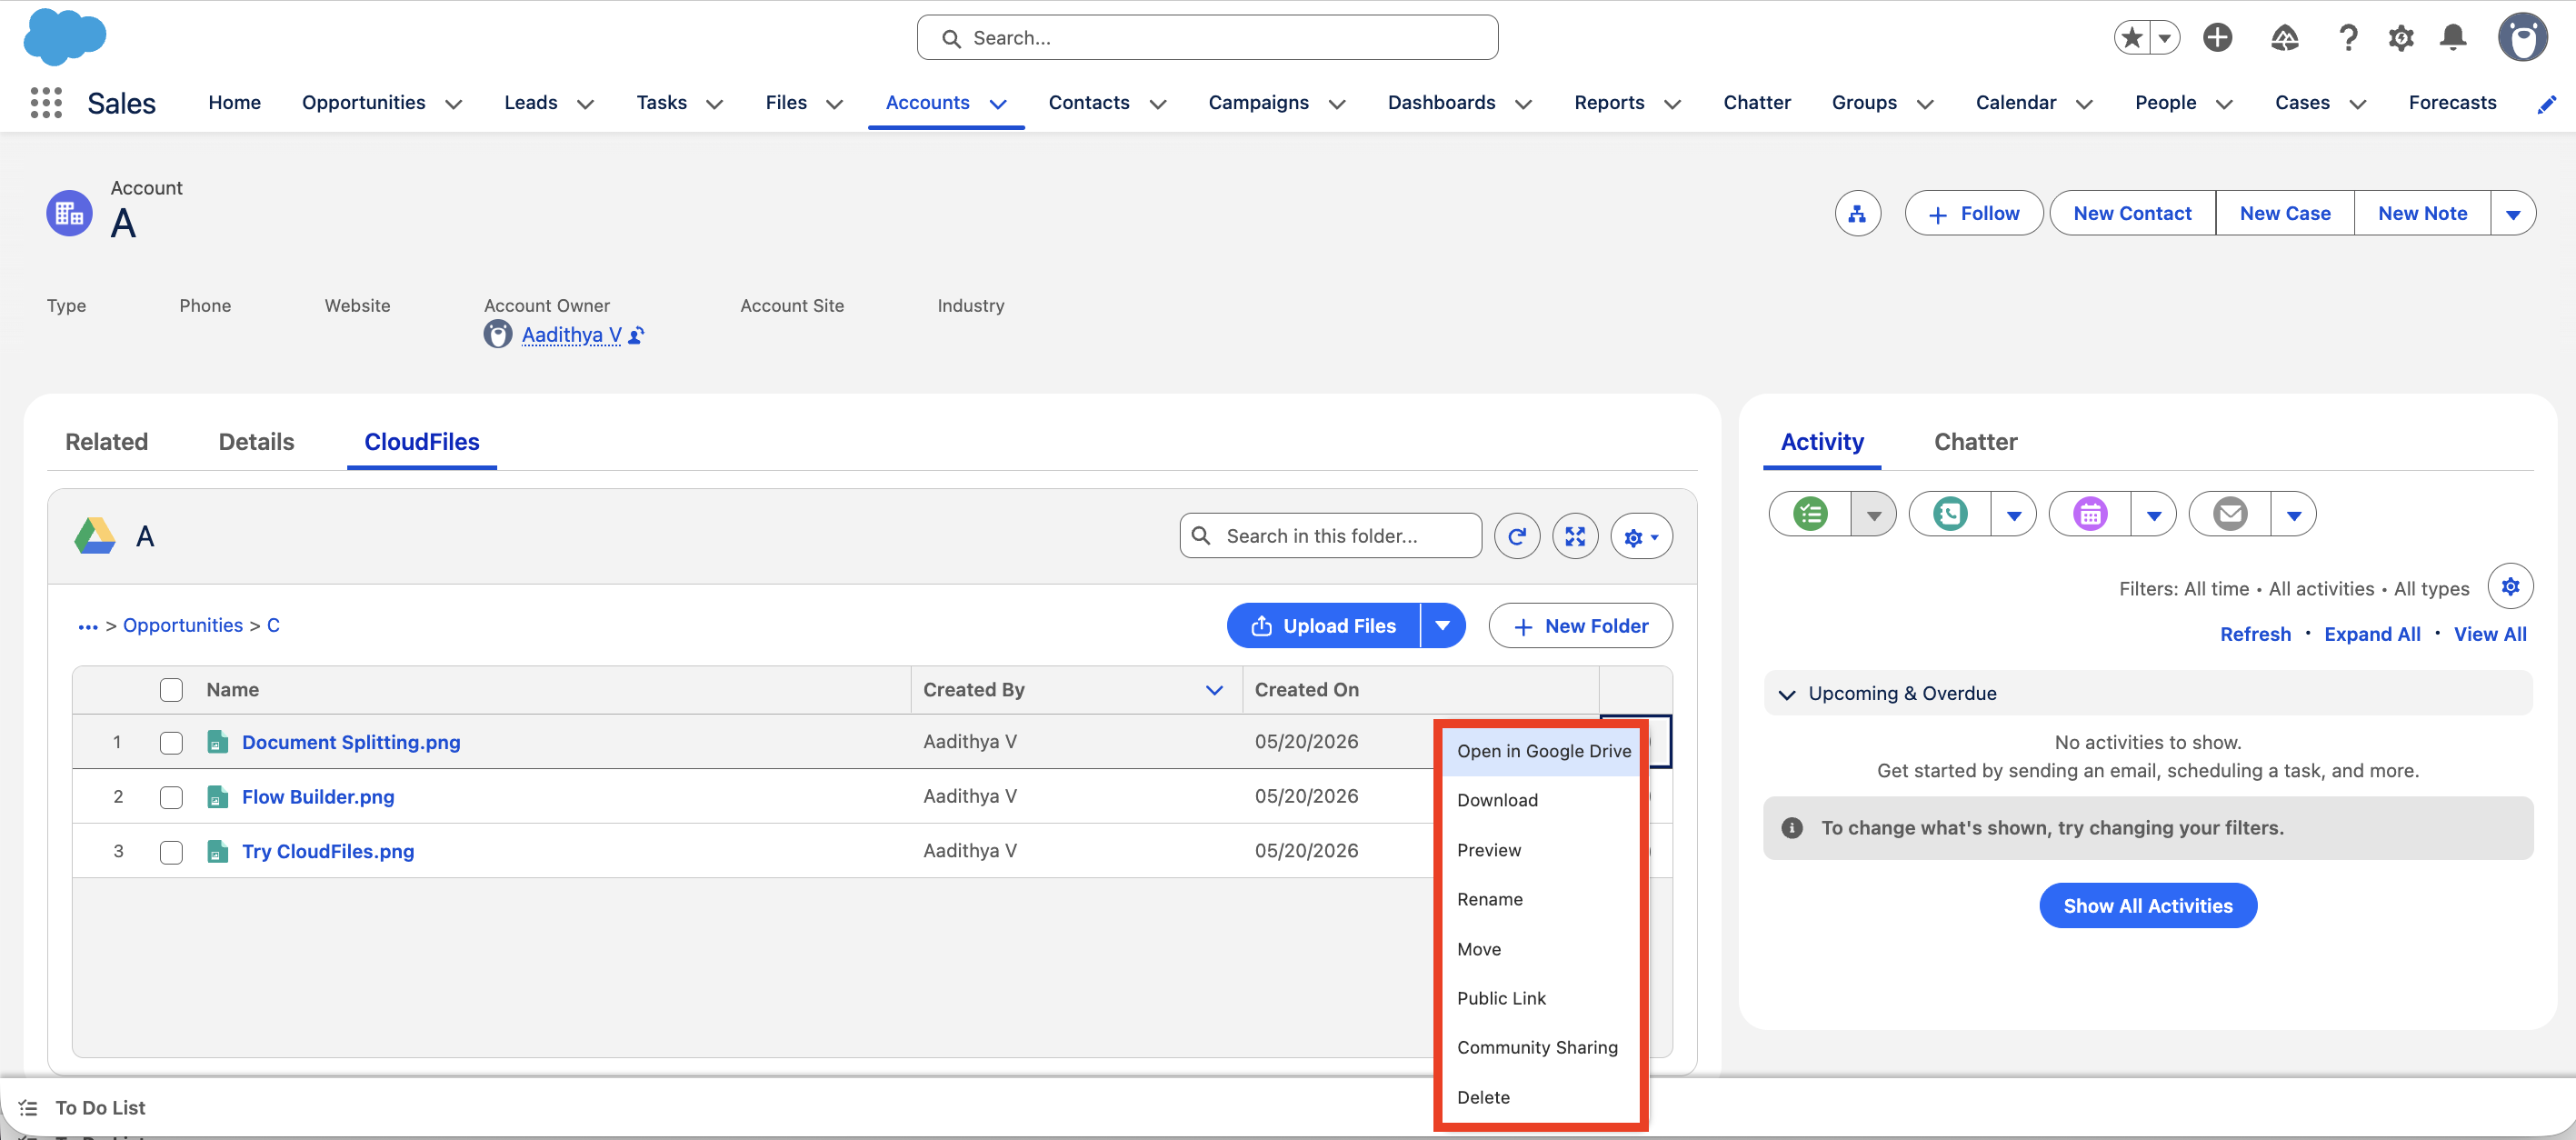
- Open in External Storage - Opens the file in connected external storage in a new tab.
- Download - Downloads the file to your local machine.
- Preview - Opens an inline preview of the file within Salesforce.
- Rename - Renames the file.
- Move - Moves the file to a different folder.
- Public Link - Generates a shareable public link for the file.
- Community Sharing- Shares the file with Experience Cloud community users.
- Delete- Permanently deletes the file.
Bulk Actions
Bulk actions let you move or generate public links for several items at once - directly from a record page, without leaving Salesforce.
Use this approach when you need to act on two or more files or folders at the same time.
- Navigate to a Salesforce record (for example, an Account).
- Click the CloudFiles Widget tab in the record's tab bar.
- Click the checkbox to the left of each file or folder you want to select.
- Once two or more items are selected, a + button appears in the top-right of the file list.
- Click the + to open the bulk actions menu.
The following options appear as shown in the image below:
- Move - Moves all selected items to a folder you specify.
- Public Link - Generates shareable public links for all selected items at once.
- Download- Downloads the file to your local machine.
Select the action you want to perform. These options are the same whether you have selected files, folders, or a mix of both.
4 - Create Sharing Link
This configuration allows users to create CloudFiles sharing link.
Link Settings
The Link Settings page allows you to configure various sharing options for a file link. Here's a breakdown of the settings:
1 - Status
- Online- The link is active and accessible.
- URL -The file can be accessed using the provided link.
- Copy Link Button- Allows easy copying of the link to share with others.
- Allow File Download- Users who access the link can download the file.
2 - Expiry
- On (Date & Time fields) - Allows setting an expiration date and time for the link. Once expired, the link will no longer be accessible.
- After (Views field) - Sets a limit on the number of times the link can be accessed. If this limit is reached, the link expires.
3 - Security
- Password Protected - If enabled, users must enter a password to access the file.
- Requires Email for Viewing - If enabled, users must provide an email before they can access the file.
Refer to the GIF below for a visual understanding-
File Analytics Dashboard Overview
The File Analytics Dashboard provides detailed insights into how your shared files are being accessed and engaged with. Below is a breakdown of the key components:
1 - File Details - This section provides general information about the shared file.
- File Name: Displays the name and format of the file.
- Created By: Shows the name of the user who uploaded the file.
- Created At: Indicates the date when the file was uploaded.
- Total Views: The total number of times the file has been accessed.
- Status: Displays whether the file is currently Live (accessible) or Expired.
- Available Actions:
- Edit Link Settings: Modify sharing permissions, expiration rules, and security settings.
- Export Analytics: Download engagement data for reporting purposes.
- Preview: Open and review the file.
2 - File Engagement Metrics - This section provides insights into how the file is being interacted with.
- Total Time Spent: The total duration for which the file has been viewed.
- Downloads: The number of times the file has been downloaded.
- Unique Views: The count of distinct viewers who accessed the file.
- Total Views: The total number of times the file has been opened, including multiple views by the same person.
- Engagement Graph: A visual representation of the total viewing duration.
3 - Viewer Details - This section tracks location-based access and engagement data.
| Parameter | Description |
|---|---|
| Views | Displays the geographic location from which the file was accessed. |
| Shows the email address of the viewer (if email tracking is enabled). | |
| Time Spent | Indicates the duration the file was viewed. |
| Sessions | Tracks the number of times the file was opened. |
| Last Viewed On | Displays the last date when the file was accessed. |
Refer to the GIF below for a visual understanding-
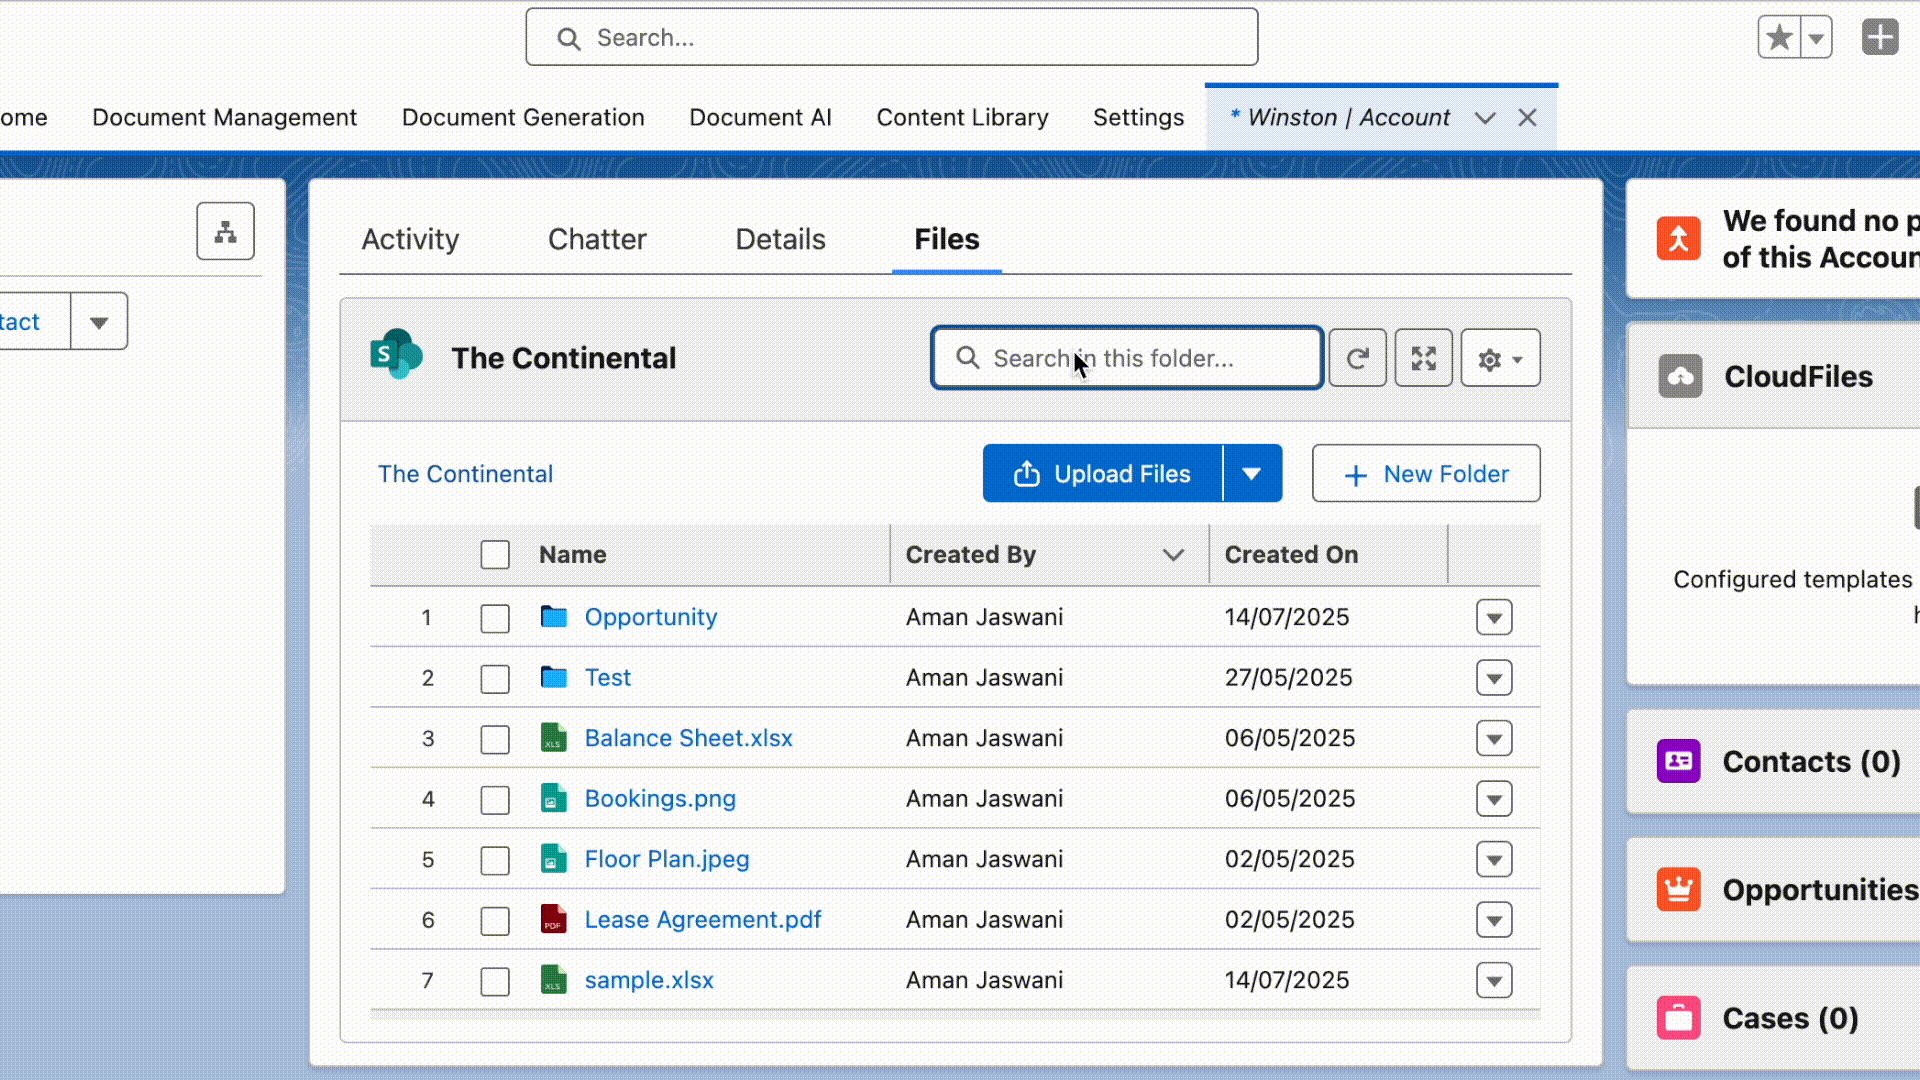
5 - Open In App/Library
This configuration allows user to enable/disable button to open file/folder in app or respective library in the internal record widget.
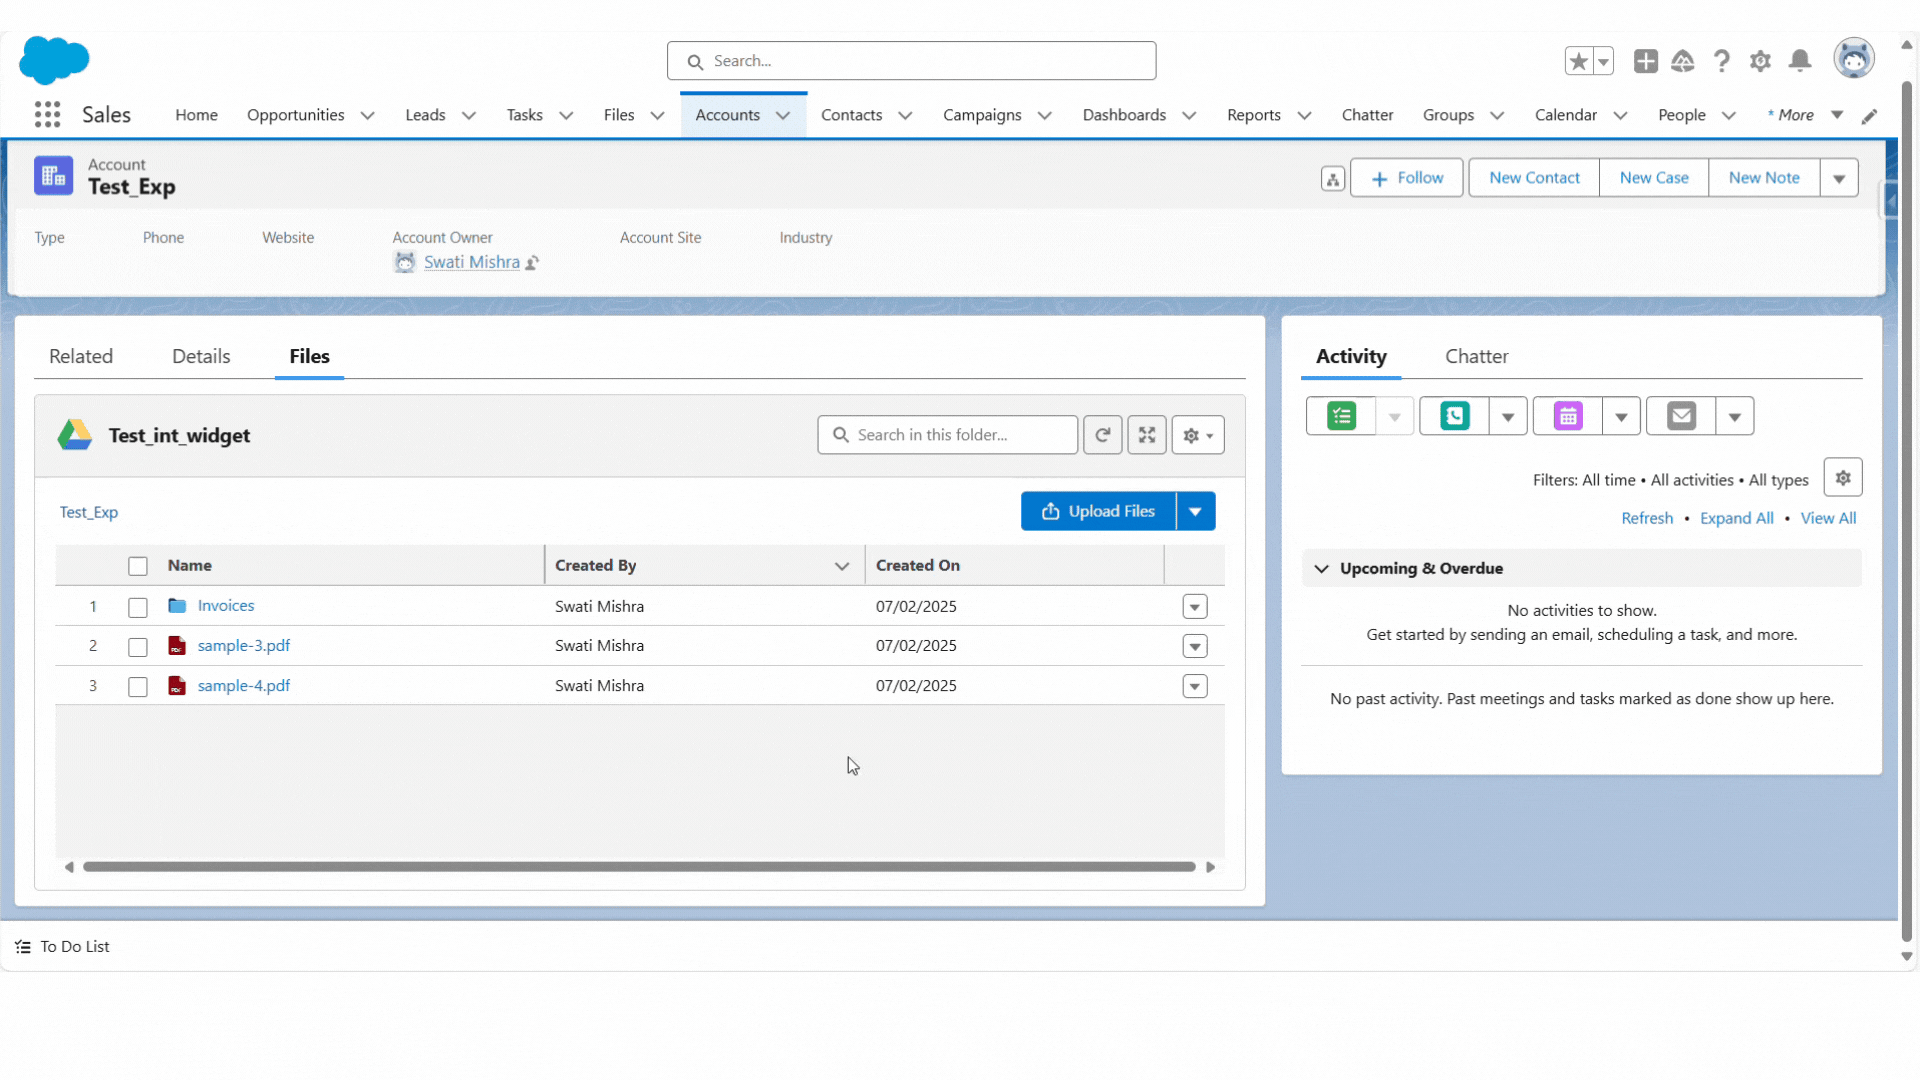
The image below shows how internal record widget looks when the Open in App/Library toggle in the widget configuration is on.
6 - Delete File
This configuration allows internal cloud users to delete files from connected external storage. Follow the steps mentioned below -
- Locate the File – Open the CloudFiles widget under the relevant record and locate the file.
- Open Options – Click the dropdown button next to the file.
- Select "Delete" – Choose Delete and confirm the action.
Refer to the GIF below for a visual understanding-

7 - Delete Folder
This configuration allows internal cloud users to delete folders from connected external storage. Follow the steps mentioned below -
- Locate the Folder – Open the CloudFiles widget under the relevant record and locate the folder.
- Open Options – Click the dropdown button next to the folder.
- Select "Delete" – Choose Delete and confirm the action.
Refer to the GIF below for a visual understanding-
8 - Open in Folder
This configuration allows internal cloud users to directly jump to the actual file location when searching for a file. Follow the steps mentioned below -
- Locate the File – Open the CloudFiles widget under the relevant record and locate the file by typing its name in the search bar.
- Open Options – Click the dropdown button next to the folder.
- Select "Open in Folder" – Choose Open in Folder