Introduction
Through Branding setting, CloudFiles allows you to completely white-label the document viewer with your company logo and custom domain for shared CloudFiles document links. This setting is within the Document Sharing tab in Document Management settings.
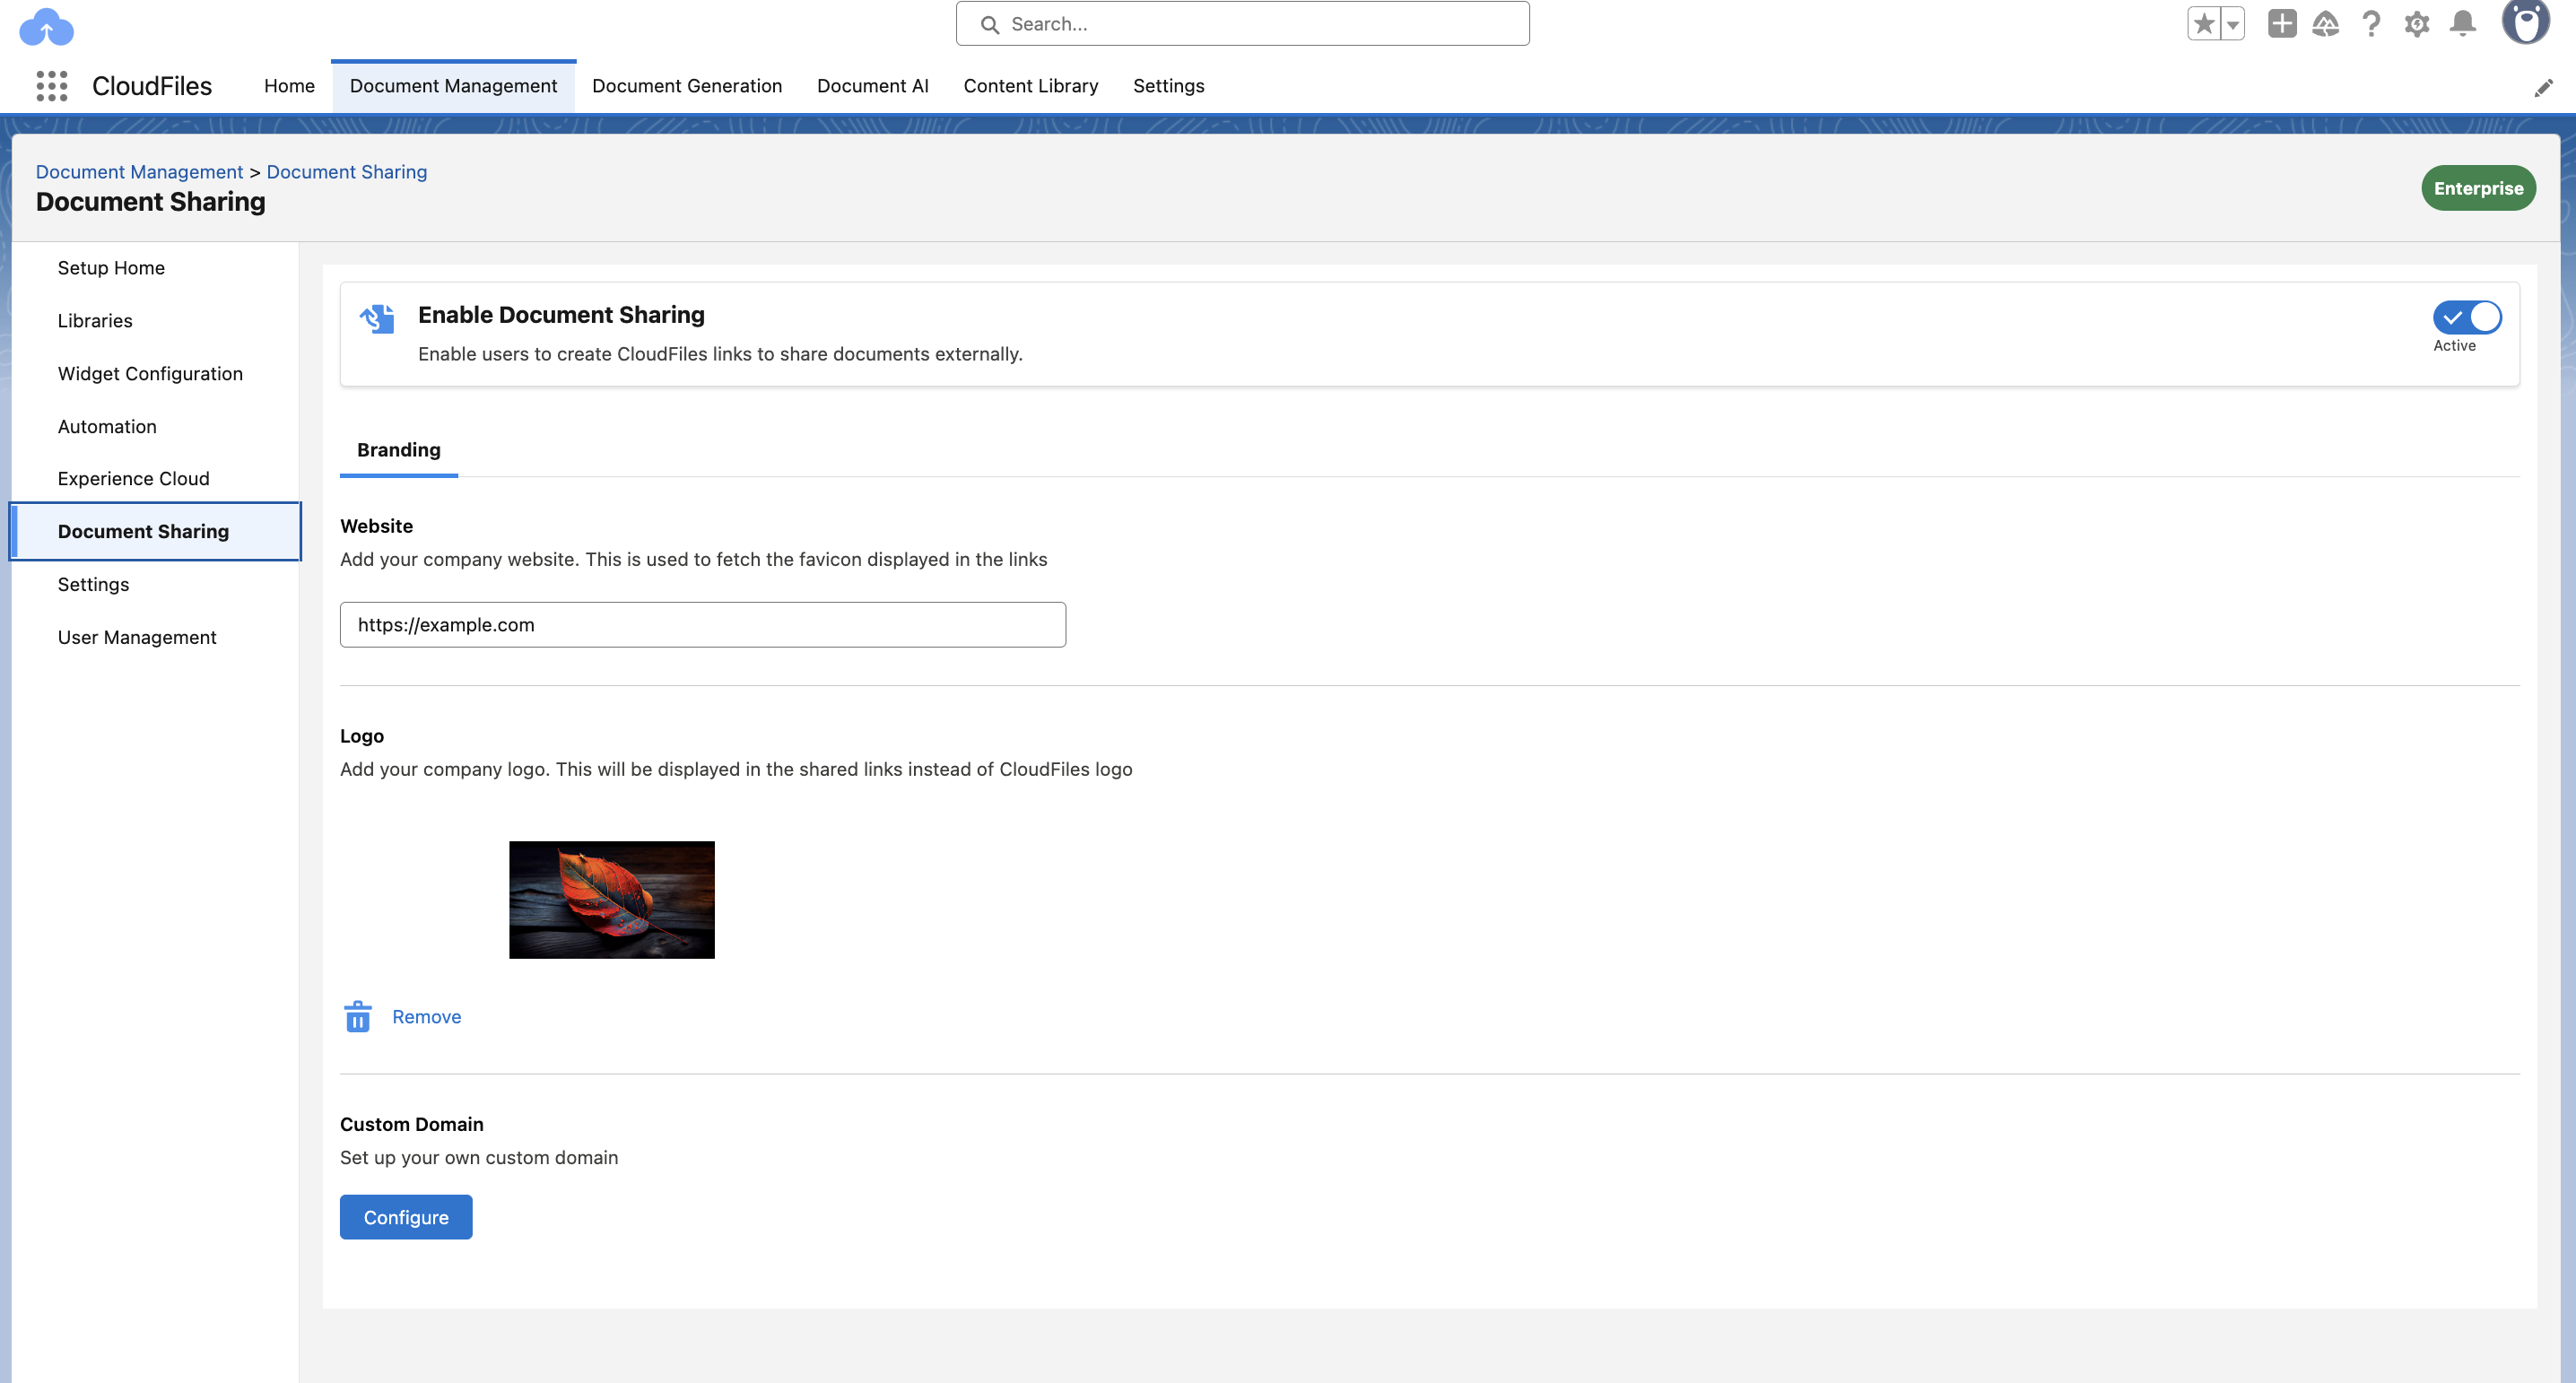
The Branding setting consists of the following fields, which are discussed in detail in the following sections of the article.
- Website - Add your company website here, this is used to fetch the favicon displayed in the links.
- Logo - Add your company logo in this field to display your logo in the shared links instead of the CloudFiles logo.
- Custom Domain - Add CNAME mapping so that we can enable custom domain on your account.
The image below shows what this setting looks like in the CloudFiles App.
Document Sharing
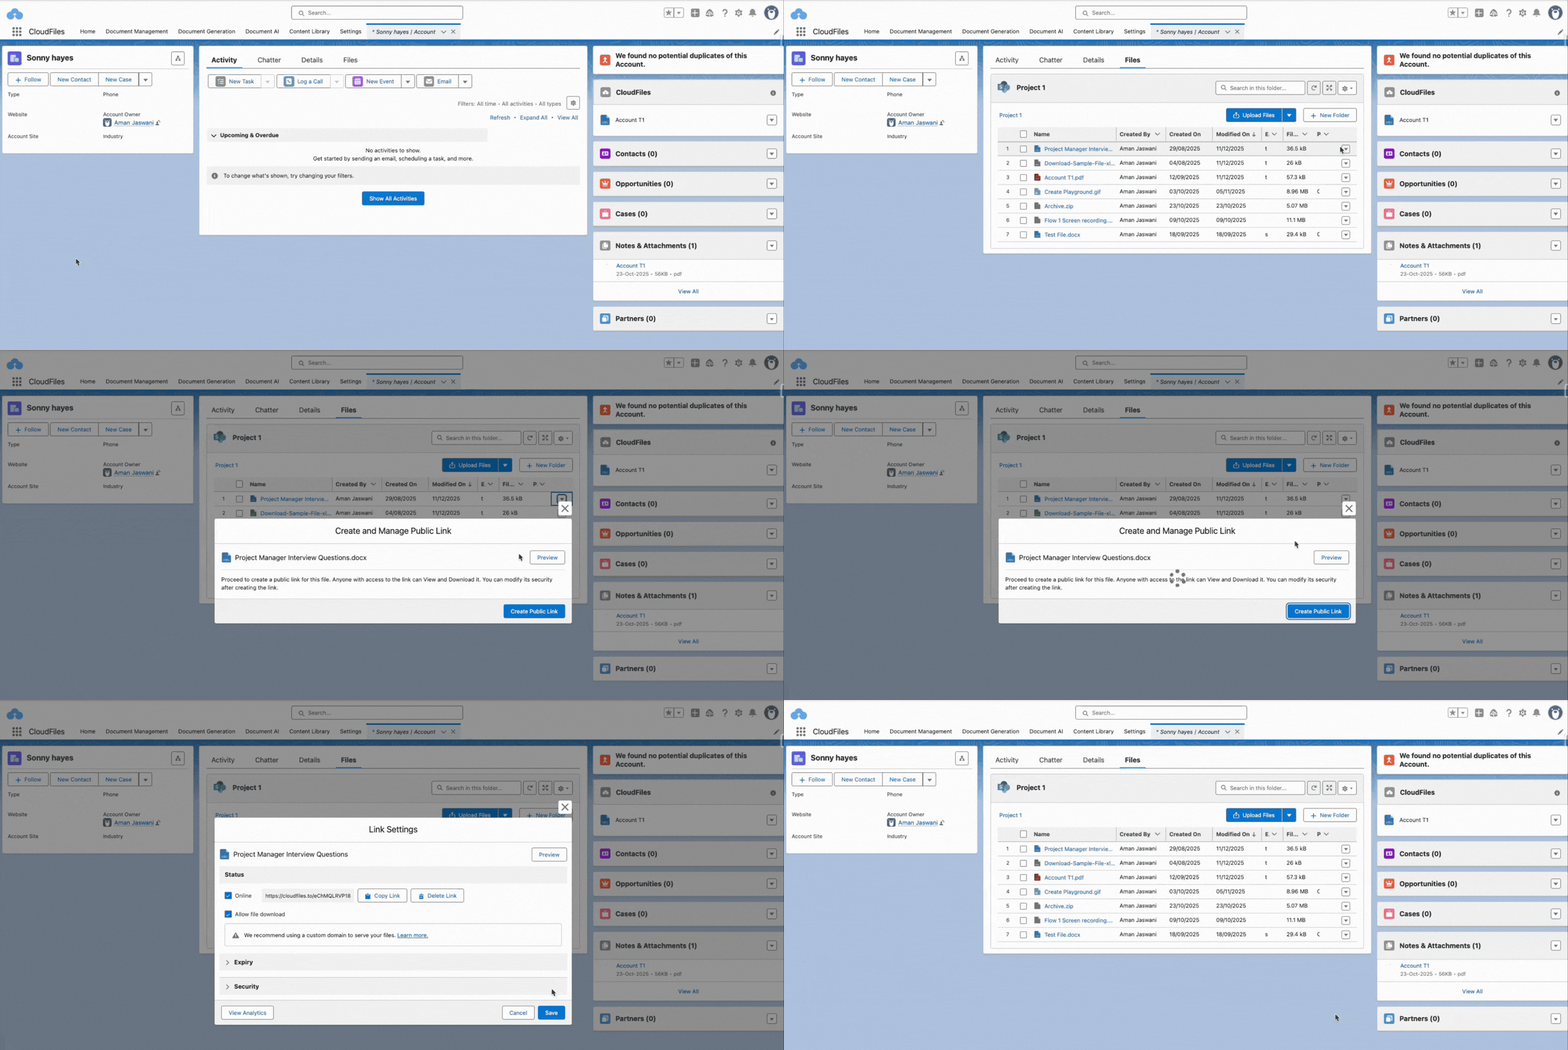
When enabled, the Document Sharing tab within the Document Management settings allows users to share documents through links from the Share button in the internal widget. The GIF below explains how document sharing works.
Branding
The branding setting within Document Sharing allows CloudFiles users to customize branding on the shared links. It has the following properties which can be customized.
Website
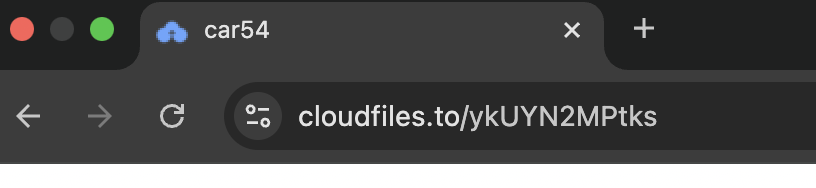
This property allows CloudFiles users to set a favicon of their website on shared links. The image below shows how favicon will look on shared links.
Logo
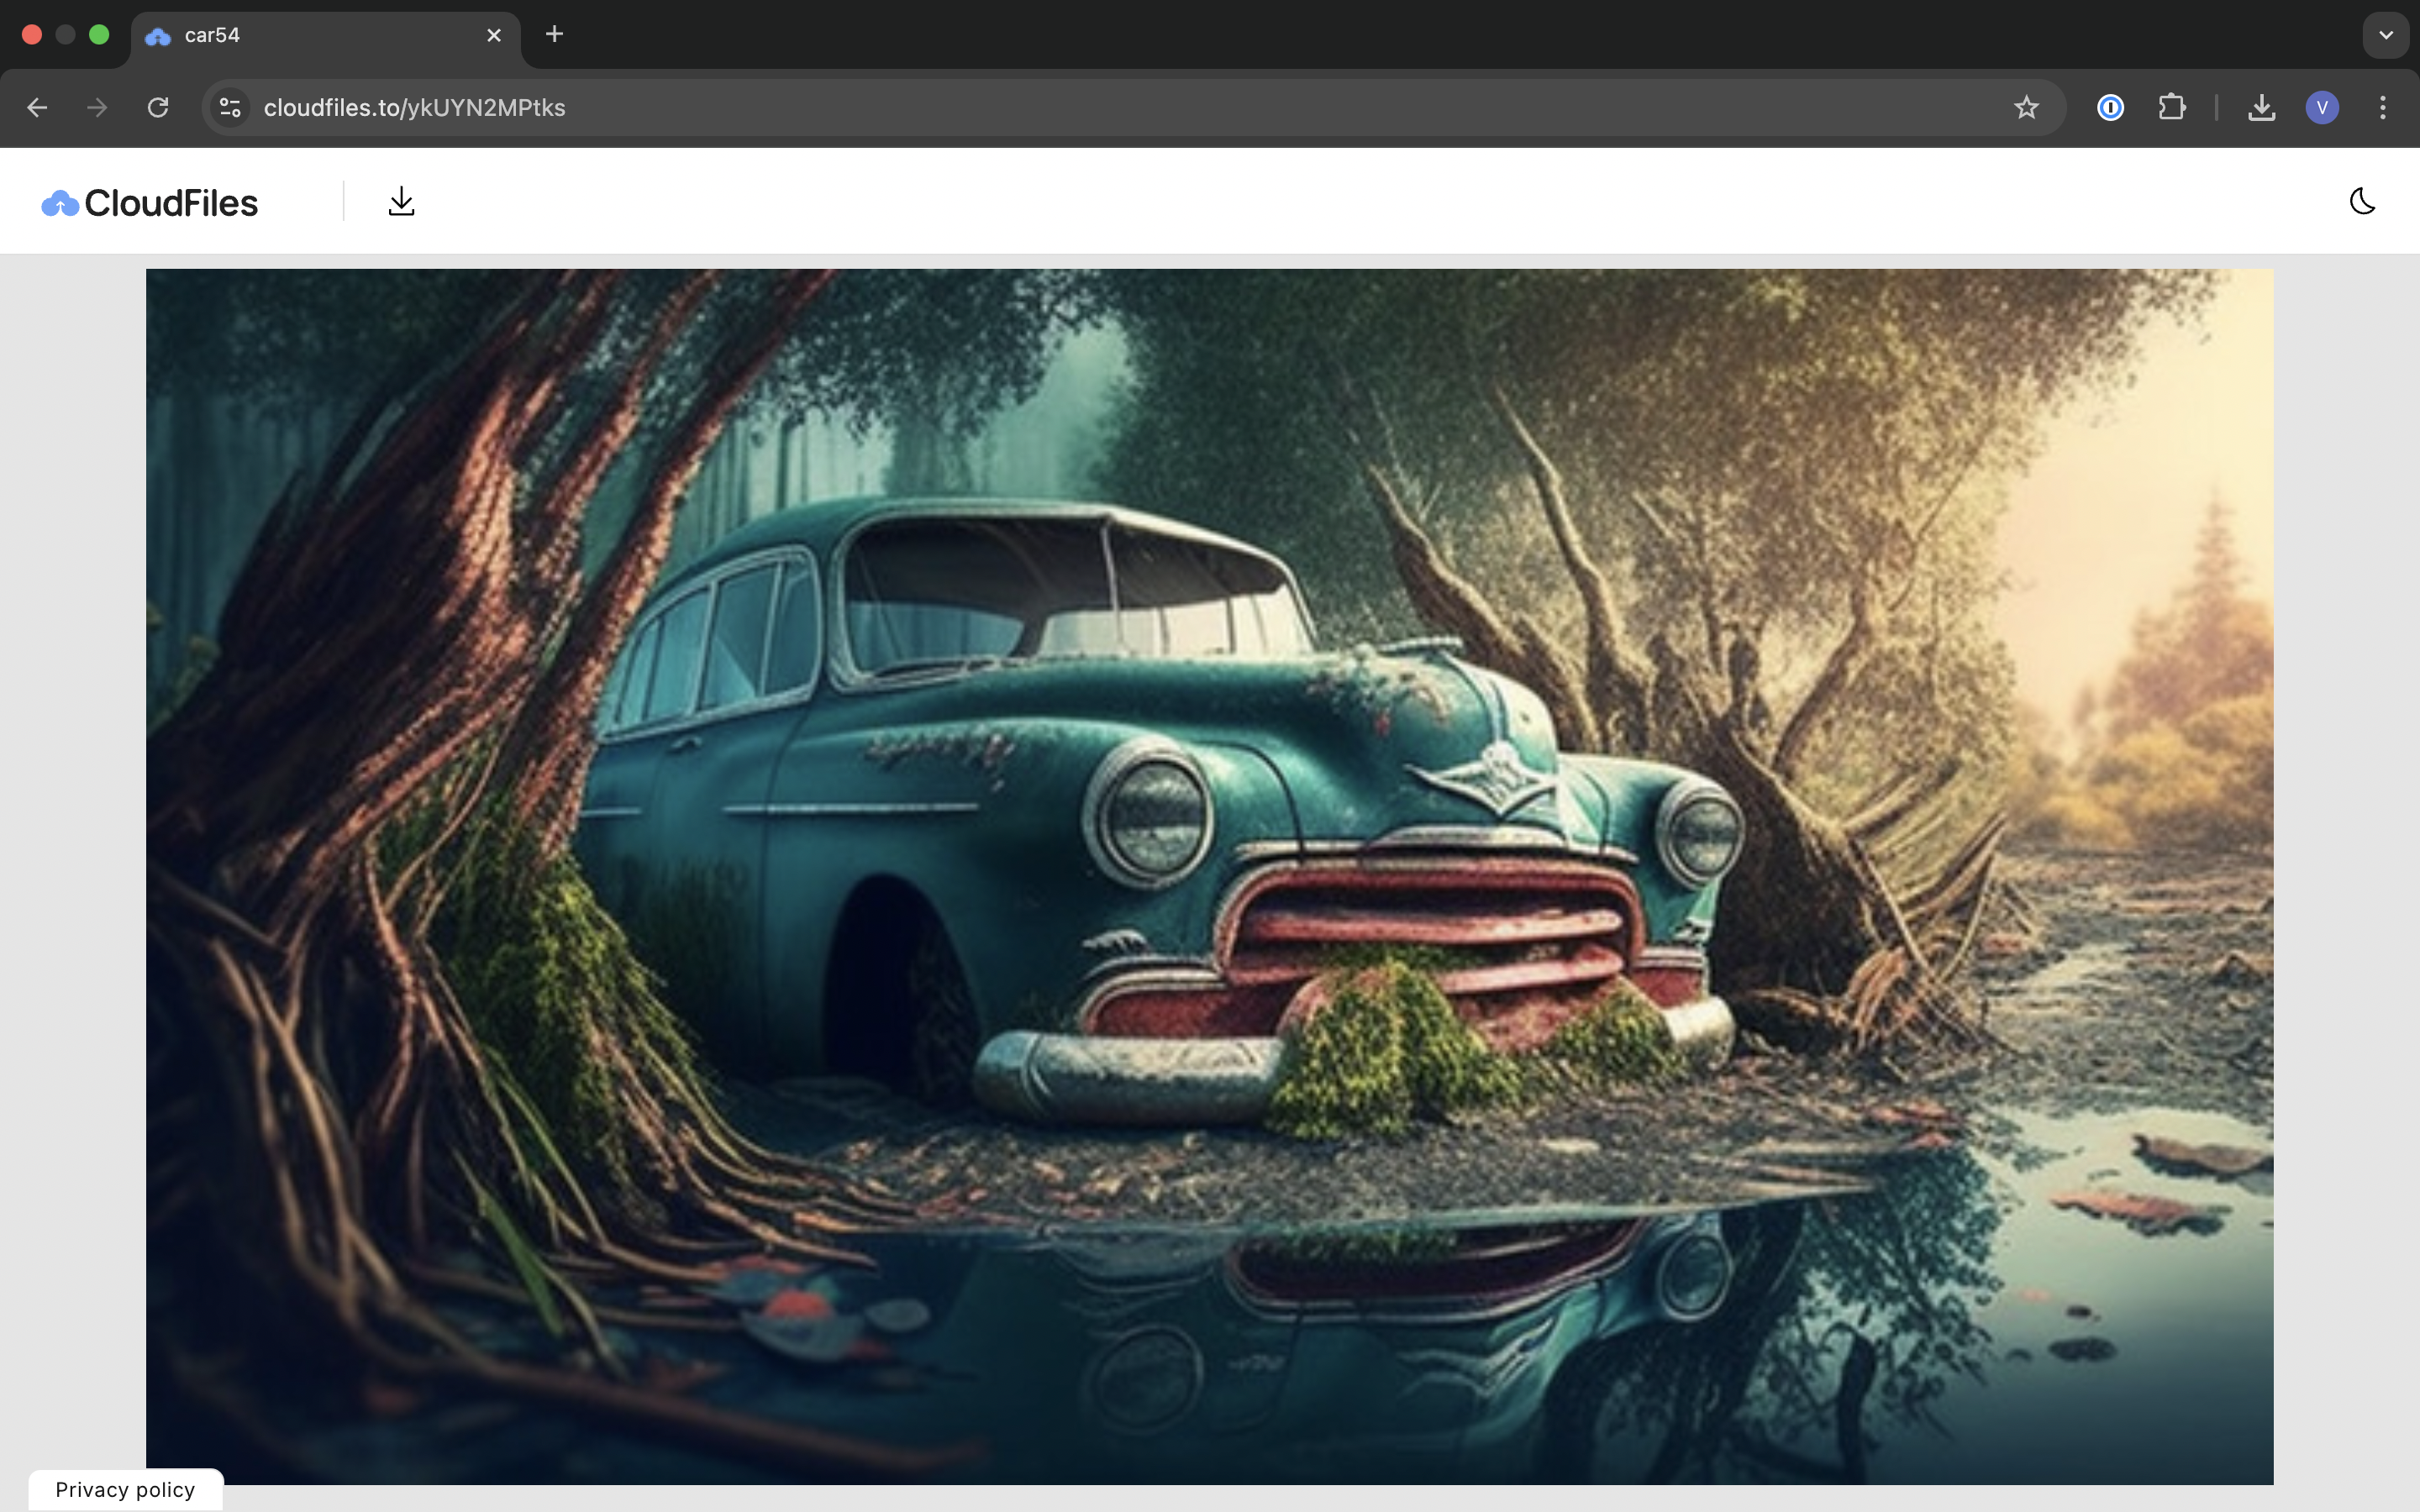
This property enables users to put a logo on the shared links in place of the default CloudFiles logo. The image below shows how the logo at the top left will look on shared links.
Custom Domain
In order to add your custom domain, you first need to map CloudFiles with your DNS provider. This process is called CNAME mapping and is usually handled by IT teams in large organizations. Although the steps may change based on the DNS provider, here are the main steps to be followed. If you are not the IT admin, it is best to get them involved so they can easily understand and implement these
- Go to your DNS provider where yourdomain.com DNS is purchased from.
- Open the DNS settings
- Create a new record with type CNAME
- For that record, host = the subdomain name you want. This can be anything that you like, for example - docs, files etc.
- For value, add cname.cloudfiles.io
- For TTL select 5 minutes. Your new sub-domain will become accessible after this much time.
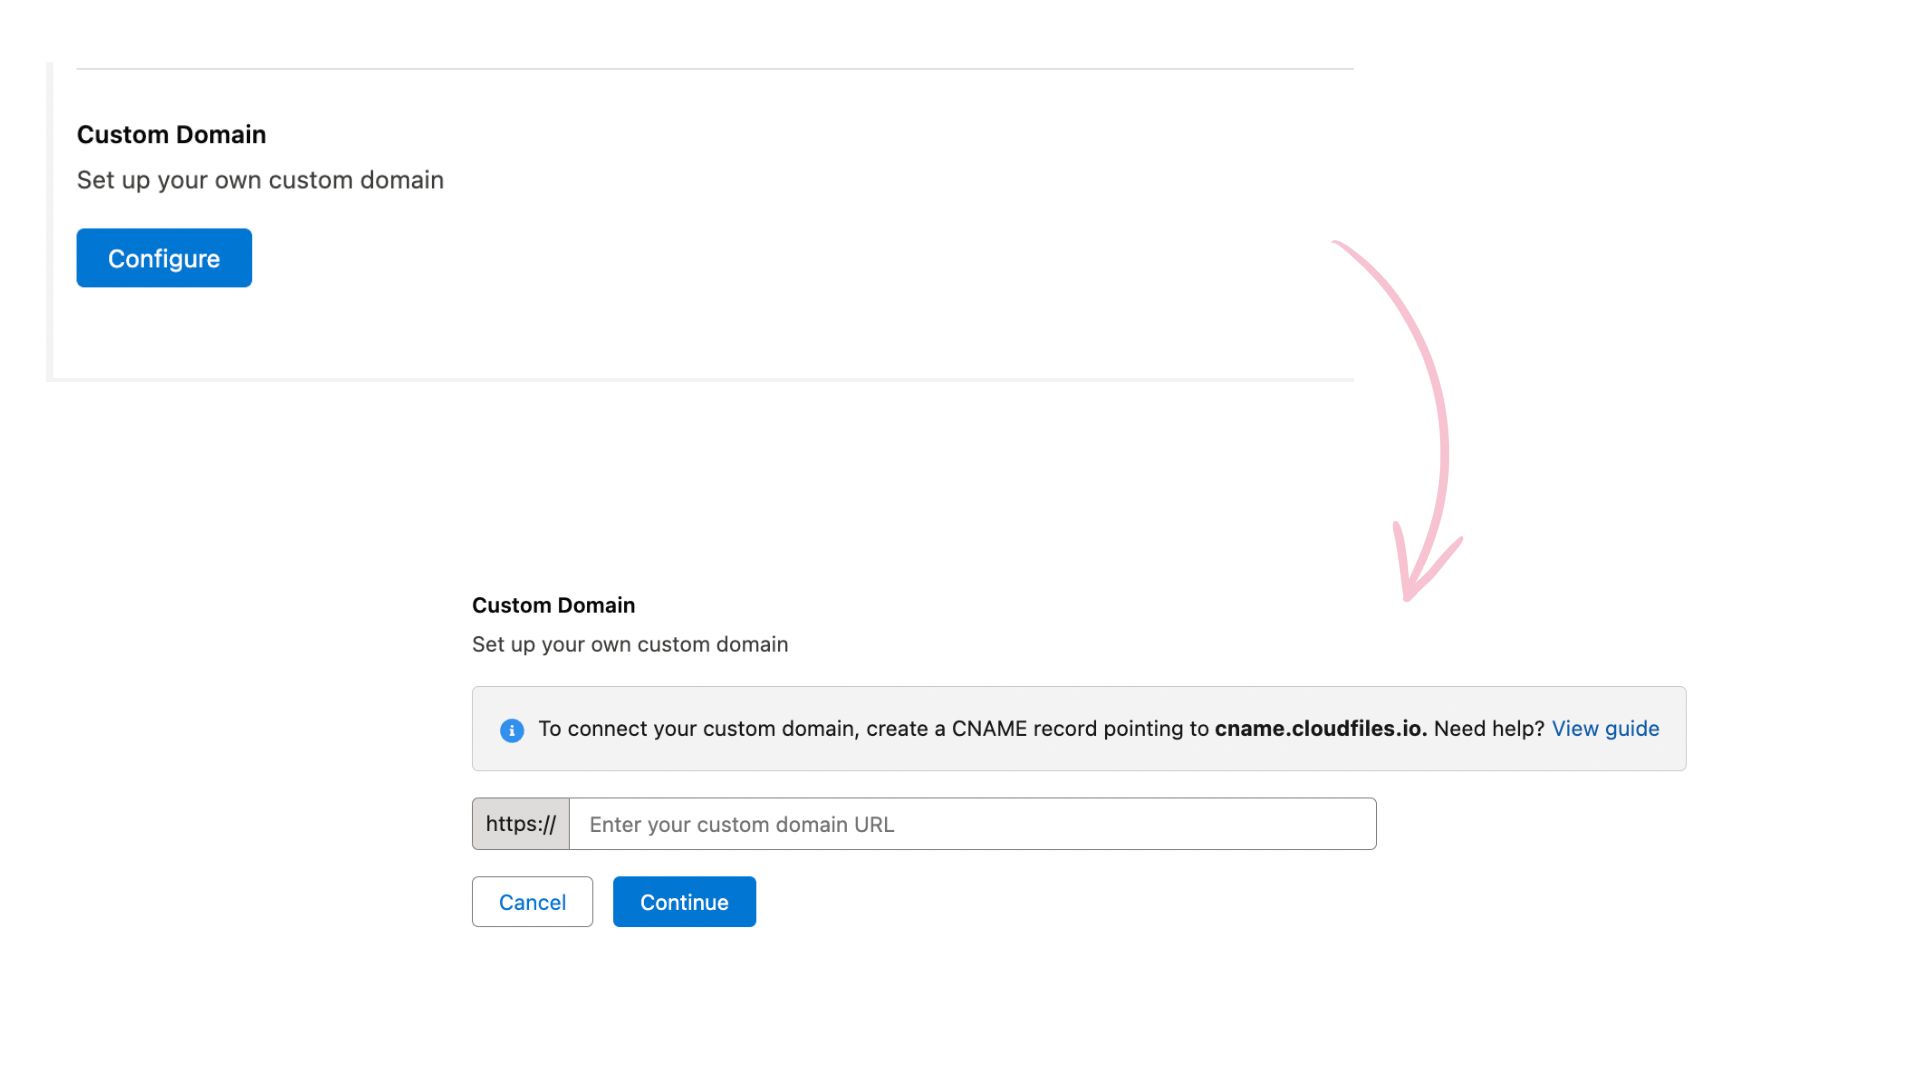
Once the CNAME mapping is done, you can add the custom domain through the setting provided in this section. Follow the steps below in order to do the same.
- Click on the Configure button to initiate the process, this will result in prompting a input to add your custom domain, click Continue once you have added the domain. Refer to the image given below for further explanation.
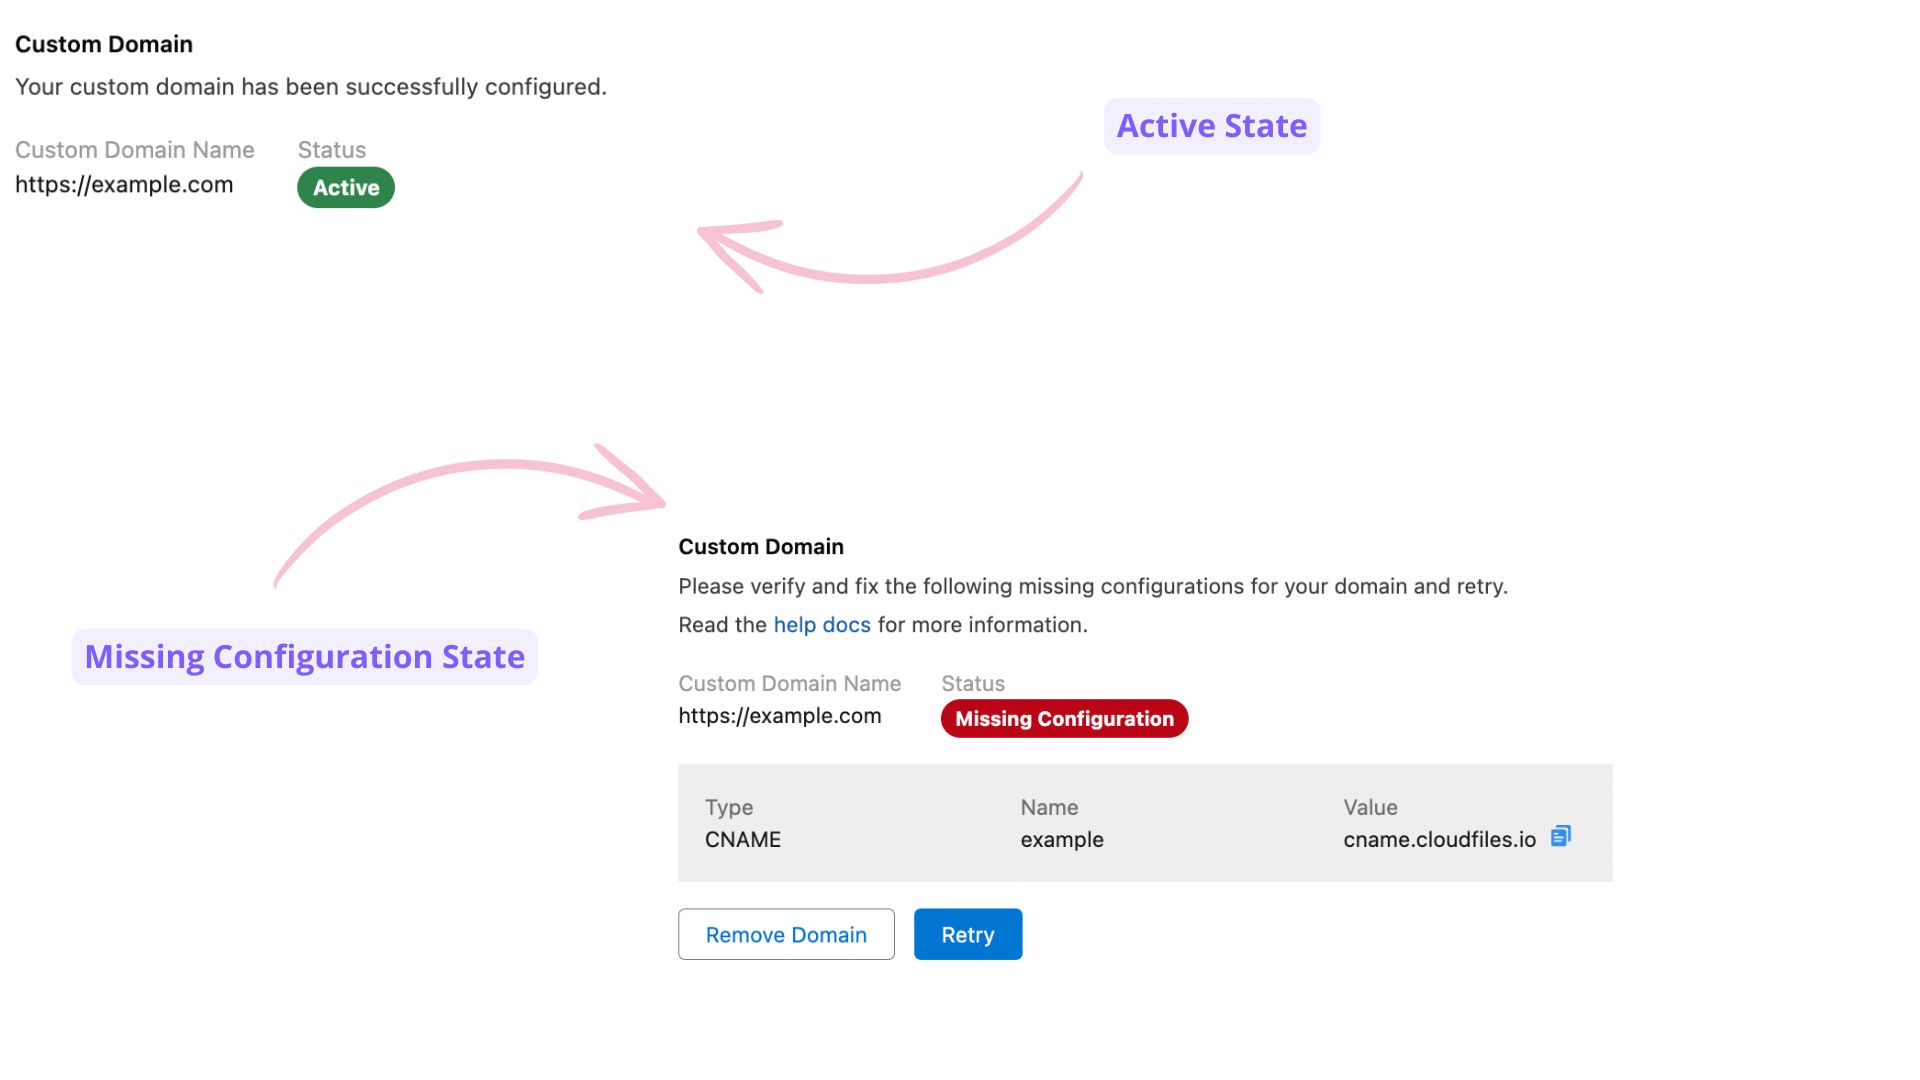
- Once you have clicked "Continue", the system will attempt to configure your domain. If the domain is successfully configured you will see "Active" state. You may get "Missing Configuration" state otherwise, as shown in the image below.