Step 1 - Install from AppExchange
Follow the steps below to install CloudFiles in your Salesforce account. The same steps are applicable for both production and sandbox -
- Choose who to install CloudFiles for - Select "Install for Admins Only". Don't worry, all your users will be able to access CloudFiles. We select this option to better control the permissions for all users
- Approve Third-Party Access - Accept third party access request. You can read about this in our FAQ on Why are various third party accesses asked during installation.
- Click Next or Continue in other screens to complete the installation.
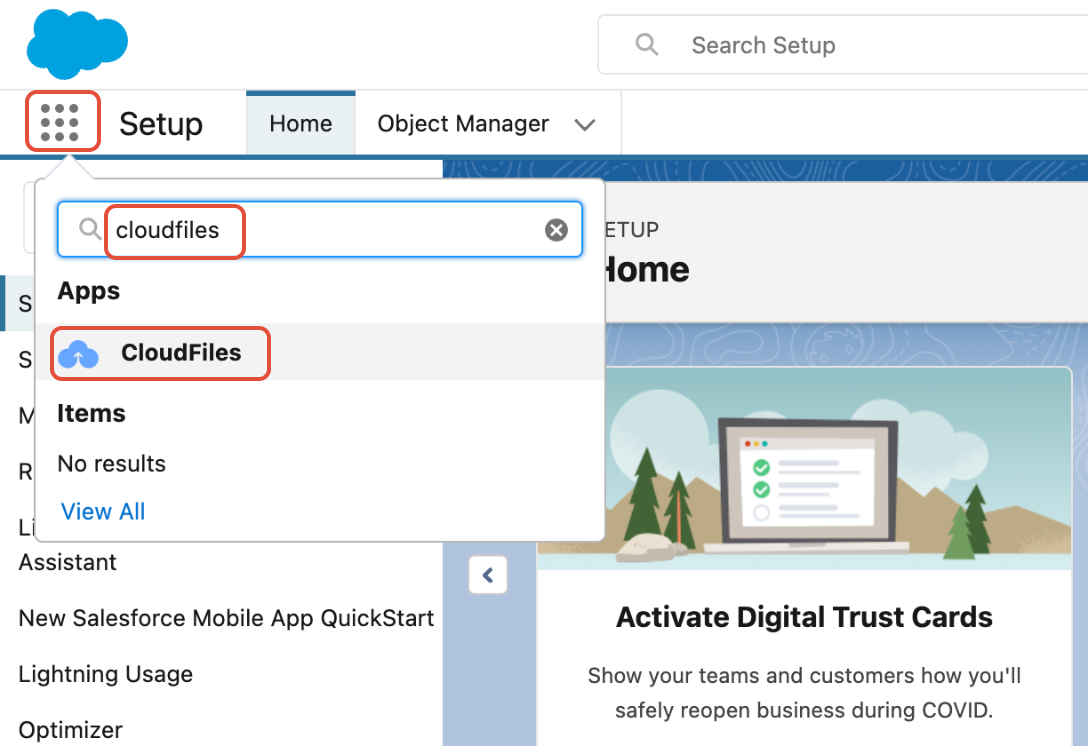
Step 2 - Setup CloudFiles Account
You can setup the CloudFiles app from within Salesforce by first going to the CloudFiles App Launcher. Click on the 9 dots icon(App Launcher) on top left of salesforce and search 'CloudFiles'. Then select the CloudFiles app.
This will open the CloudFiles App Launcher. Click on the Setup Tab on top and then click on Setup CloudFiles button. Follow the on-screen instructions as shown below.
That's all the setup we need to get started. You can now start setting up flows and widgets to streamline your file management and sharing in Salesforce. Check the next section to know how to get started quickly.
Step 3 - Connect Automation User
Automation user (or system user, service user) is a user credential (e.g. a google drive user or a sharepoint user) that you connect on the library settings page. This is used as the backend user for any automation operations such as creating a folder in an external storage.
To connect this user, in the “Document Management” tab configure the libraries you wish to connect with CloudFiles. You can follow these steps for the same:
Refer to the below GIF to have a visual understanding of this step -
Step 4 - Connect Content Library User
This user is a personal account used by individual users to access the respective cloud storage everyday (e.g. employees' google drive account or sharepoint account). This user can be connected either form the CloudFiles widget on records or from the content library tab as shown in the steps below -
Refer to the below GIF to have a visual understanding of this step -
Note - If you're on a paid plan, reach out to the CloudFiles support team for further assistance, at - support@cloudfiles.io
Getting started guides
To get started quickly, we provide 3 quick start guides that talk about incrementally advanced features. Refer to these guides in sequence to become a Salesforce - CloudFiles integration expert.
Once you are done with these, check the list of categories and articles in the left sidebar for all features and use cases.