Step 1: Navigate to Azure Storage Account
- Log into your Azure Portal.
- Locate and select your Storage Account from the dashboard or resource groups.
Step 2: Access Events
- On your storage account overview page, click Events in the left sidebar.
Step 3: Create an Event Subscription
- Click on + Event subscription.
- Provide a meaningful name, e.g., CloudFilesWebhook.
- Select Event Grid Schema from the dropdown under Event Schema.
- Under Topic Details, ensure your storage account details are correctly filled.
Step 4: Configure Event Types
- Under Event Types, select:
- Blob Created
- Blob Deleted
Step 5: Setup Endpoint
- In the Endpoint details, choose Web Hook.
- Configure the endpoint URL as:
https://api.cloudfiles.io/webhooks/azure-event-grid/blobStep 6: Delivery Properties
- In the Delivery properties, click Add new header.
- Add the following details:
- Header Name: x-webhook-secret
- Type: Static
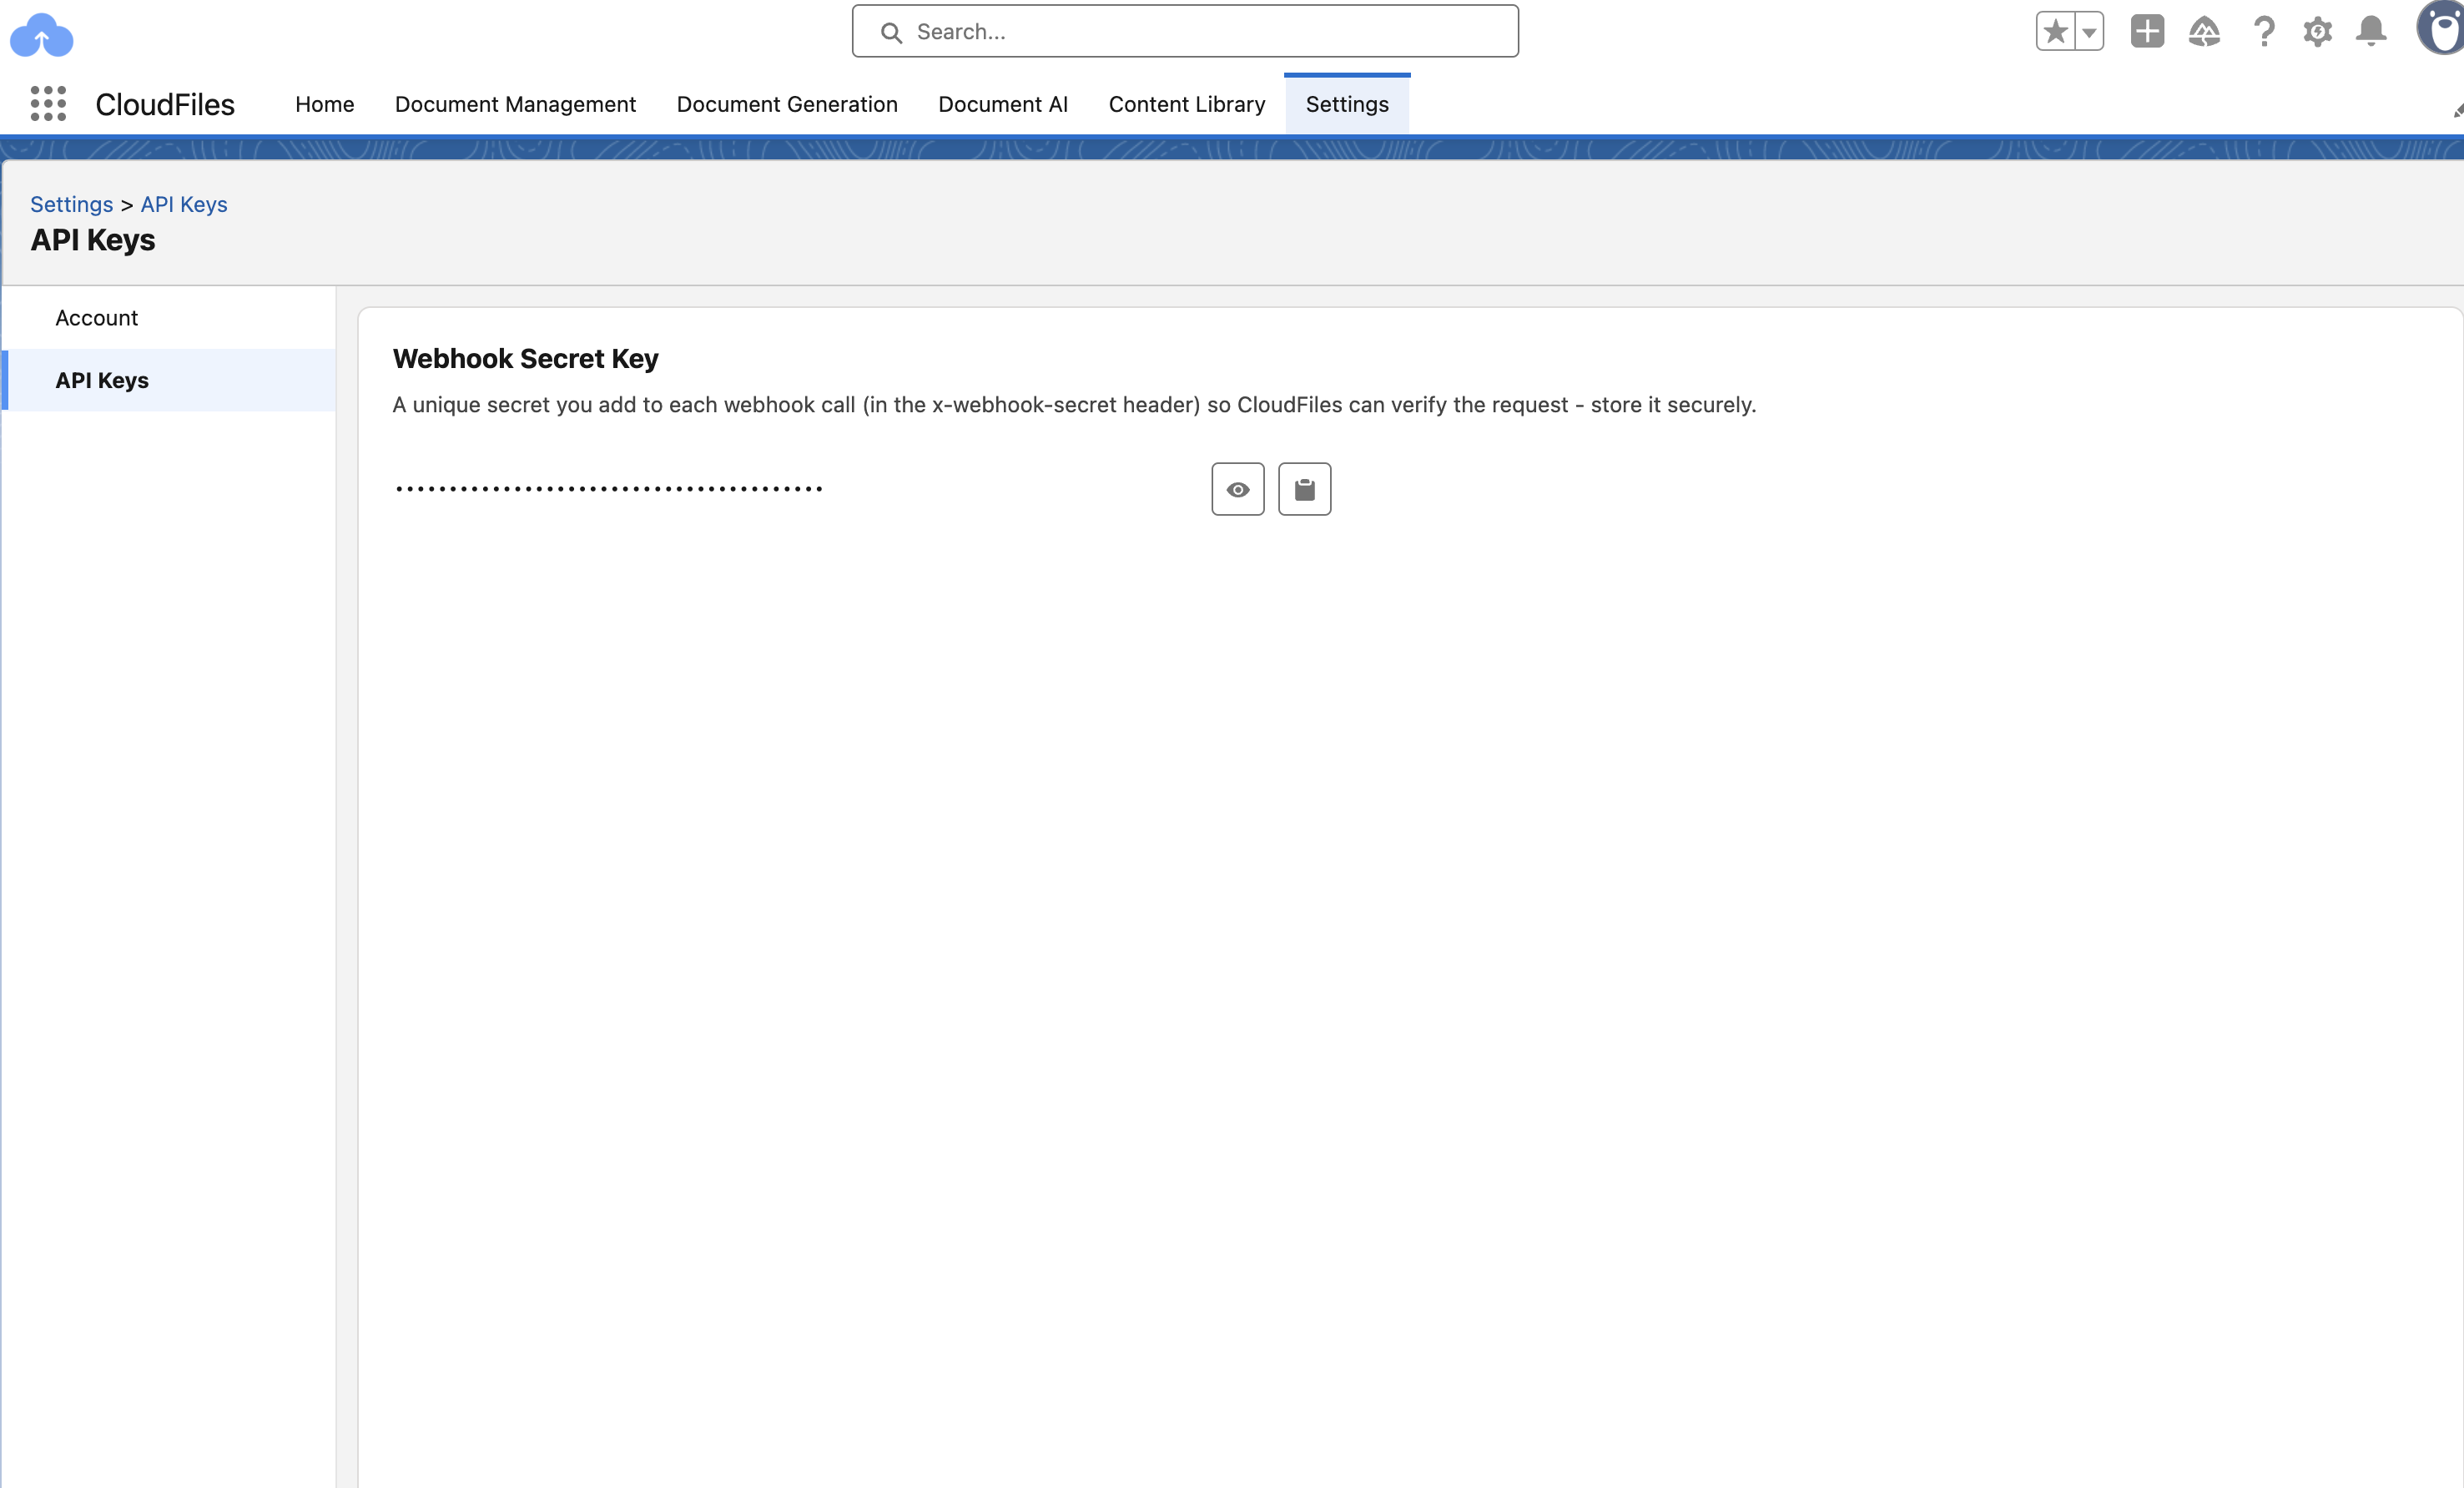
- Value: Copy this value from your CloudFiles App in Salesforce (See screenshot below)
- Secret: Set to True (check the box)
Step 7: Configure Retry Policies
- Navigate to the Additional Features tab.
- Under Retry Policies, set:
- Max Event Delivery Attempts: 30
- Event Time to Live: 1 day, 0 hours, 0 minutes, and 0 seconds
Step 8: Enable Subject Filtering
- Under Filters, enable Subject Filtering.
- Add a filter to ensure only events from the relevant container are synced.
- Example filter format: /blobServices/default/containers/<YourContainerName>/
Step 9: Finalize
- Review all configurations.
- Click Create to finalize your subscription.
Your Azure Blob storage is now set up for auto-sync with CloudFiles!