Introduction
This guide explains how to create a template using CloudFiles Document Generation. The CloudFiles Office add-in allows you to build templates using HubSpot data.
For this tutorial, we will use the Deal object to create a sample purchase order template in Microsoft Word. You will learn how to use the Insert Field, Insert Image, Insert Table, and Insert Condition actions to generate documents with data from HubSpot records.
What to Expect
By the end of this tutorial, you will know how to:
- Create a DOCX template with fields mapped from HubSpot
- Insert text, image and table elements into a DOCX template
- Use conditions to show or hide content based on logic
- Preview and publishing document template to HubSpot
Tutorial Video
The video below illustrates the process of creating a template using CloudFiles Document Generation product.
Pre-requisites
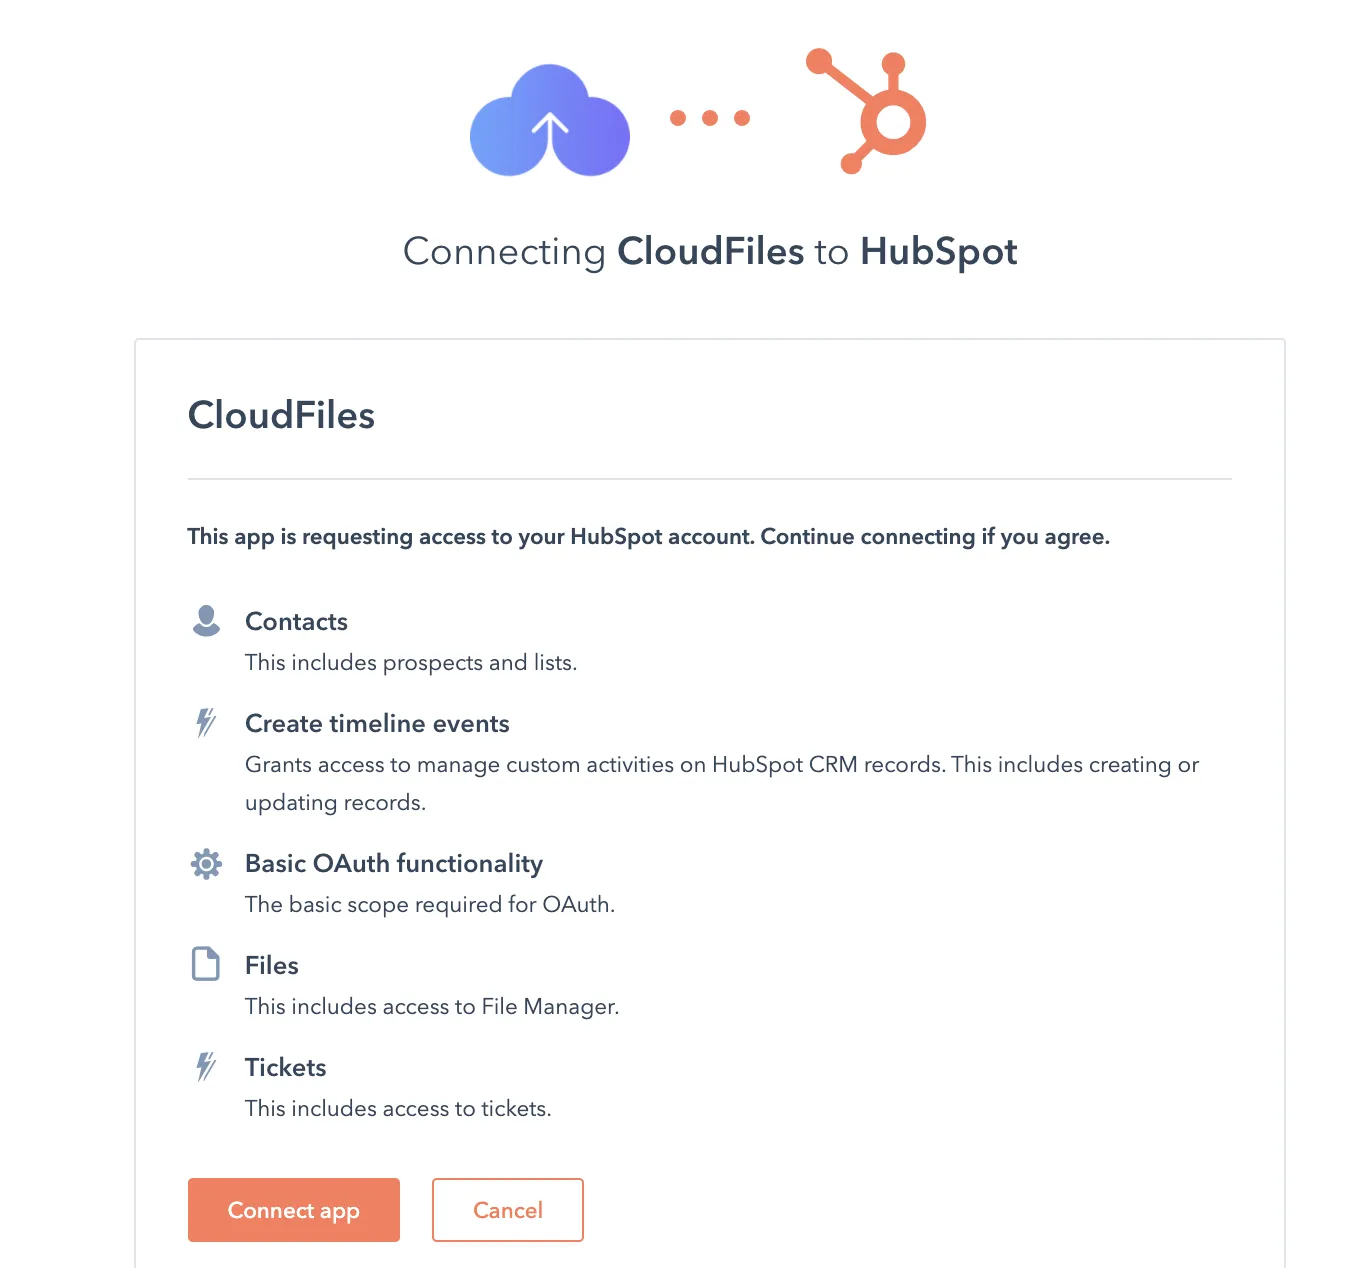
Install CloudFiles in HubSpot
CloudFiles is available on the app marketplace and can be installed using the standard app installation process. Check out Installation guide for CloudFiles HubSpot Integration.
Template Builder Setup
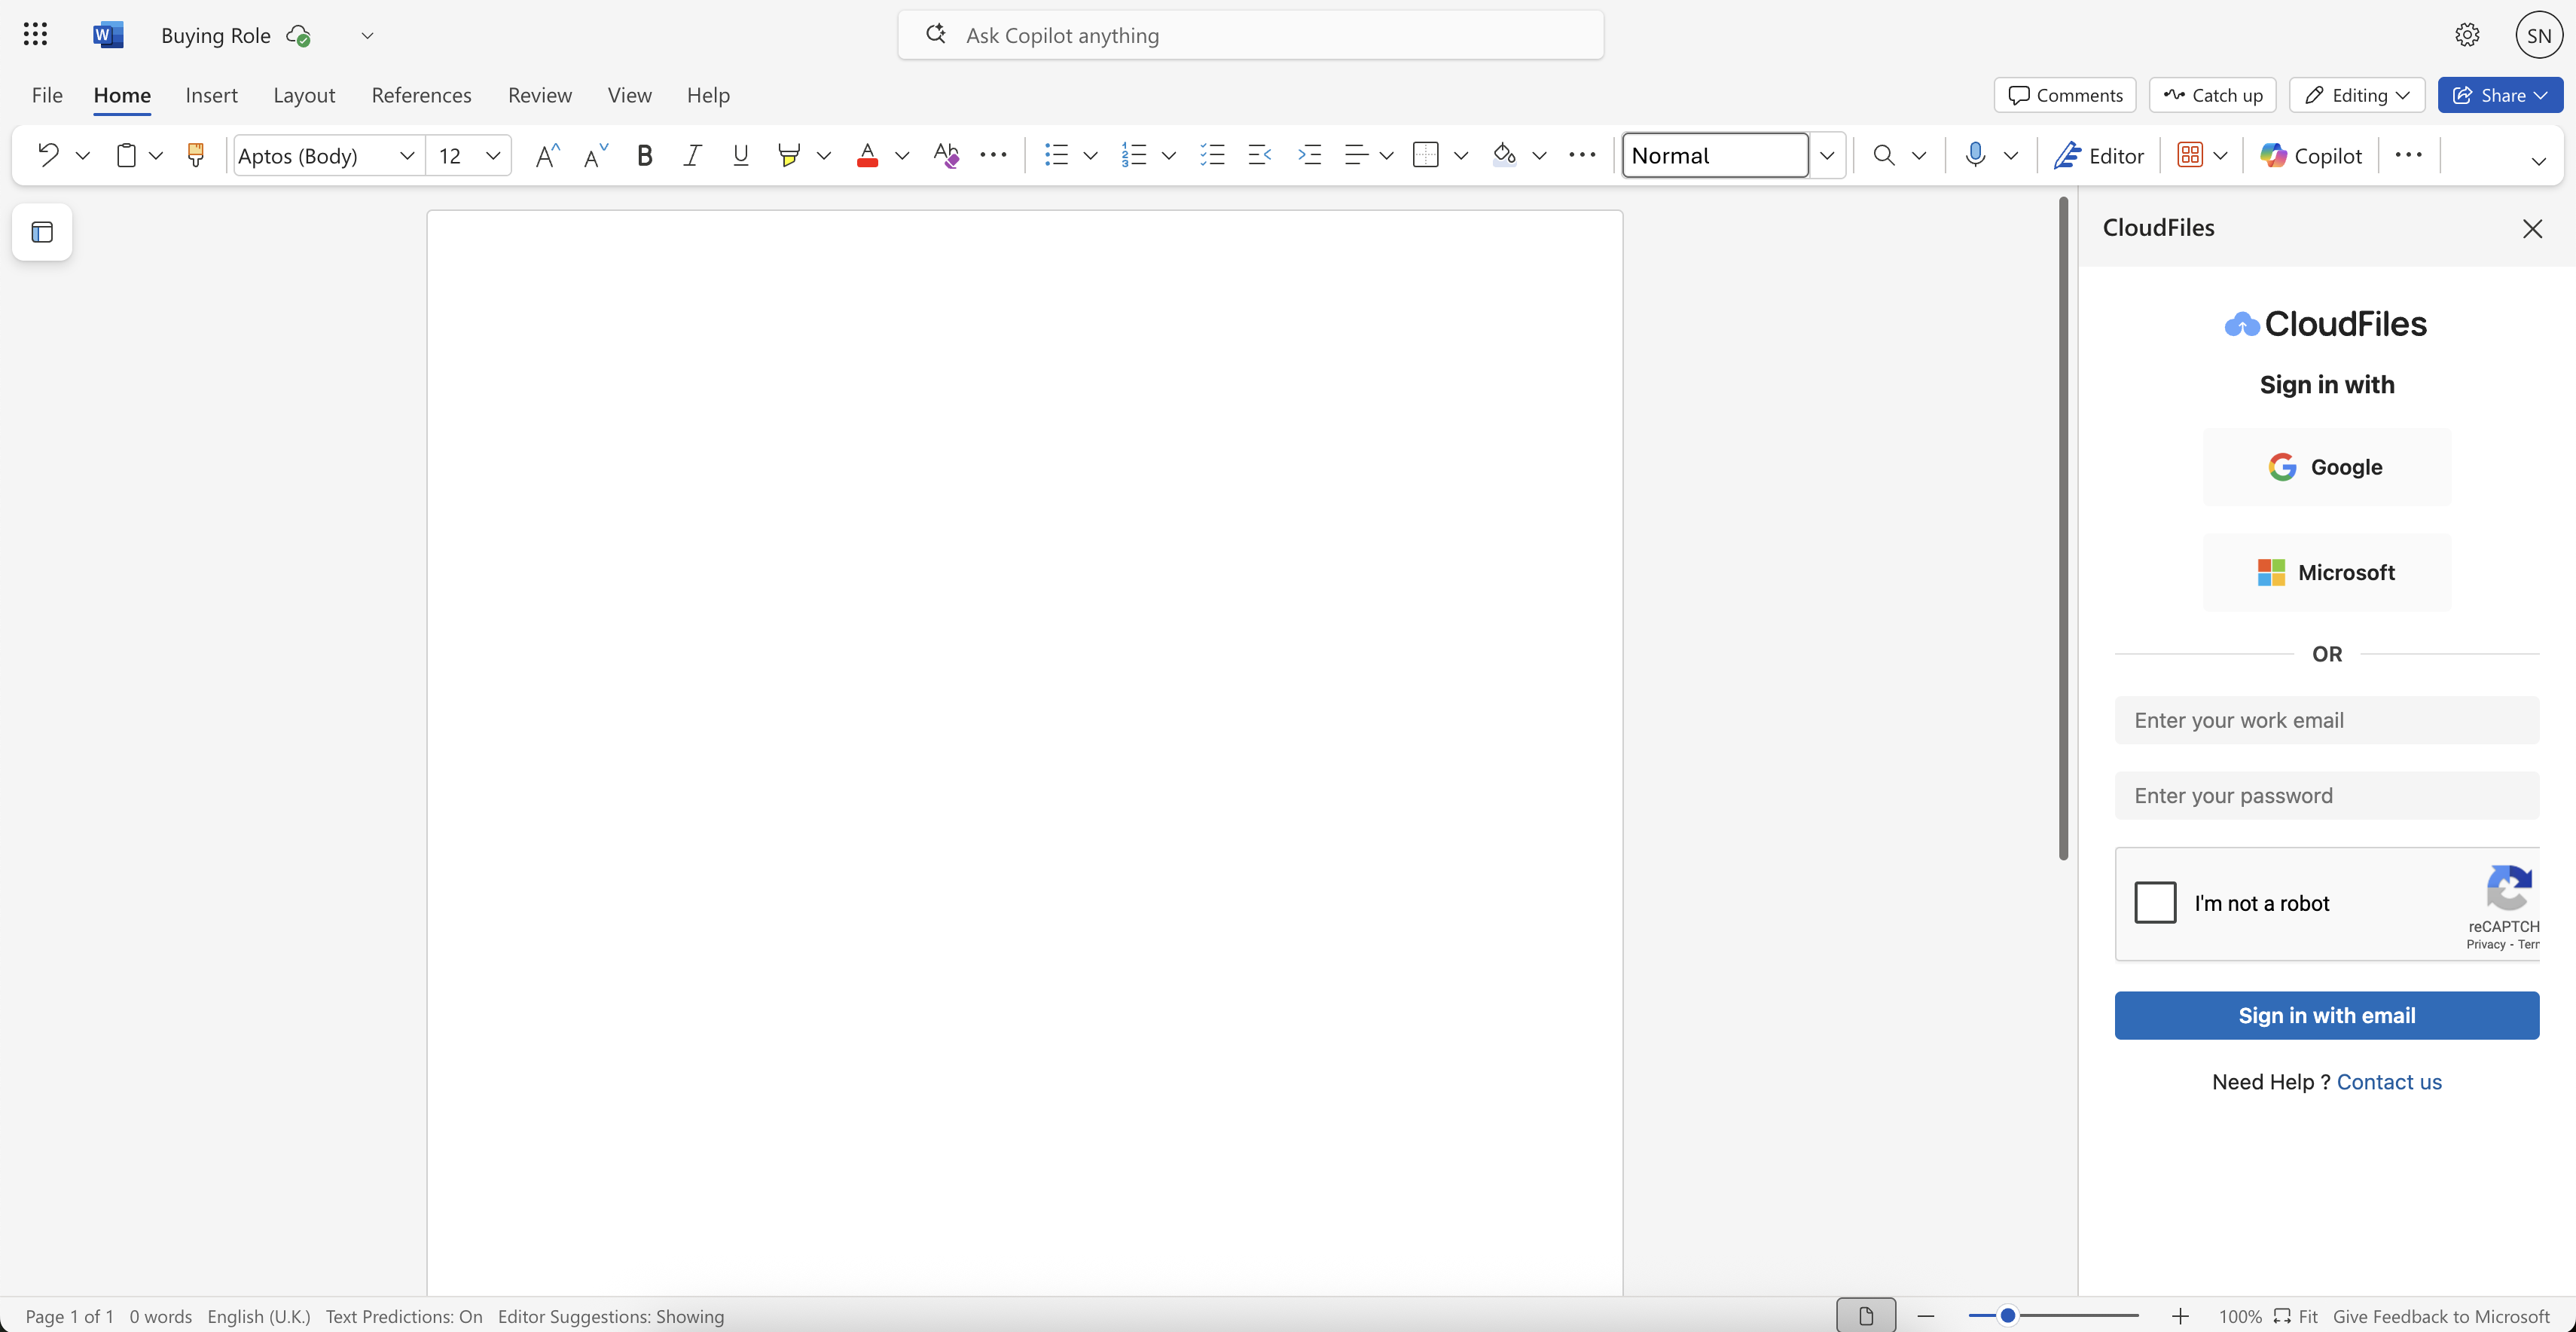
The CloudFiles add-in connects with your HubSpot Org to enable template creation using HubSpot data. It can be installed in Microsoft Word, Excel or PowerPoint, allowing you to design templates directly. For installation steps, see CloudFiles Office Add-In setup
Stages of Document Generation
Document Generation includes 3 main stages:
- Build
- Preview
- Publish
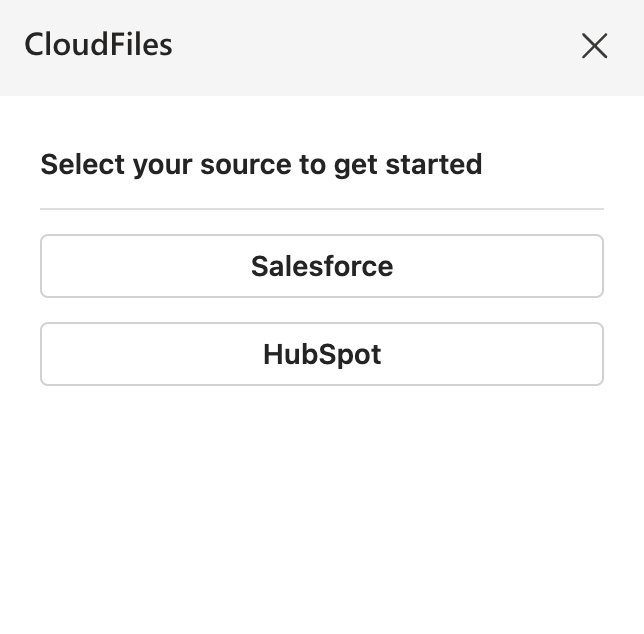
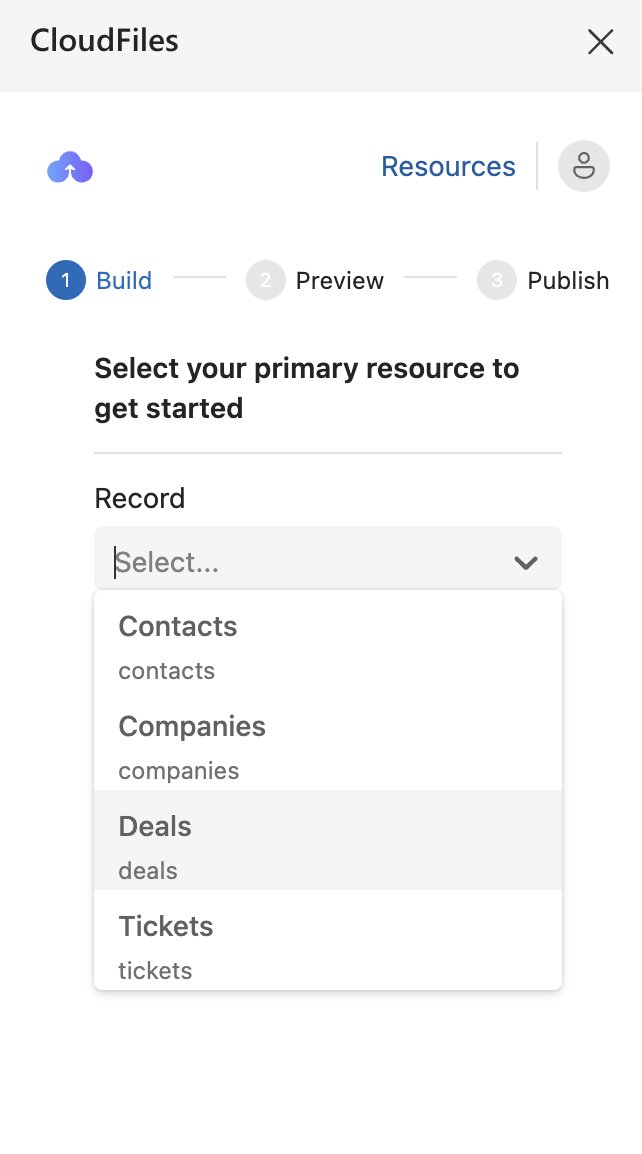
After logging in to HubSpot through the CloudFiles add-in, set HubSpot as the platform and select the a object from the Record type dropdown. In this tutorial, we will use the Deal object to create a sample Purchase Order template.
Why use a Purchase Order Template?
A purchase order is a common document used to confirm and track product or service purchases. It generally includes the Deal details, account information, shipping details and a list of items.
In this tutorial, we use the Deals object in HubSpot, which contains all the required details for generating the document. For item-level information, we will use the Line Items object, which holds product names, quantities, prices, and totals used to populate tables in the template.
We have created a sample purchase order template with placeholder fields for reference (see screenshot below). In the Build stage, we will show how to use each action: Insert Field, Insert Image, Insert Table, Insert Link and Insert Condition, to place the placeholders for actual data from HubSpot record properties.
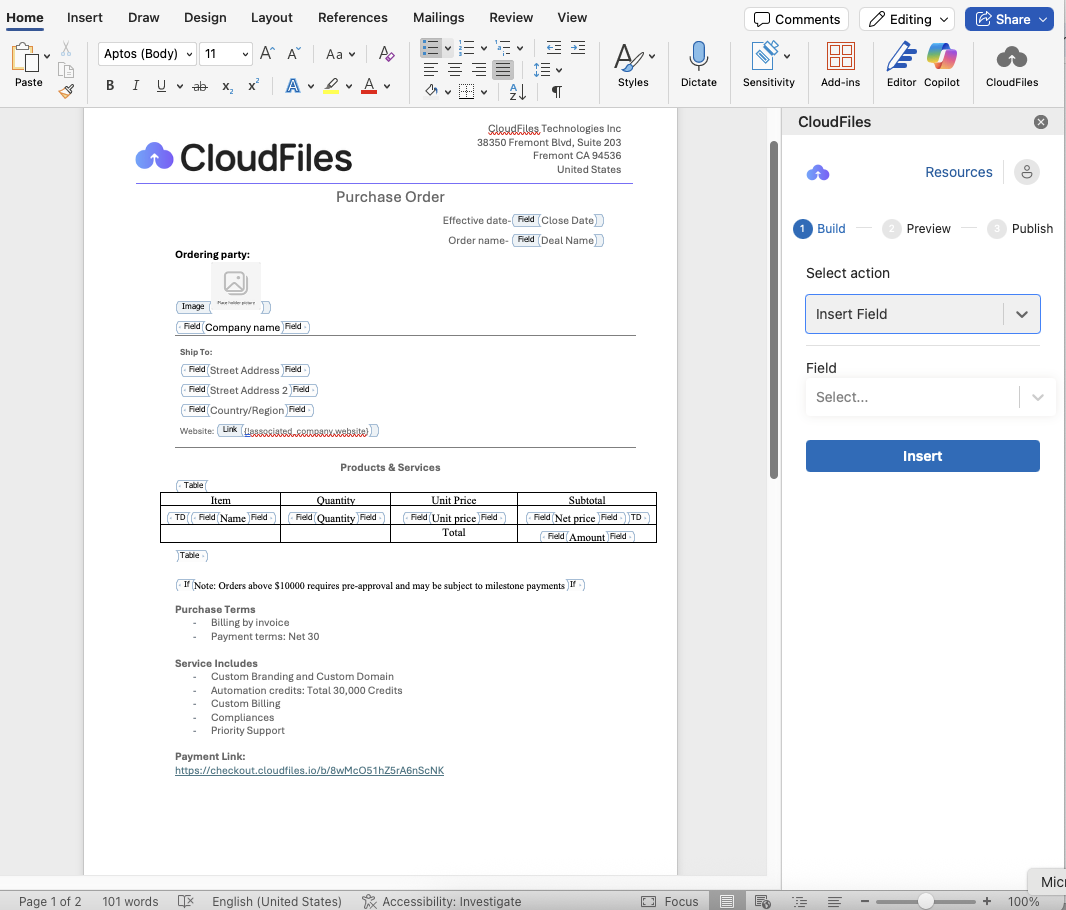
After installing the CloudFiles add-in and setting up for HubSpot, you can use the template actions to insert fields and tables from HubSpot data into the document.
Stage 1 - Build
1 - Global variable
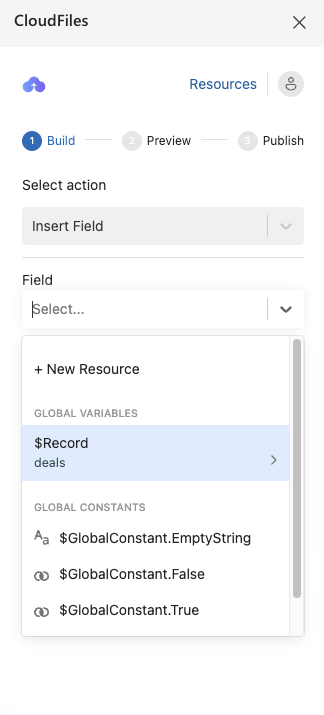
When building templates, you work with global variables that help you pull in HubSpot data. The most common one is $Record, which refers to the record you’re generating the document for — for example, a Deal in this case. Using this, you can easily bring in fields for Dealname, EffectiveDate and related account fields.
2 - Insert Field
Use Insert Field action to add following fields into the purchase order template. Place the cursor where the placeholder field should appear in the document, then select the Insert Field action. Add below placeholders in the purchase order template:
- EffectiveDate – {!$Record.closedate}
- DealName – {{!$Record.dealname}}
- AccName – {{!associated_company.name}}
- BillingStreet – {{!associated_company.address}}
You can similarly insert other fields such as ShippingCity,region, website etc.
To fetch associated records data, like Company Name, Shipping address in this case, you must define a Record Single Variable to insert placeholders for those associated records.
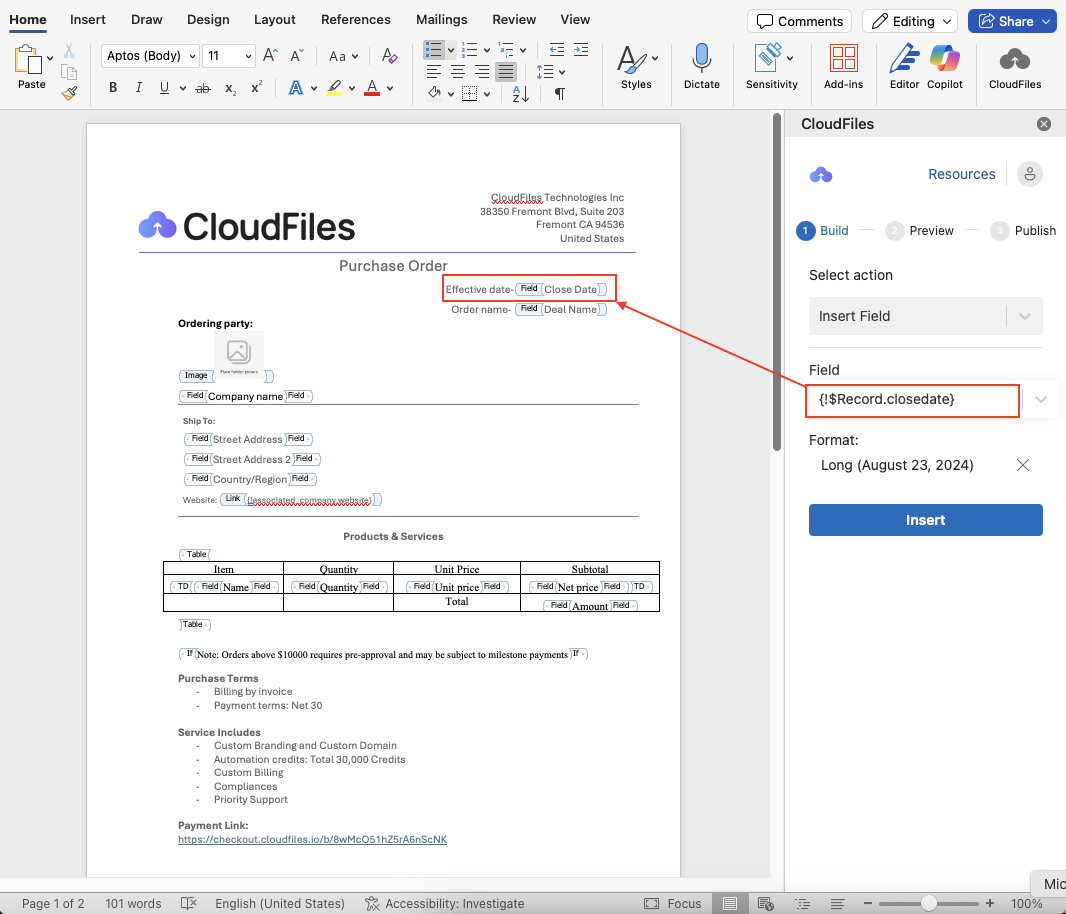
CloudFiles supports formatting for generated data such as text, dates, numbers- learn more in Formatting Options
3 - Insert Picture
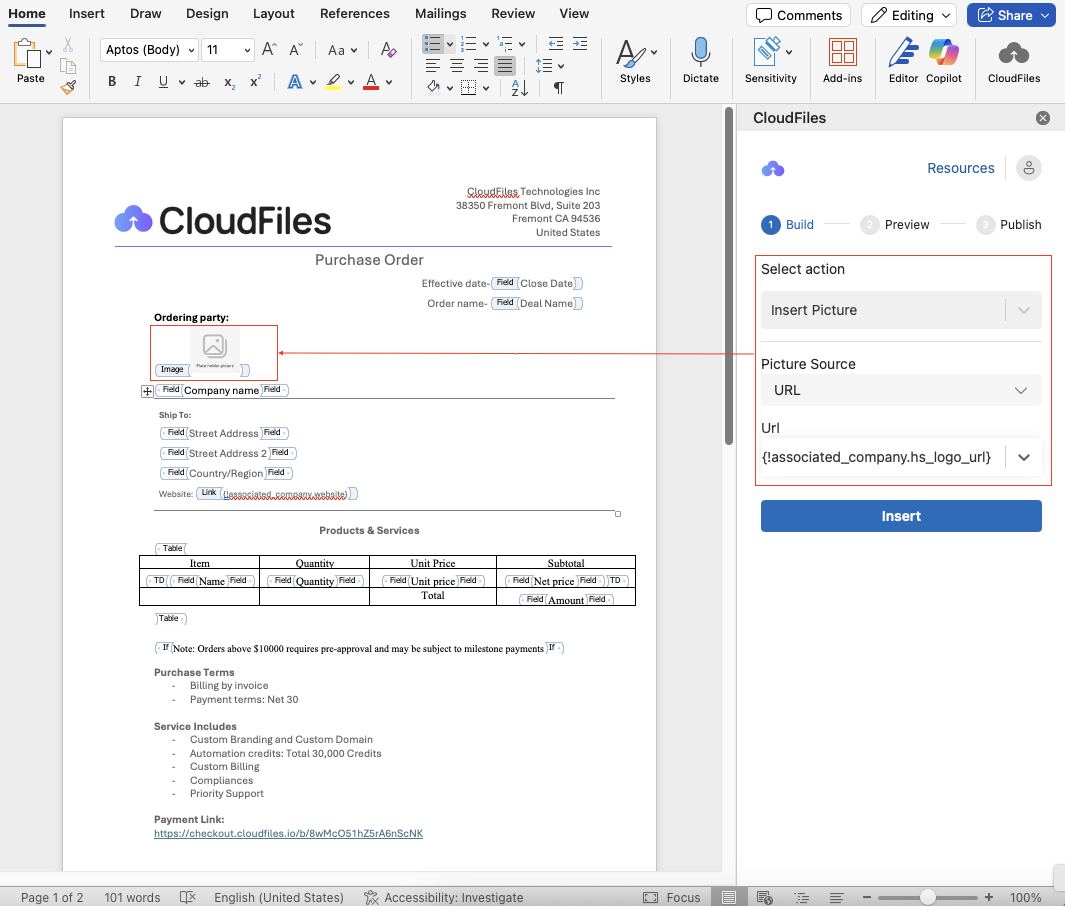
Use Insert Picture action to add an image to the template. This is ideally used for company logos, product images, etc. Place the cursor where the image should appear in the document, then select the Insert Picture action. Choose a field that contains a valid image URL, such as a logo URL stored in the Account record. You can also adjust the size of the image.
In the purchase order template, insert the field hs_logo_url from the associated company object, which holds the image URL.
- Image - {!associated_company.hs_logo_url}
4 - Insert Link
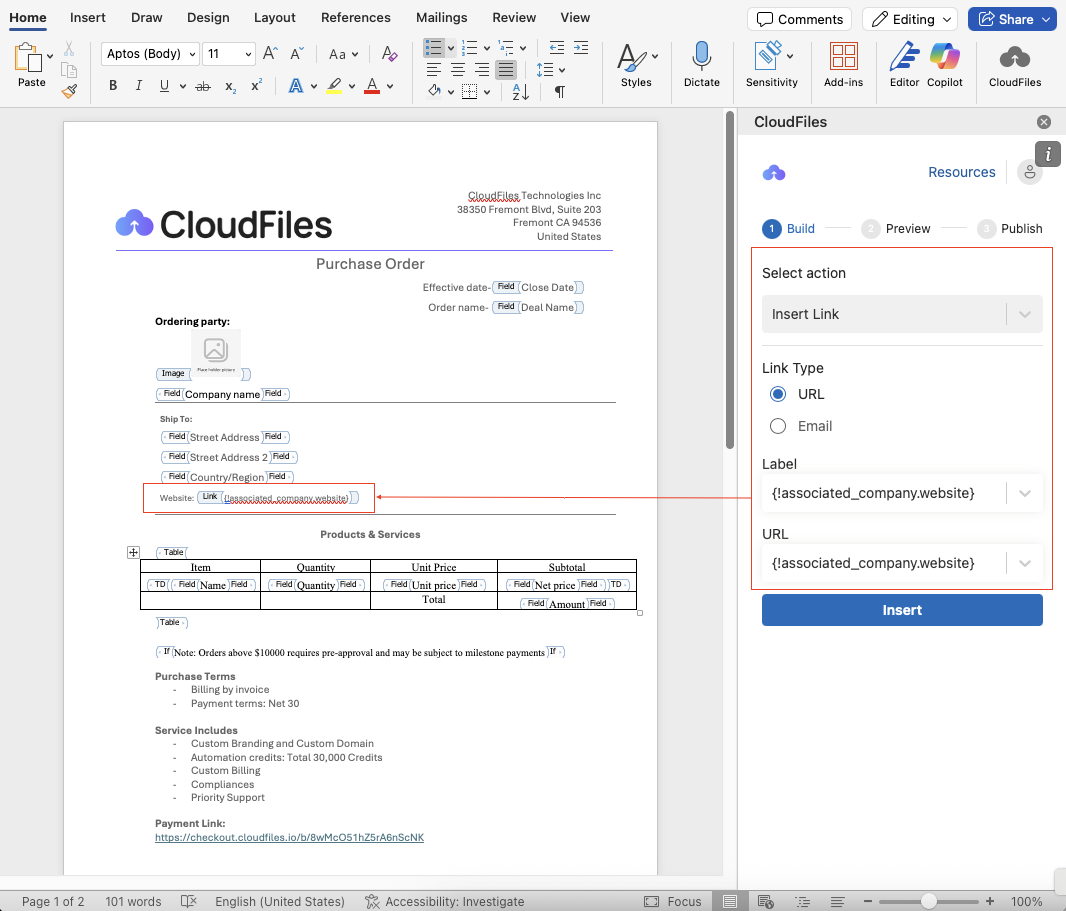
Use Insert Link to add clickable URLs from HubSpot fields into your template.
In the purchase order template, insert the field Website from the Company object, which holds the URL of the website.
- Website – {!associated_company.website}
This will generate a working hyperlink in the final generated document.
5 - Insert Table
Use Insert Table action to include repeatable rows for lists, such as line items or products.
Before adding a table, create a Record Collection Variable with object set to 'Line items' which is typically used to represent the line items associated with the Deals (e.g., products purchased, quantities, and pricing)
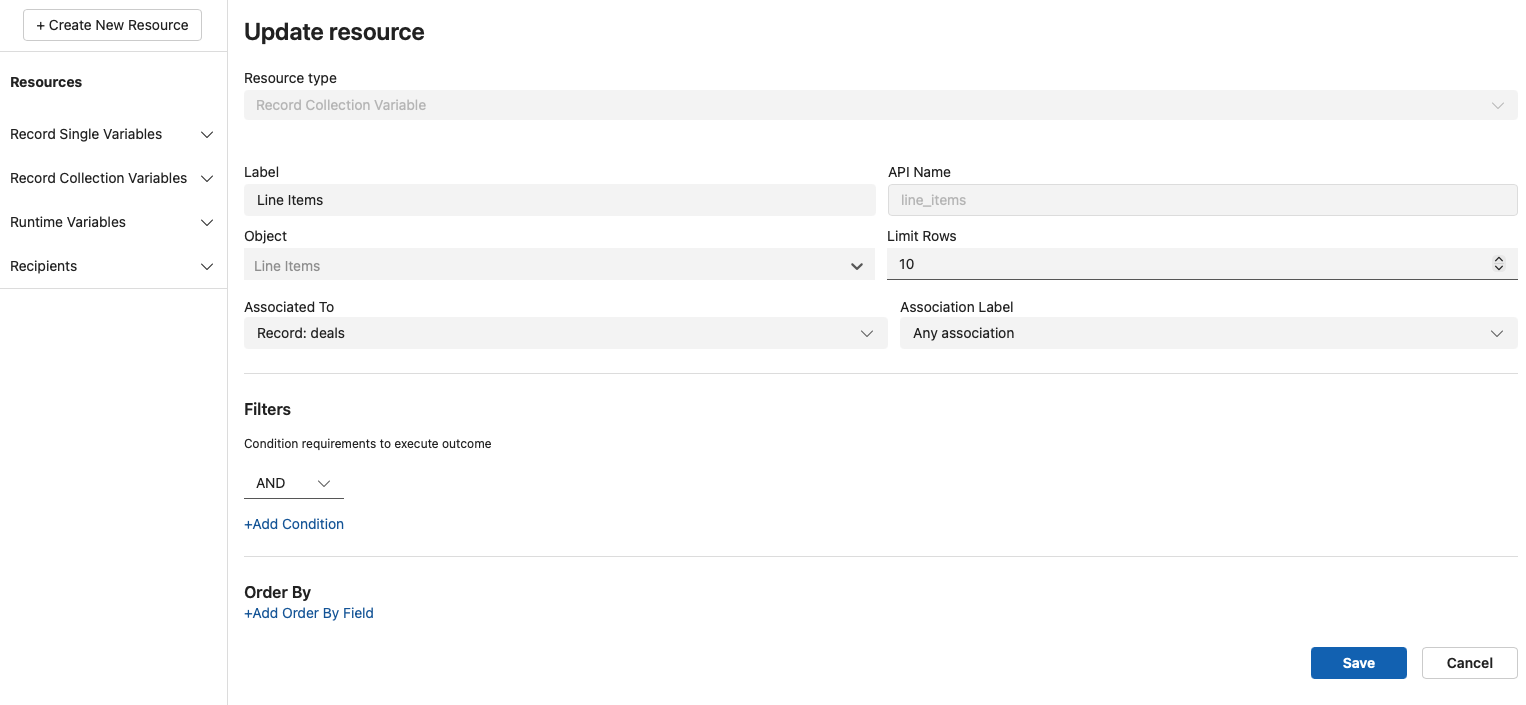
Now, the record collection Line Items contains the products of the Deal.
To configure the table, follow the steps below:
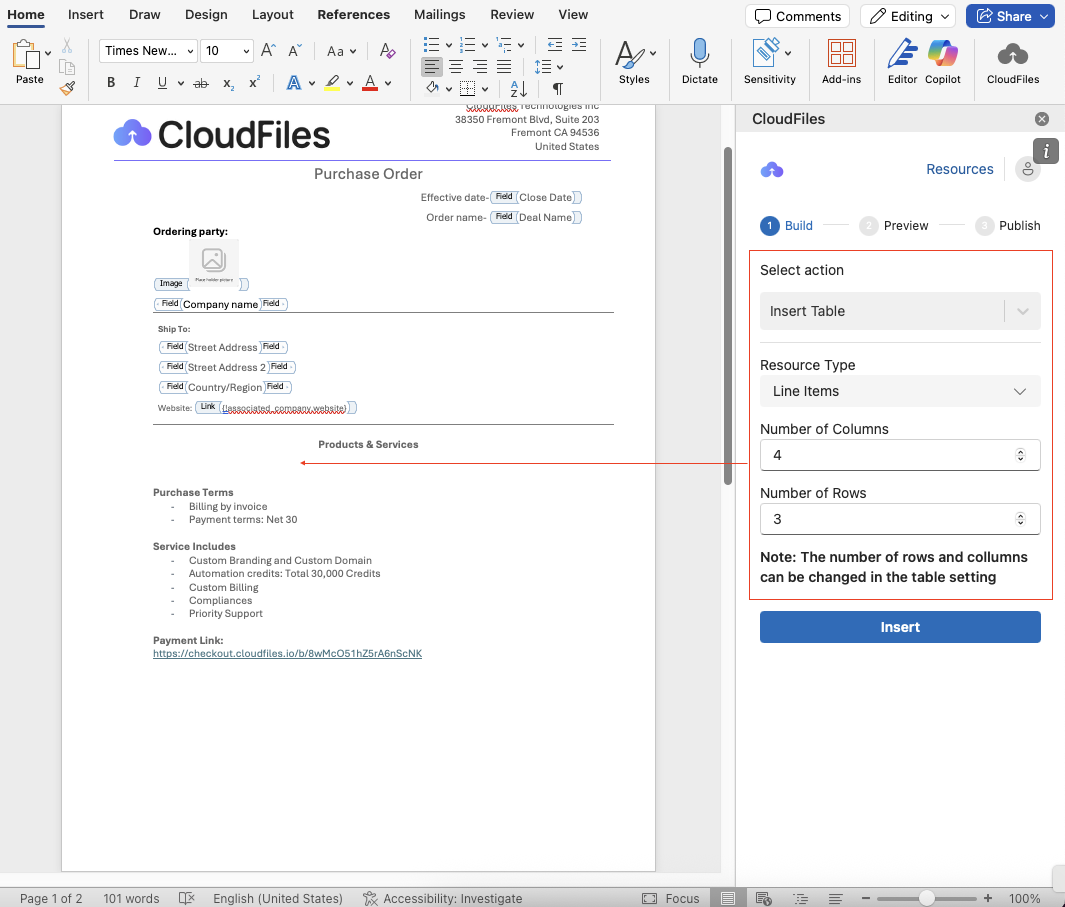
- Place the cursor on the template and select the Insert table action.
- In the Resource Type field, select the collection Line Items you created.
- Specify the required number of columns and rows.
- Add column labels for Item, Quantity, Unit Price, and Subtotal in the first row.
- Place the cursor on the second row and use the , then click ‘Make Data Row’ to include the values of the collection.
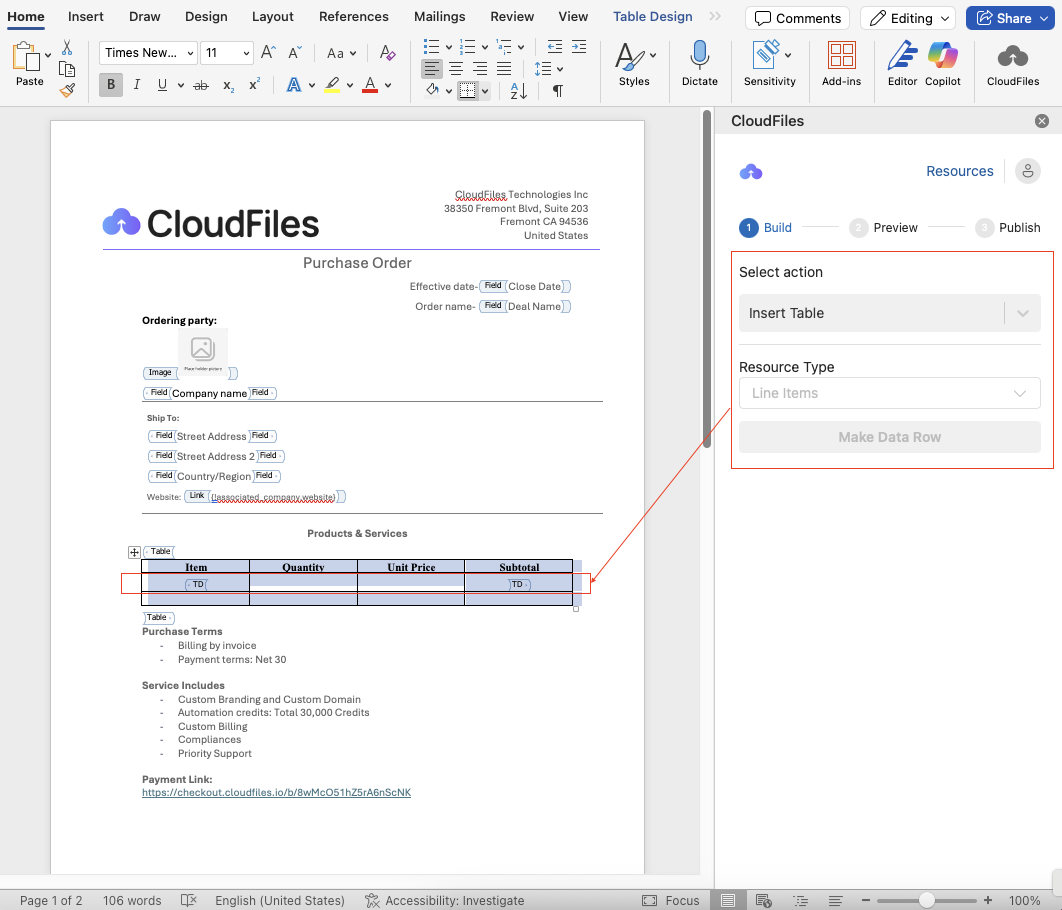
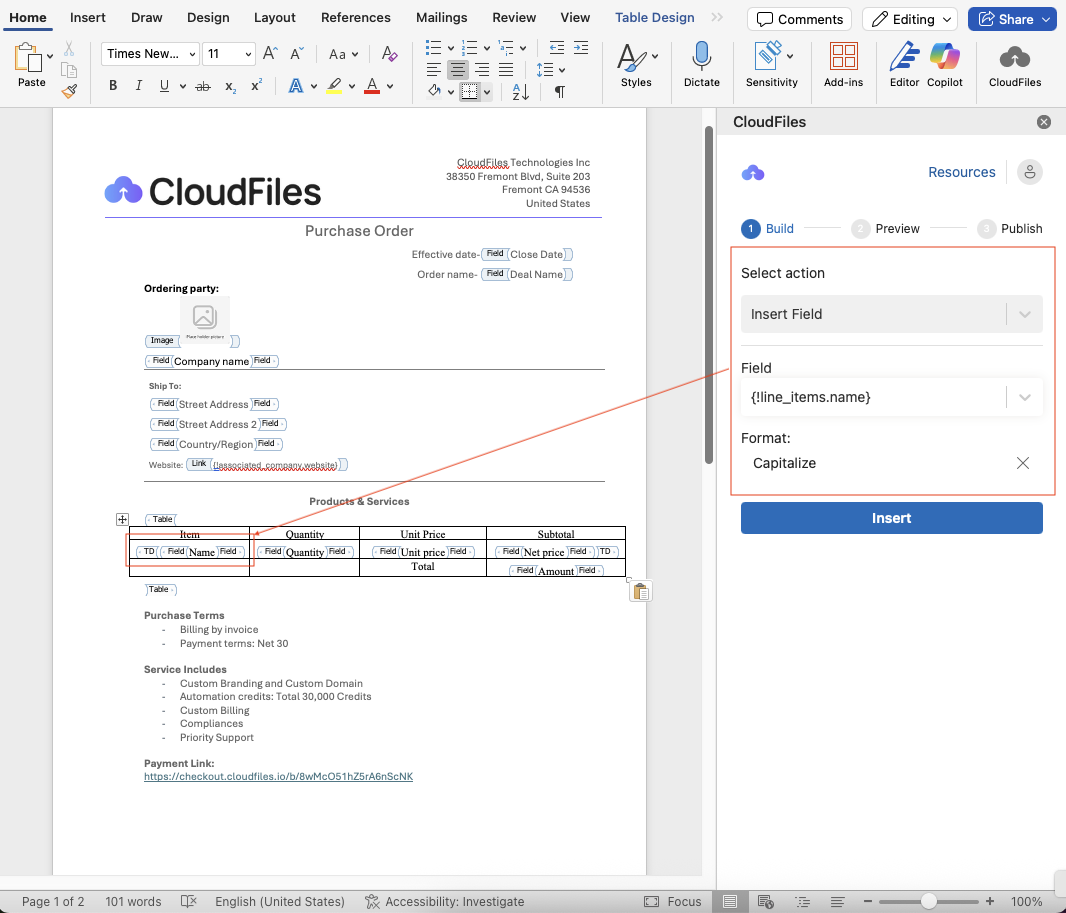
- Insert the following into the table from the collection Line Items using the Insert Field action.
- Product Name - {!Line_items.Name}
- Quantity - {!Line_items.quantity}
- Unit Price - {!Line_items.price}
- Total Price - {!Line_items.amount}
You can insert multiple fields into the same cell. Make sure you insert all the collection fields inside the data row.
6 - Insert Condition
Use to show or hide sections based on values from your record.
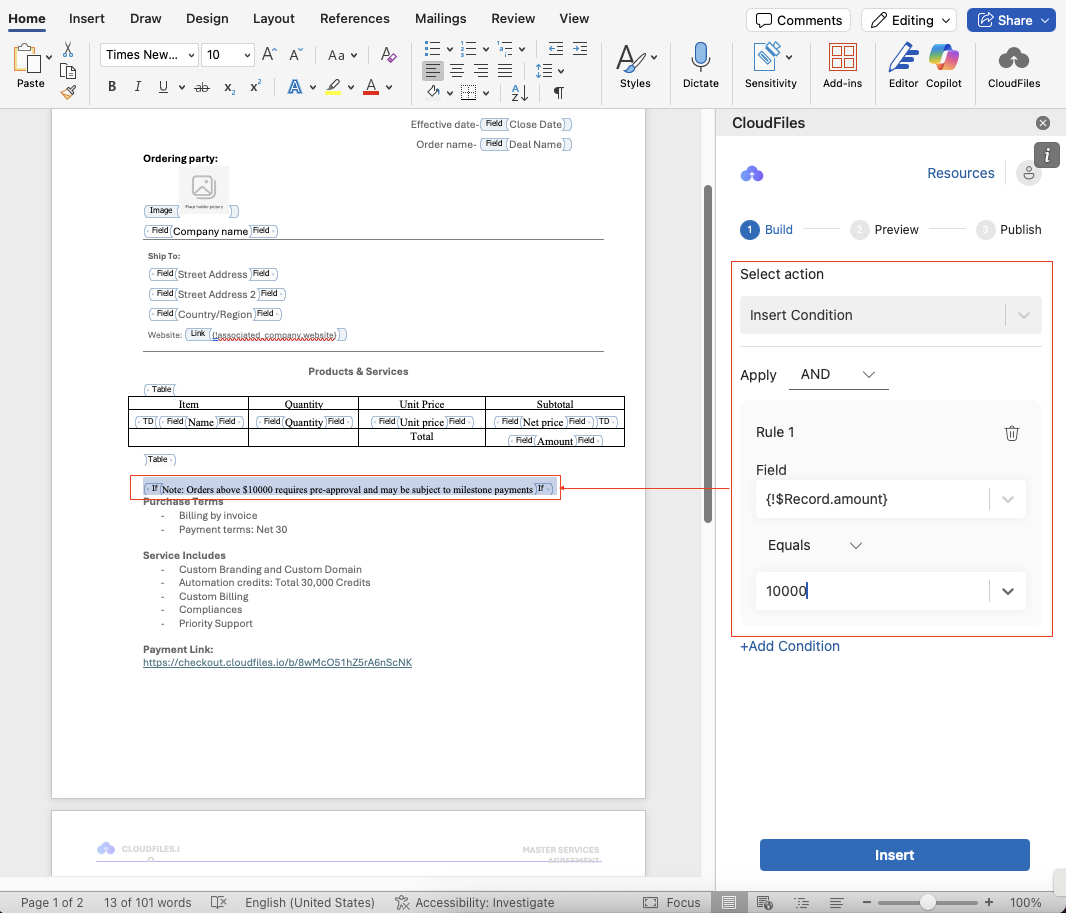
In the purchase order template, let's display a message only when the Total Order Amount exceeds $10,000
Steps to Insert a Condition:
- Place the cursor where you want the conditional content to appear.
- Open the CloudFiles Add-in and choose Insert Condition.
- In the Field dropdown, select the relevant field (e.g., TotalAmount or Order Total).
- Set the Operator (e.g., Greater Than) and enter the Value (e.g., 10000).
- Click Insert
- Add the message inside
to display if the condition is met.
7 - Document Title
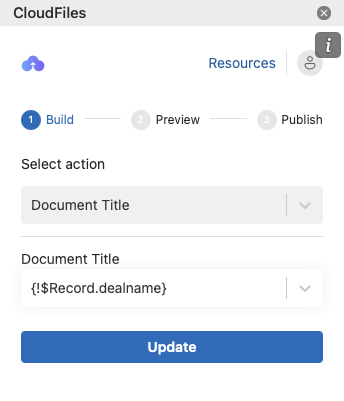
If no Document Title is specified, the document will default to the name of the template.
Global constants
Global constants are predefined values that remain the same for every document. By default, the template includes:
- $GlobalConstant.EmptyString – blank text value
- $GlobalConstant.False – boolean false
- $GlobalConstant.True – boolean true
These constants can be used to add fixed values or control logic.
Stage 2 - Preview
The Preview feature allows you to test how your document will look using real data before publishing it.
How It Works:
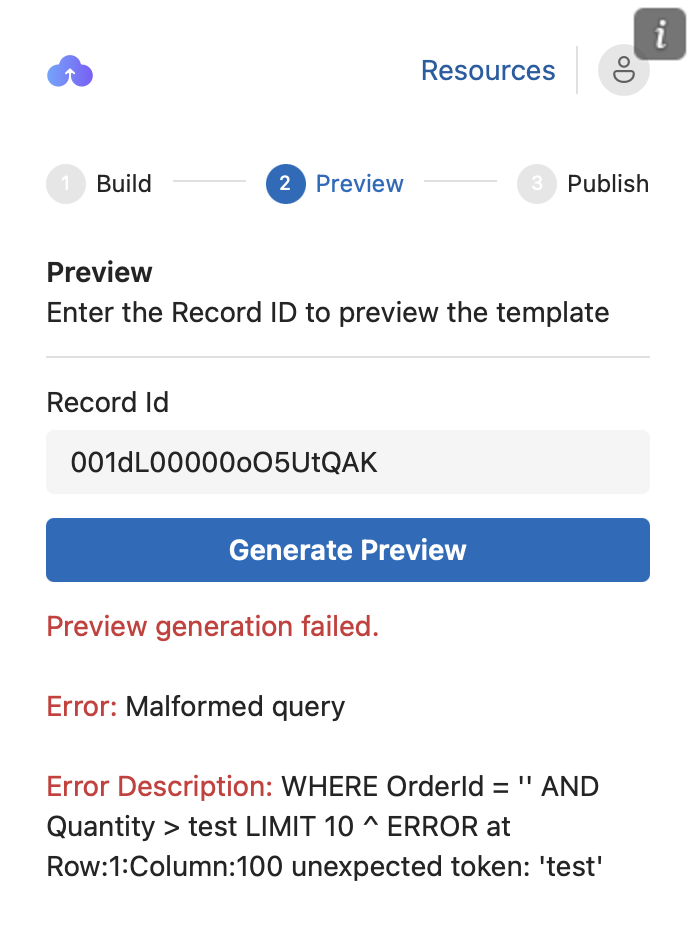
- Enter a valid Record ID (e.g., a HubSpot Deal ID) into the input box.
- Click Generate Preview.
- CloudFiles will populate the template with actual values from the record, showing you exactly how the final document will appear.
In the Preview section, if the template has any issues, you may encounter errors, such as 'Preview generation failed,' along with a description of the error.
These errors typically indicate problems like malformed queries, etc. Make sure to review the error message and correct the issue accordingly before publishing.
Stage 3 - Publish
Once you’ve finished building and previewing your template, use the Publish step to save it for use in your HubSpot instance.
Publishing Options:
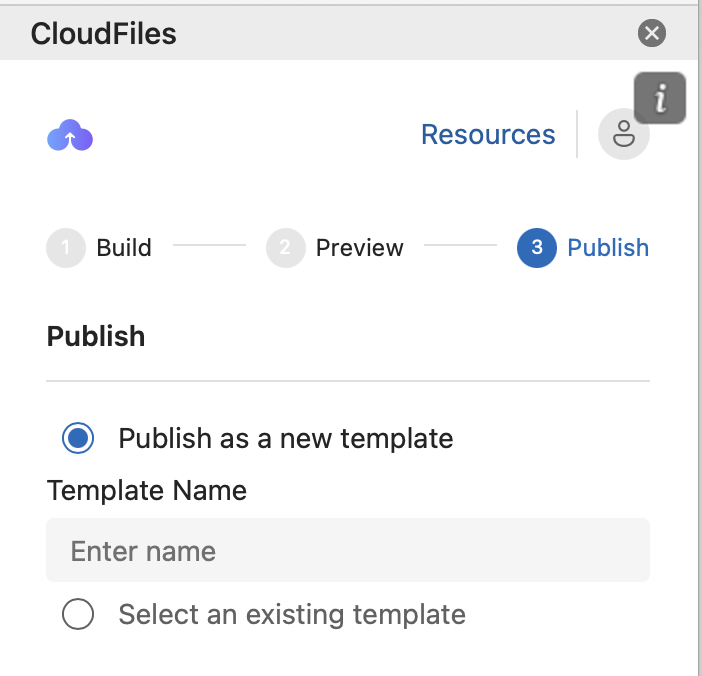
1 - Publish as a New Template
- Choose this if you're creating a template from scratch.
- Enter a unique Template Name in the input field.
- This will create a new version that will be available for use.
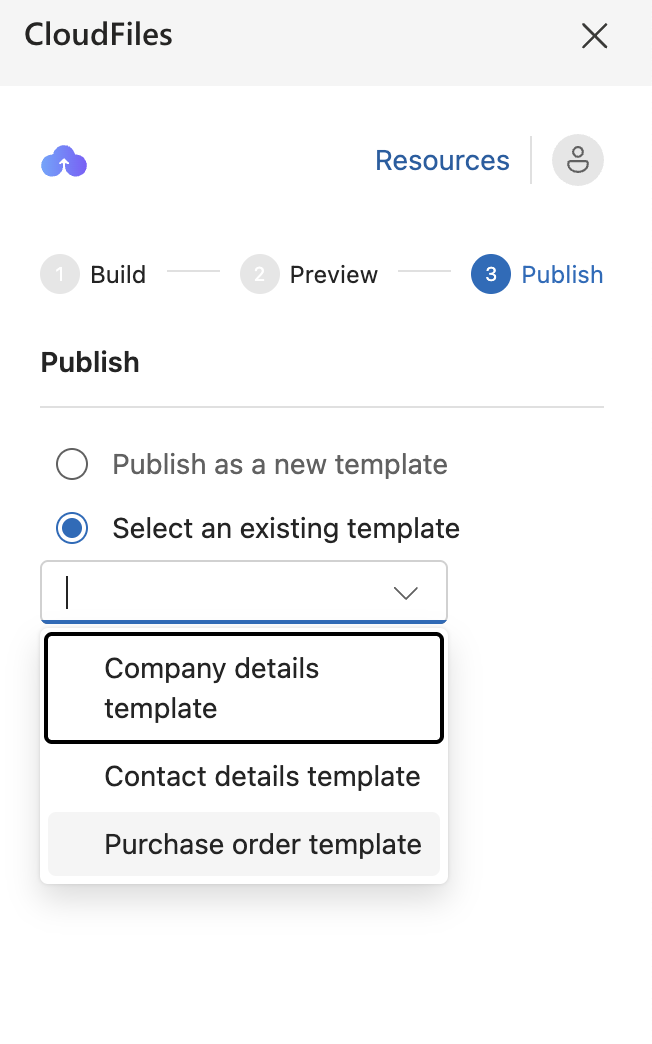
2 - Select an Existing Template
- Choose this option to update or replace a previously published template.
- Select from the list of available templates in the dropdown.
- Your current design will overwrite the selected template with the new version.
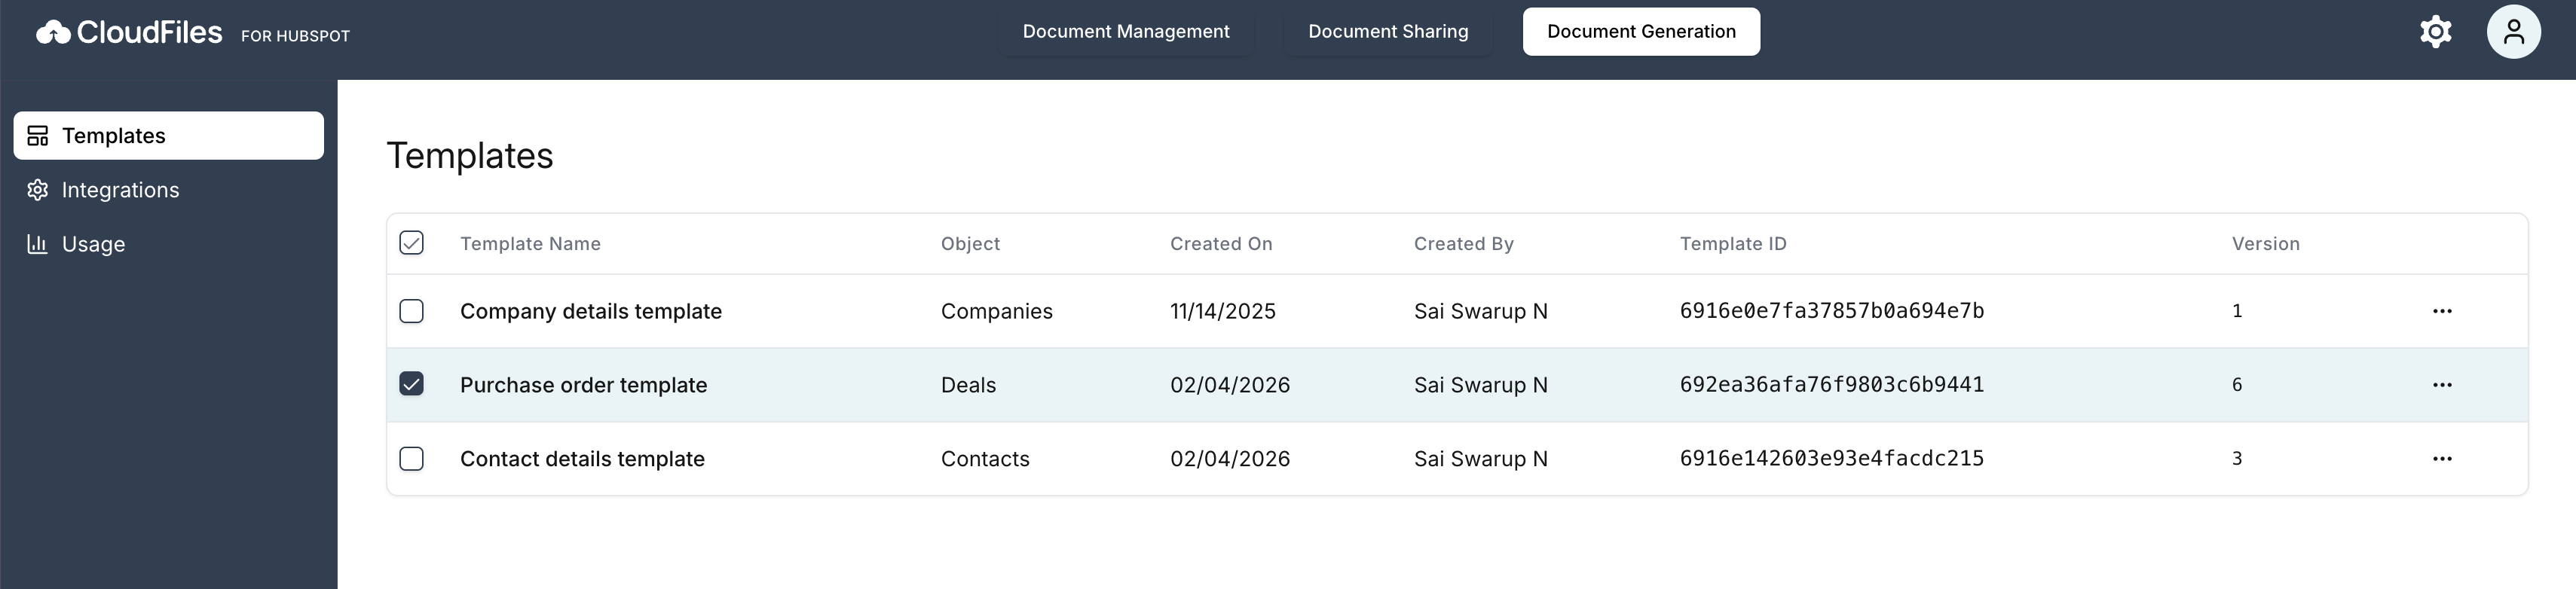
Once published, the template will be listed in CloudFiles web app under the Document Generation tab → Templates.