Introduction
The DocuSign integration supports Date Signed and Text field types, expanding the document signing capabilities beyond basic signatures. These field types allow one to capture when documents were signed and collect custom text input during the signing process.
This enhancement works with the existing DocuSign integration setup and includes:
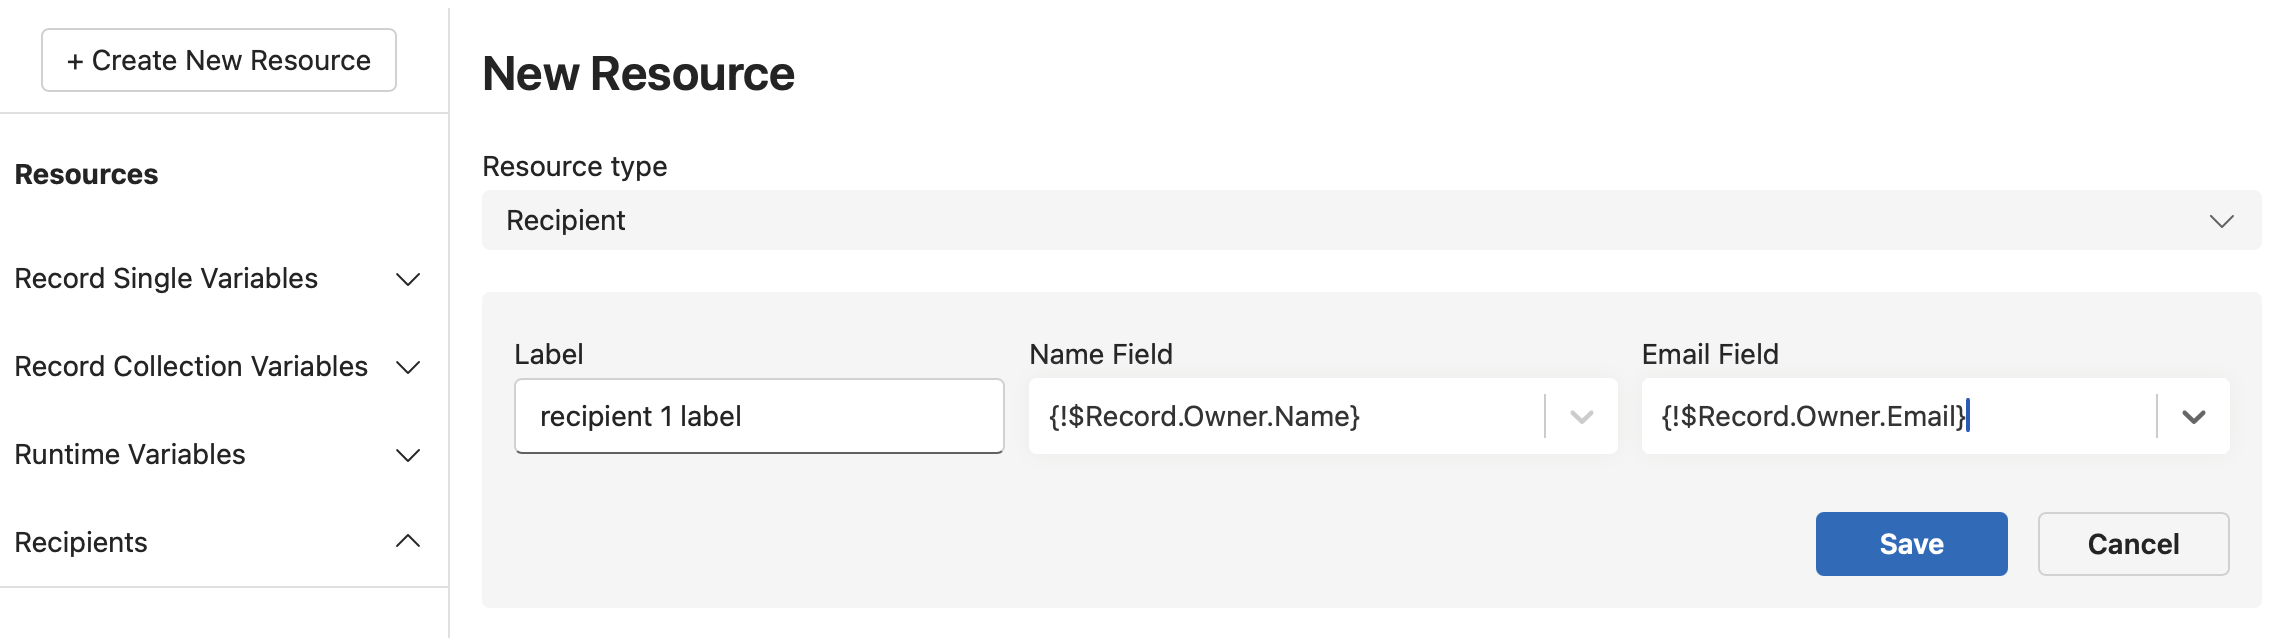
- Recipient Resource - This defines the recipient of the generated PDF. It includes the recipient's name and email.
- Form Field Action - This inserts Date Signed and Text fields into your template and links them to a recipient. In Word templates, use the Insert Form Field action. In PDF templates, use the Form Field action.
- Date Signed Field - Automatically captures and displays the signing date.
- Text Field - Enables recipients to enter custom text during document signing.
Prerequisites
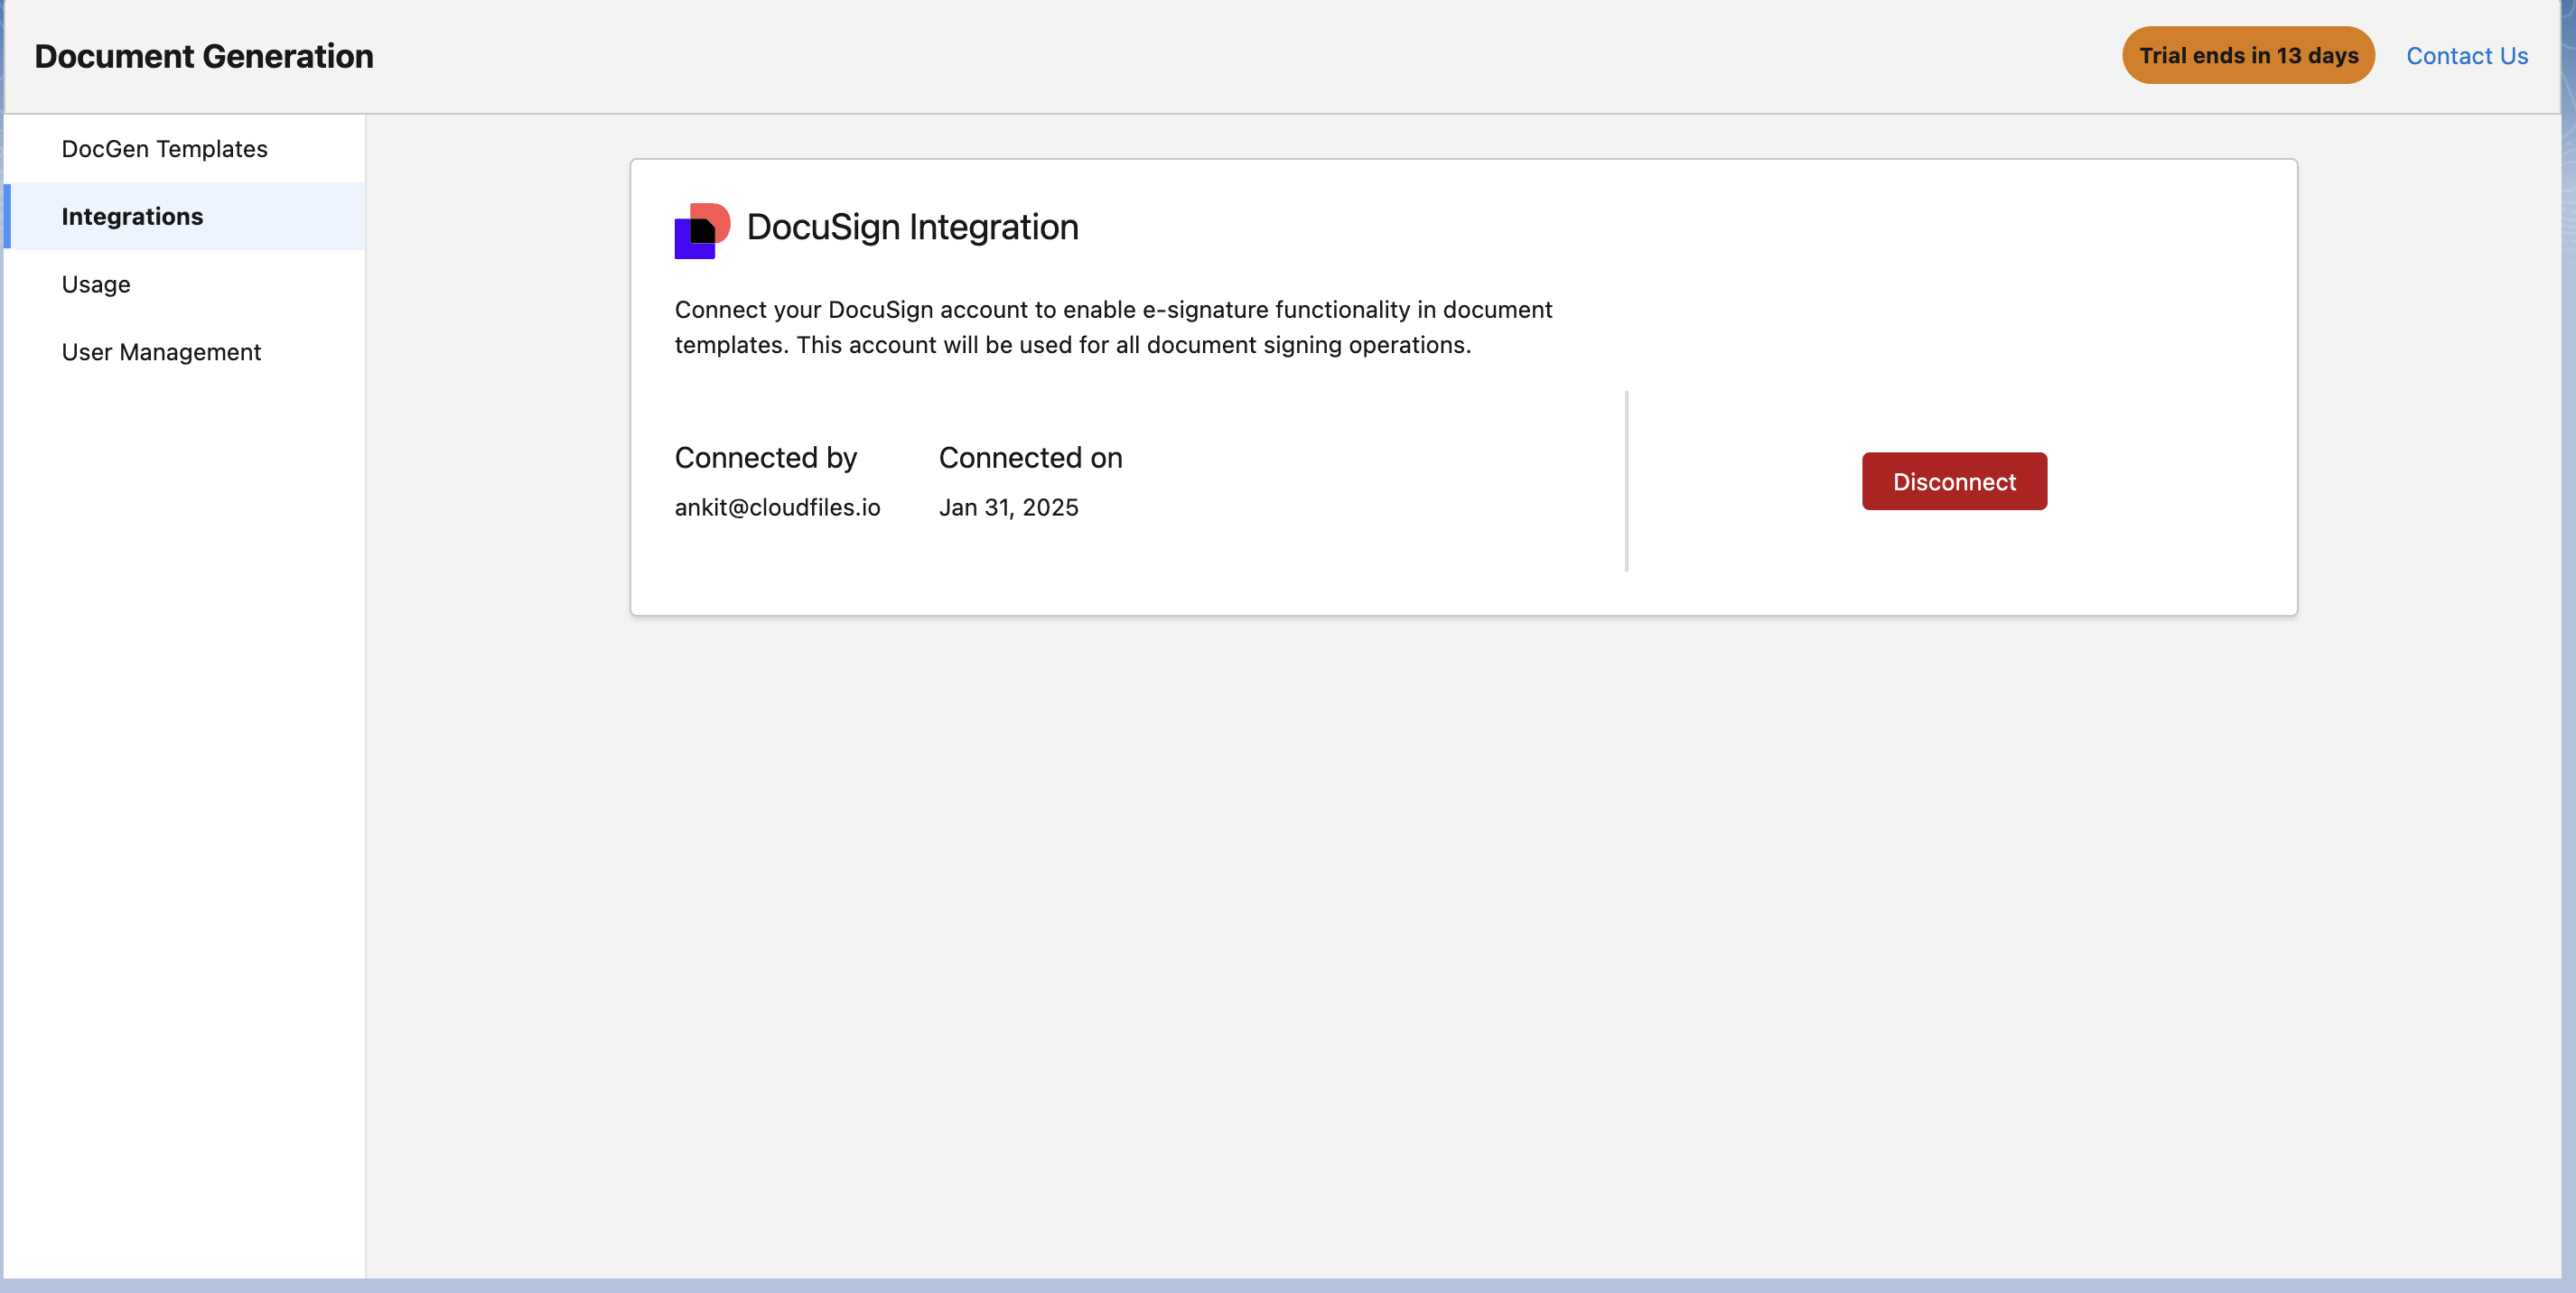
Before using these field types, ensure your DocuSign account is connected to CloudFiles.
Navigate to Salesforce → Document Generation → Integrations Tab and connect your DocuSign account. This connection is required for all DocuSign field types to function properly.
How to Use These Fields
Follow these steps to add Date Signed and Text fields to your documents:
1 - Create a Recipient Resource
Set up a recipient resource with all necessary details, including the email address where the DocuSign request will be sent. This recipient will interact with the new field types during signing.
2 - Insert Form Field Actions
- Open your Word template in the document generation configuration.
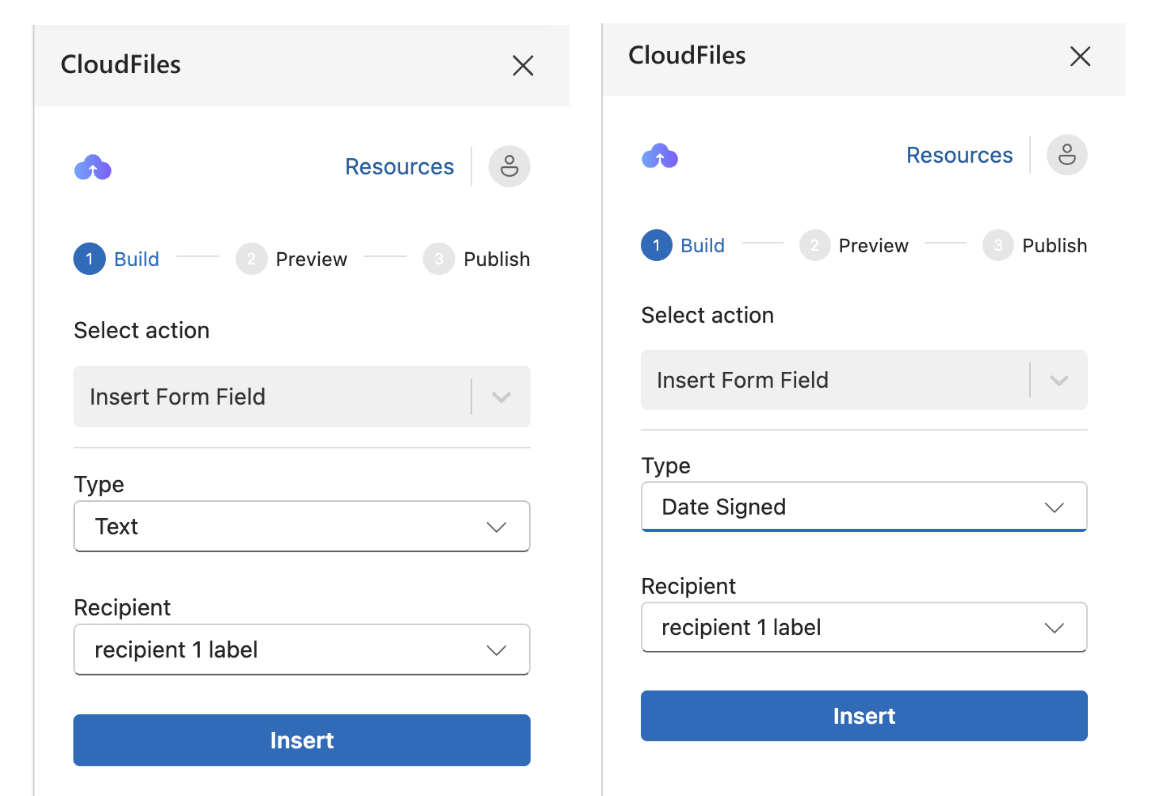
- From the Insert Form Field Action, you'll now see additional options:
- Select Date Signed field type for automatic date capture
- Select Text field type for custom text input
- Choose the intended Recipient who will interact with this field during signing.
- For PDF templates: use the Form Field action instead of Insert Form Field, then select the same Date Signed or Text field type and choose the recipient. The rest of the behavior is identical. See Form Field.
3 - Field Behavior During Signing
- Date Signed Field: Automatically populated when the recipient signs the document in DocuSign, showing the exact signing timestamp.
- Text Field: Presents an input box where recipients can enter custom text as part of the signing process.
4 - Visual Placement in Template
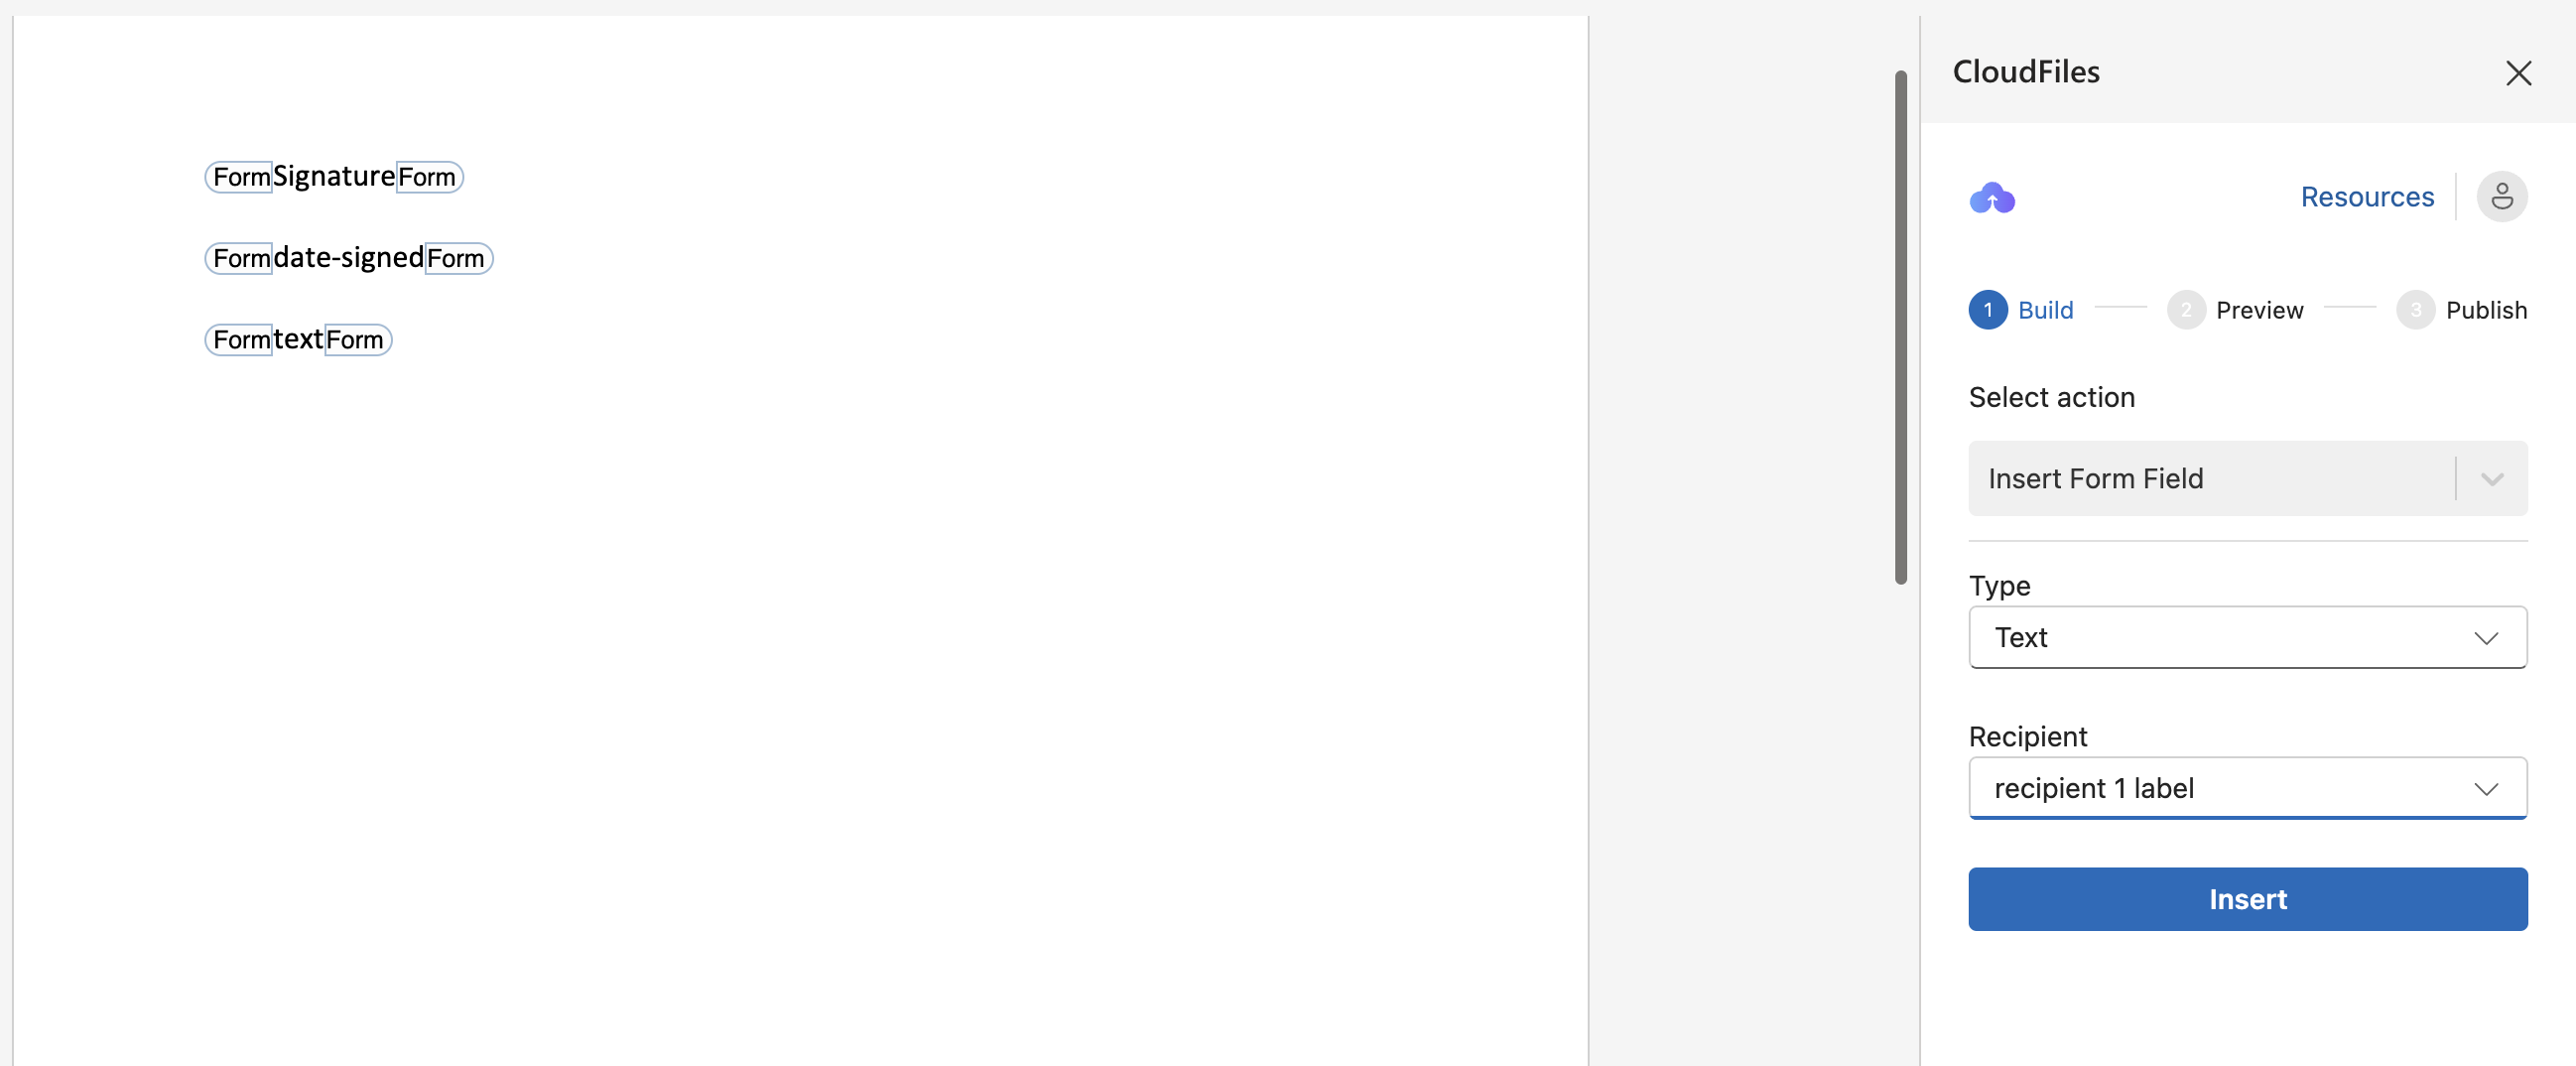
Once inserted, placeholder form fields will appear in your document template:
- Date Signed: Shows placeholder text indicating where the signing date will appear.
Additional Notes
- You can use multiple Date Signed and Text fields in the same document
- Each field must be assigned to a specific recipient
- Assign these fields to Signer recipients. Carbon Copy recipients receive the completed document without signing, so they do not fill in fields.
- After you add your fields, set the signing order and envelope brand in Signing Settings. See Sending Documents for Signature.
- Recipient types and signing settings are envelope-level, so they apply the same way whether the template is Word or PDF.
Since field placement can vary between your template and the final DocuSign rendering, test your document with different field positions to achieve the best user experience for your signers.